Shader Creation
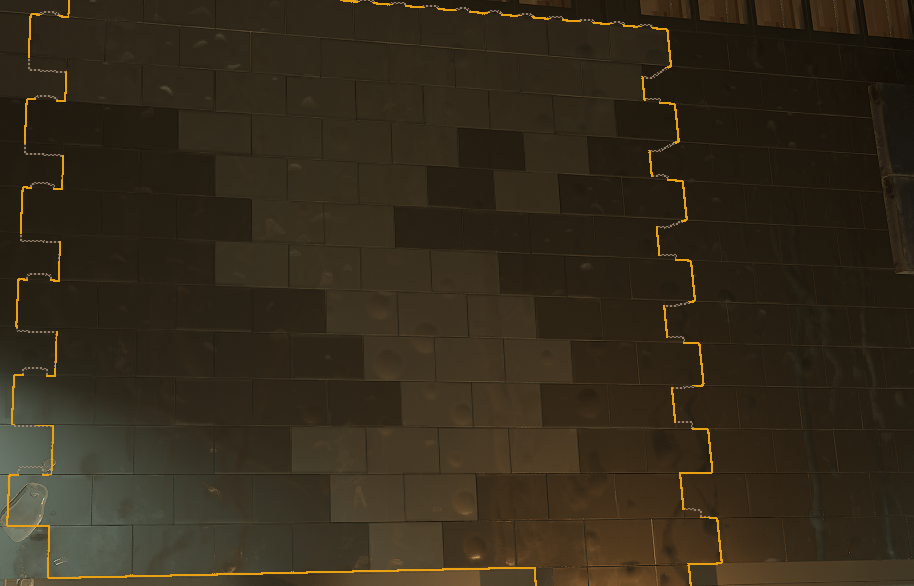
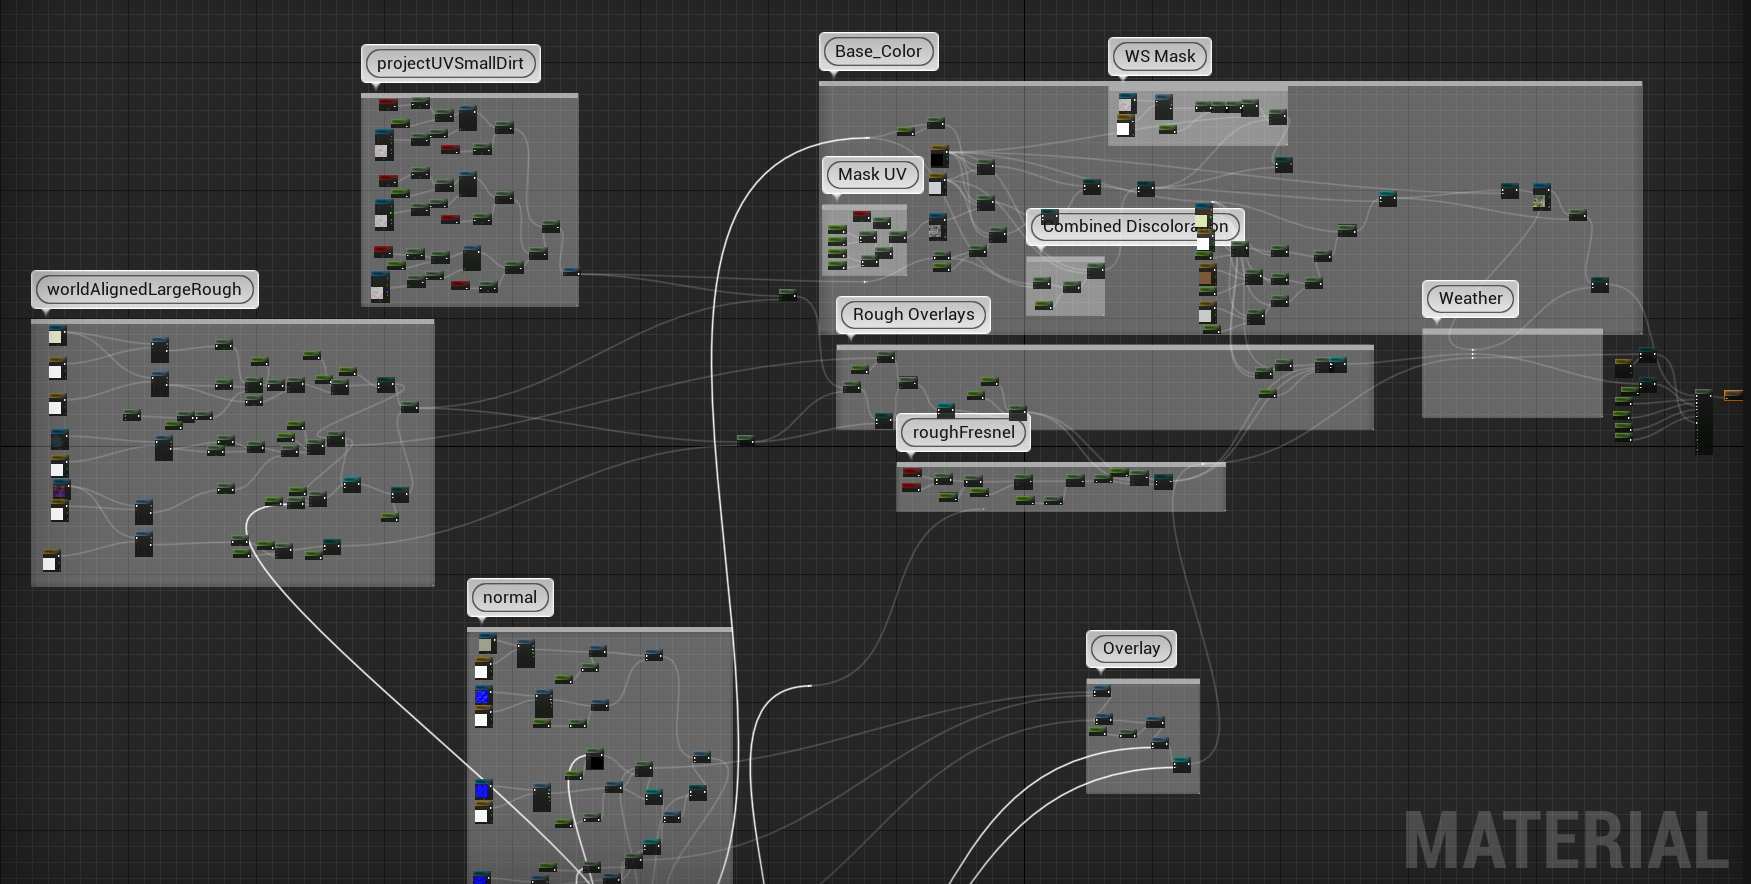
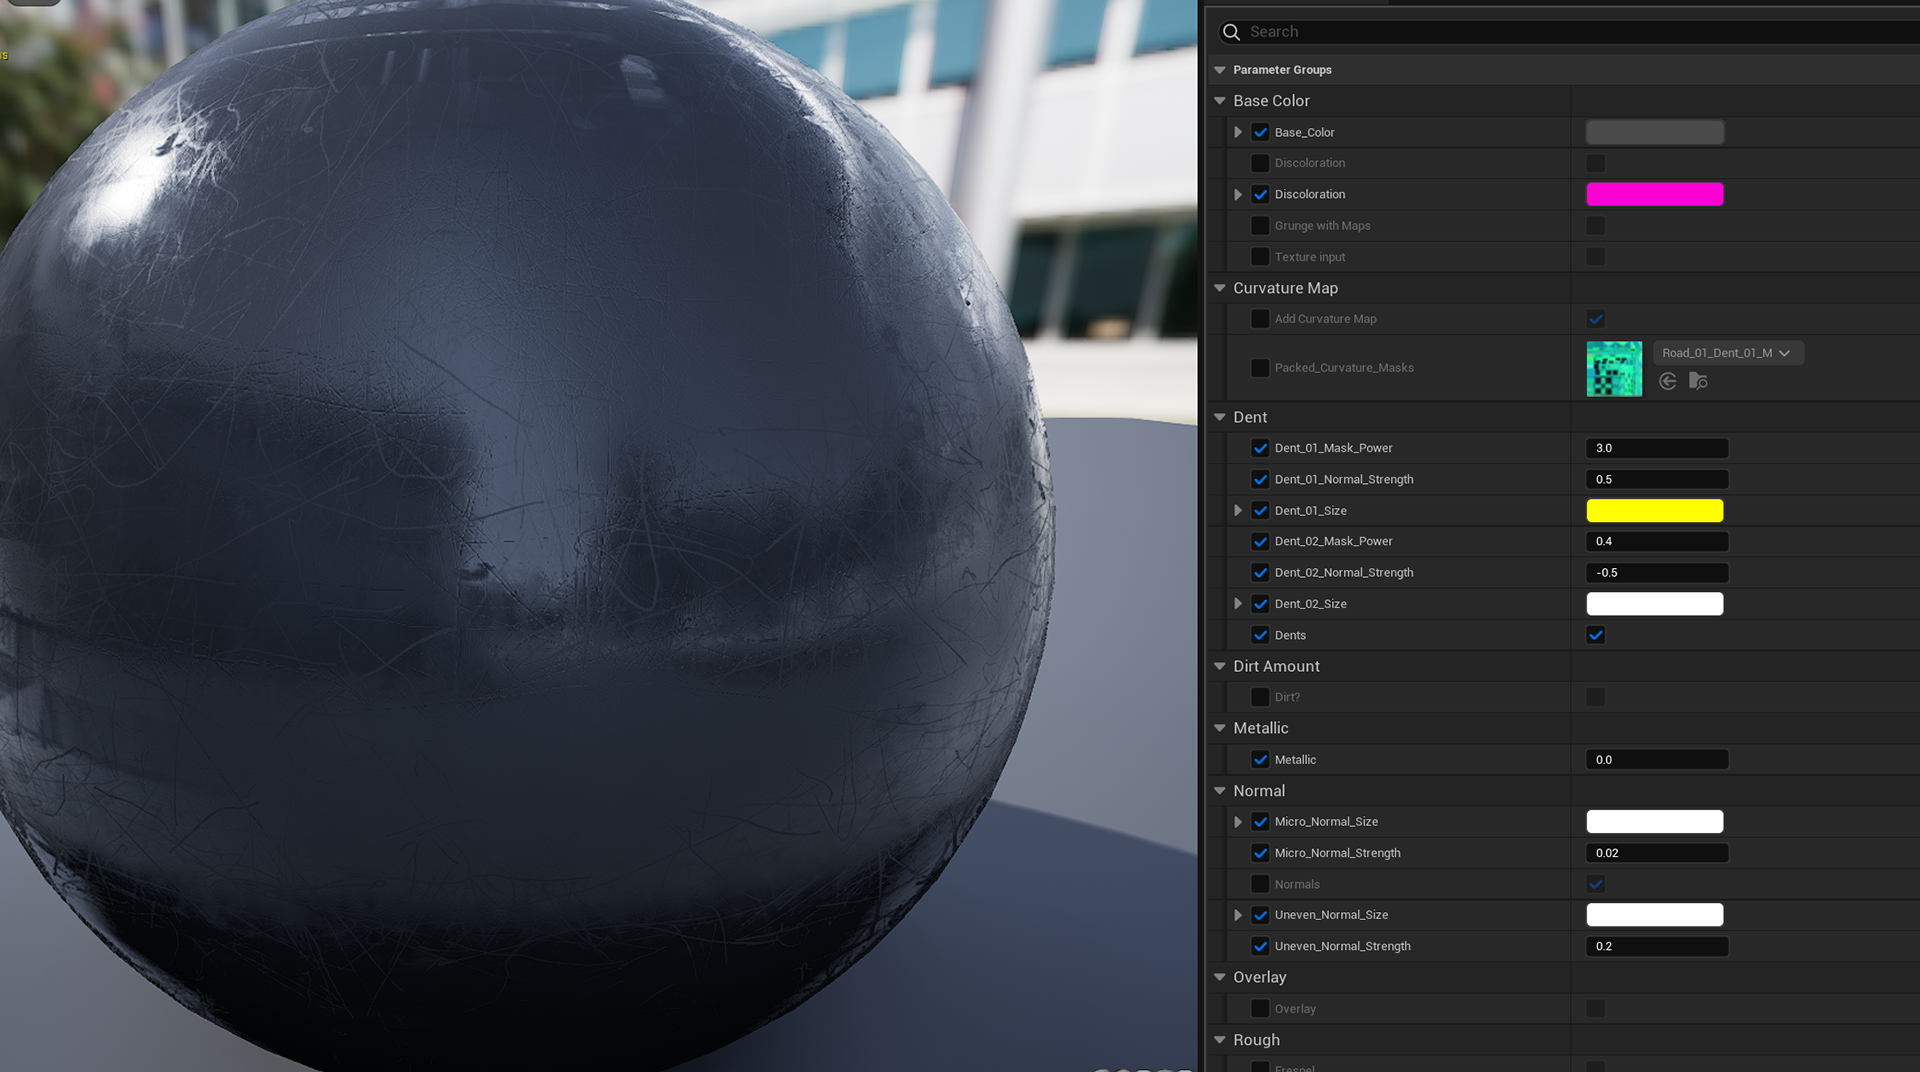
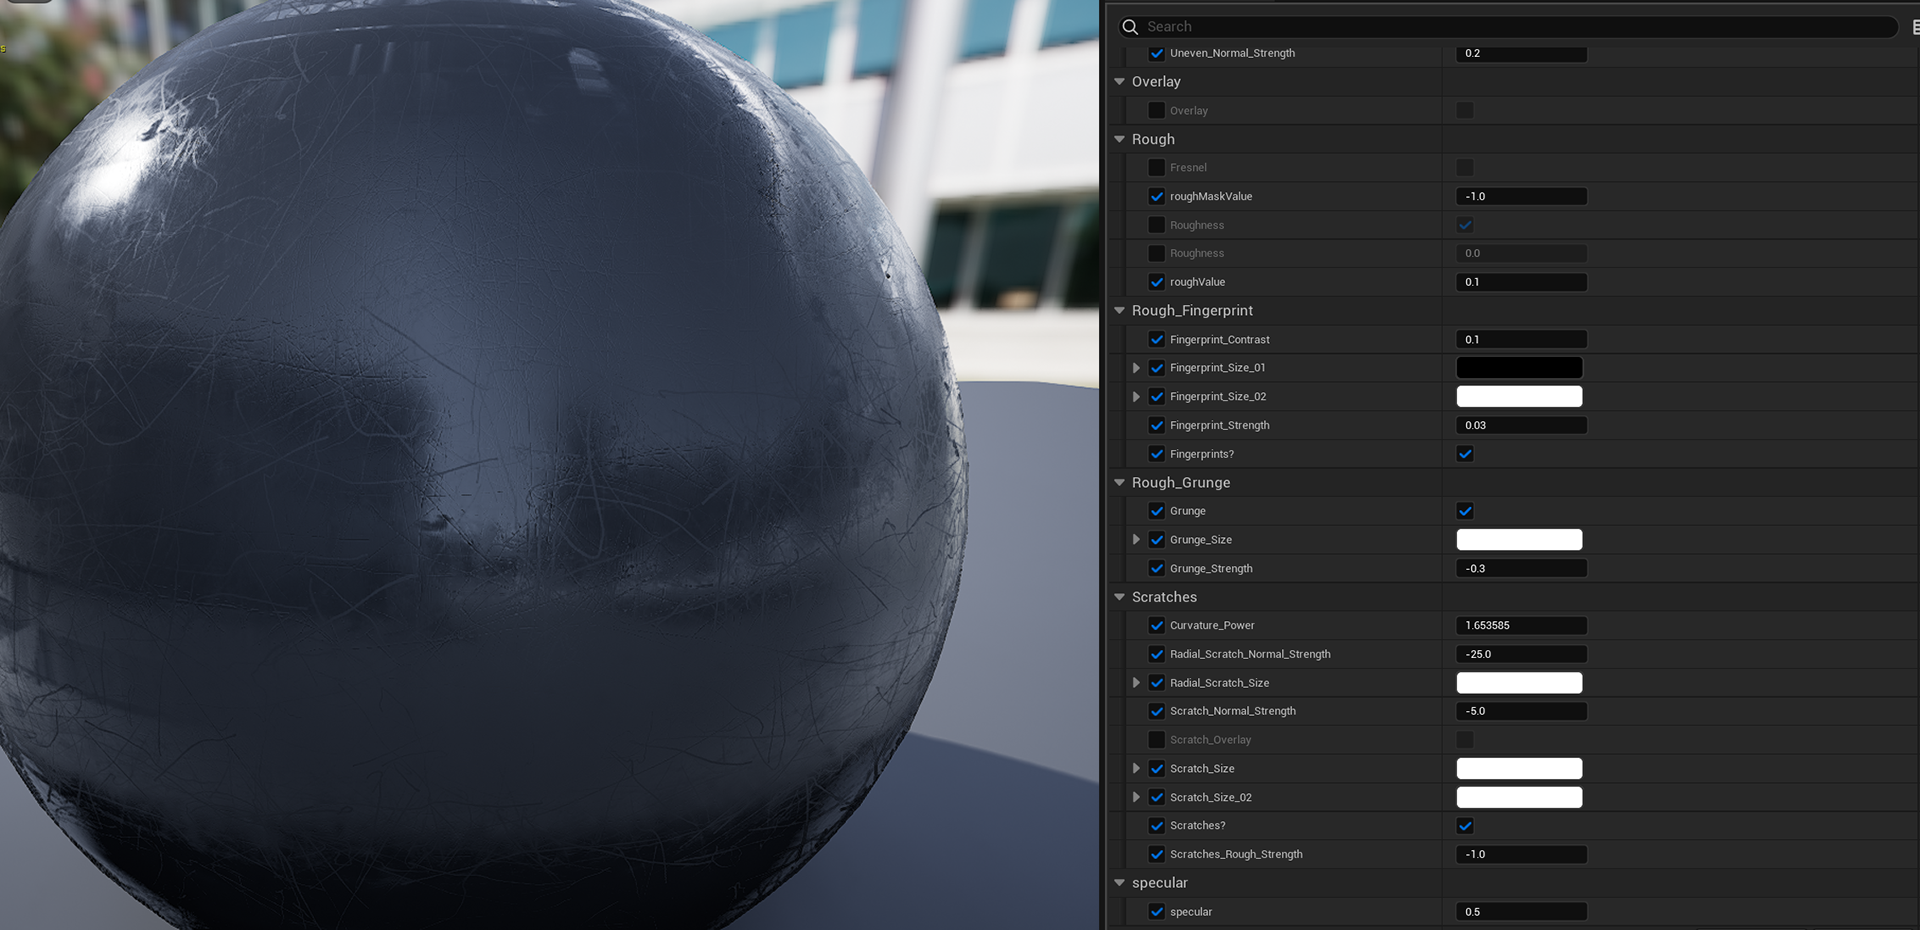
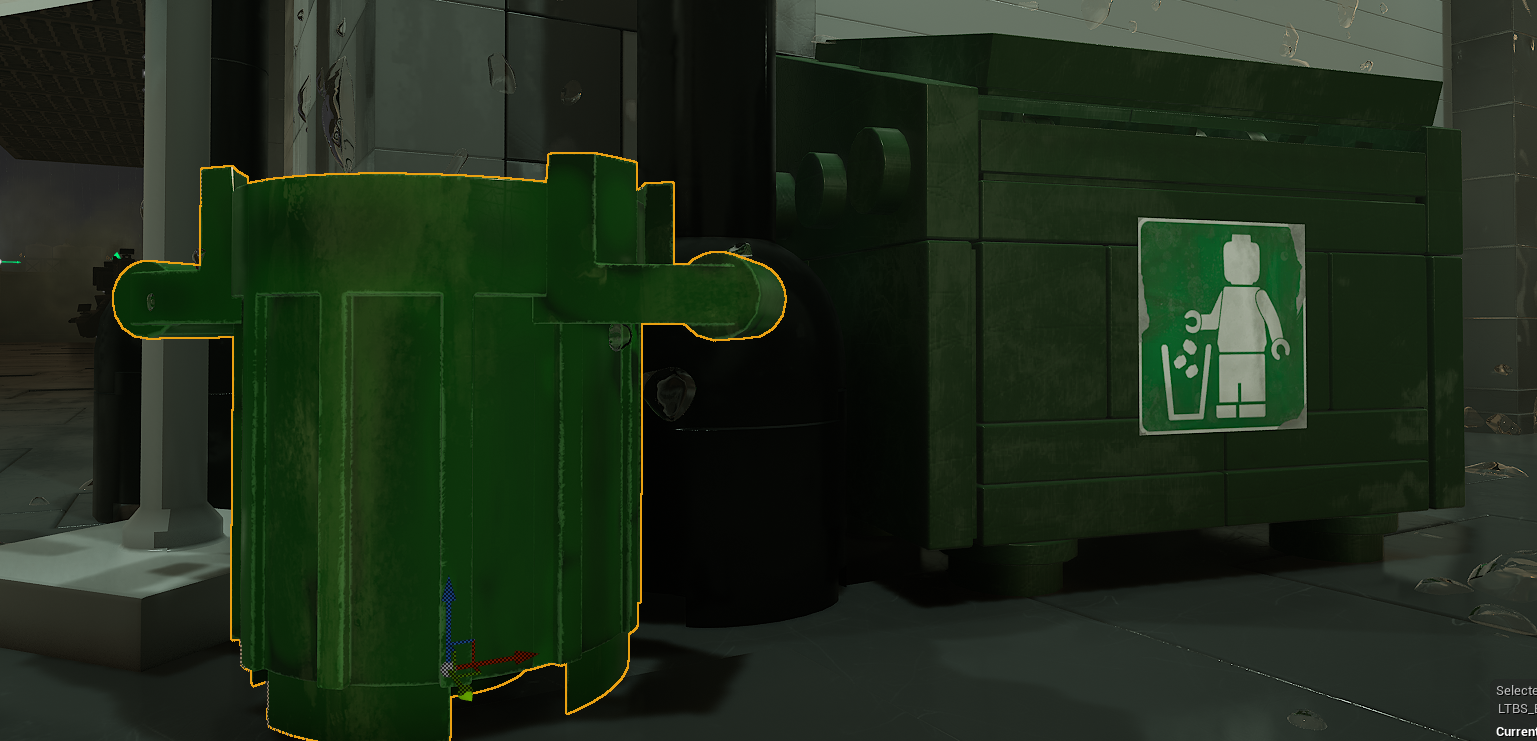
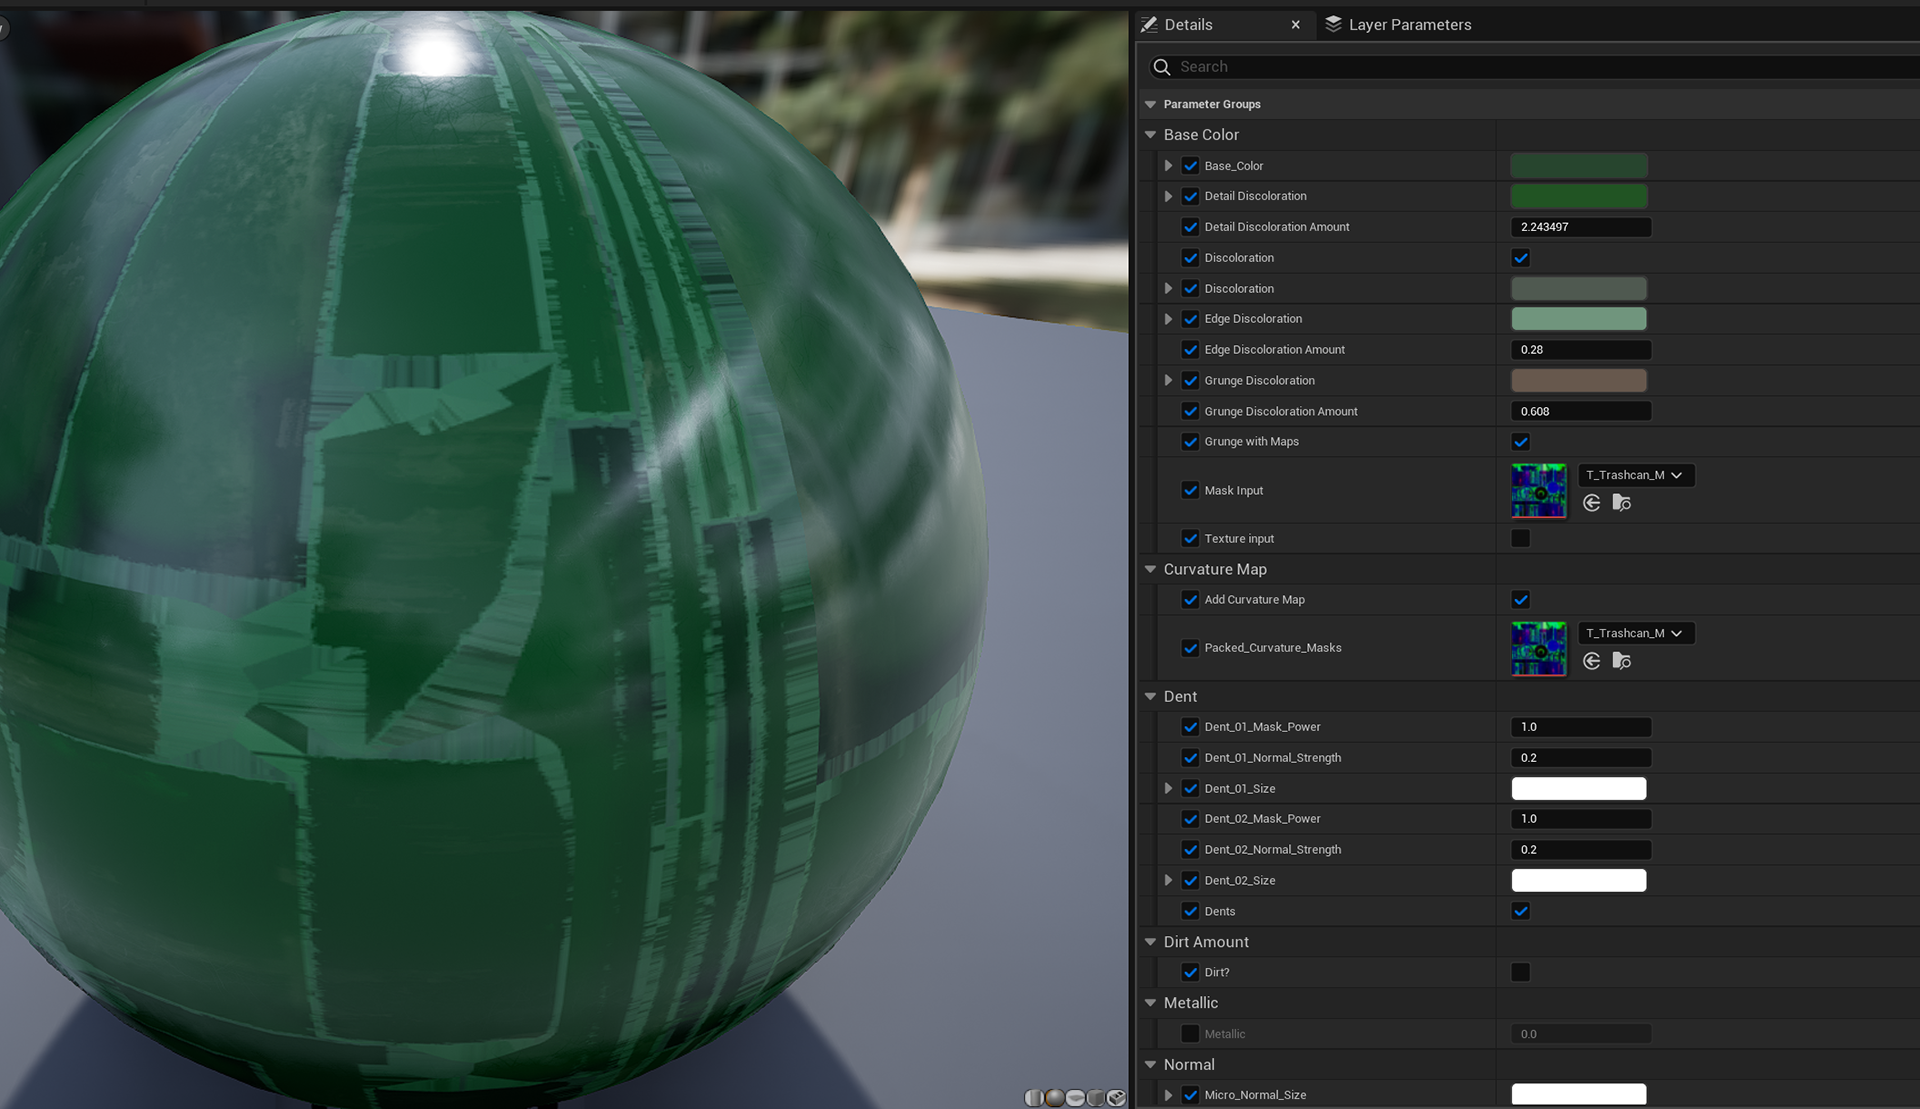
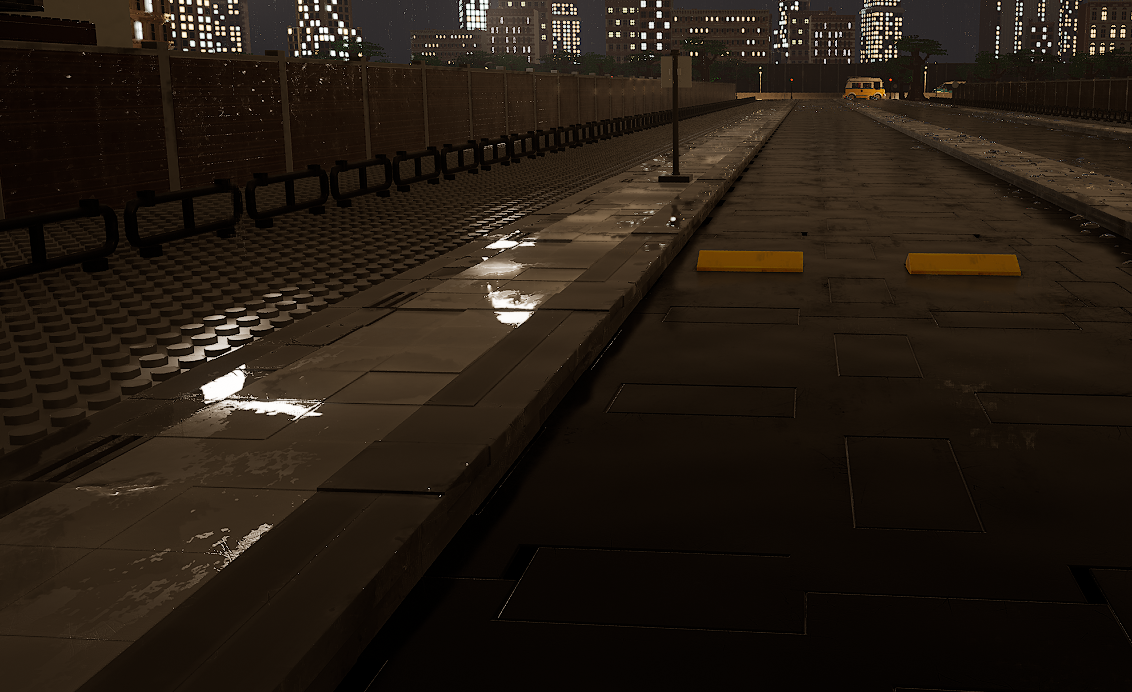
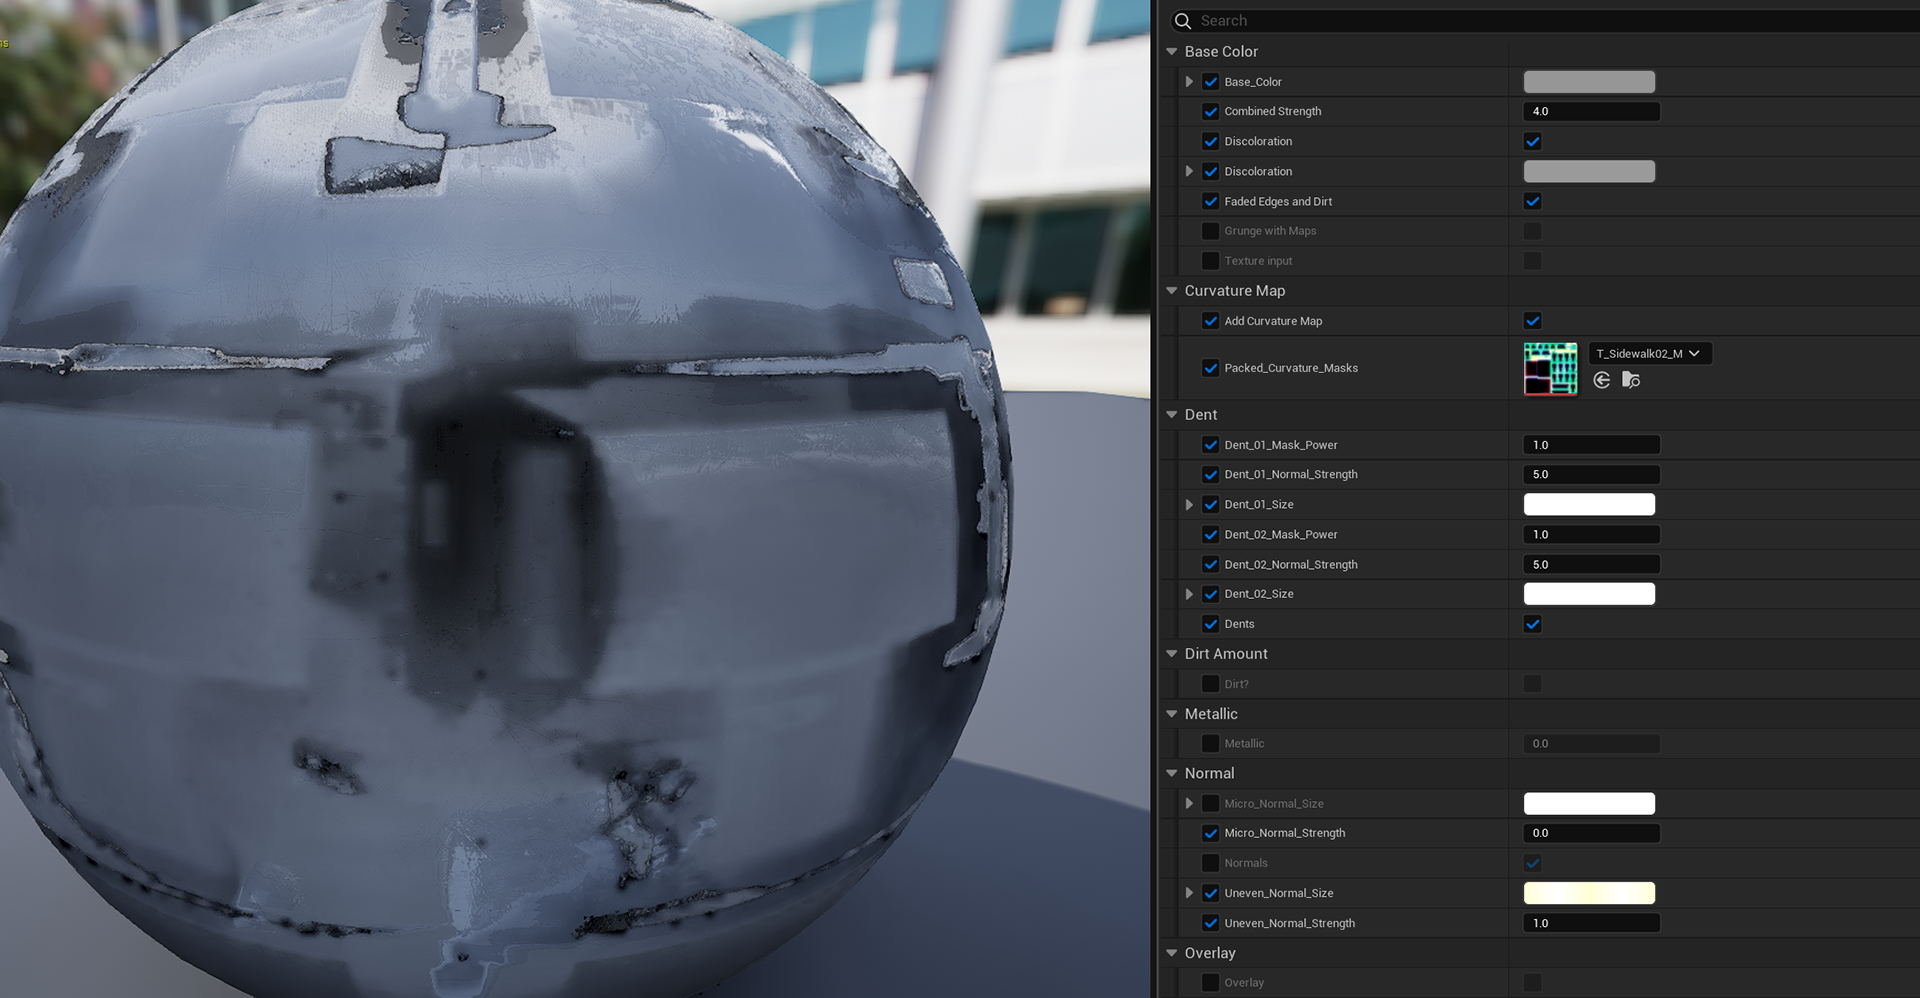
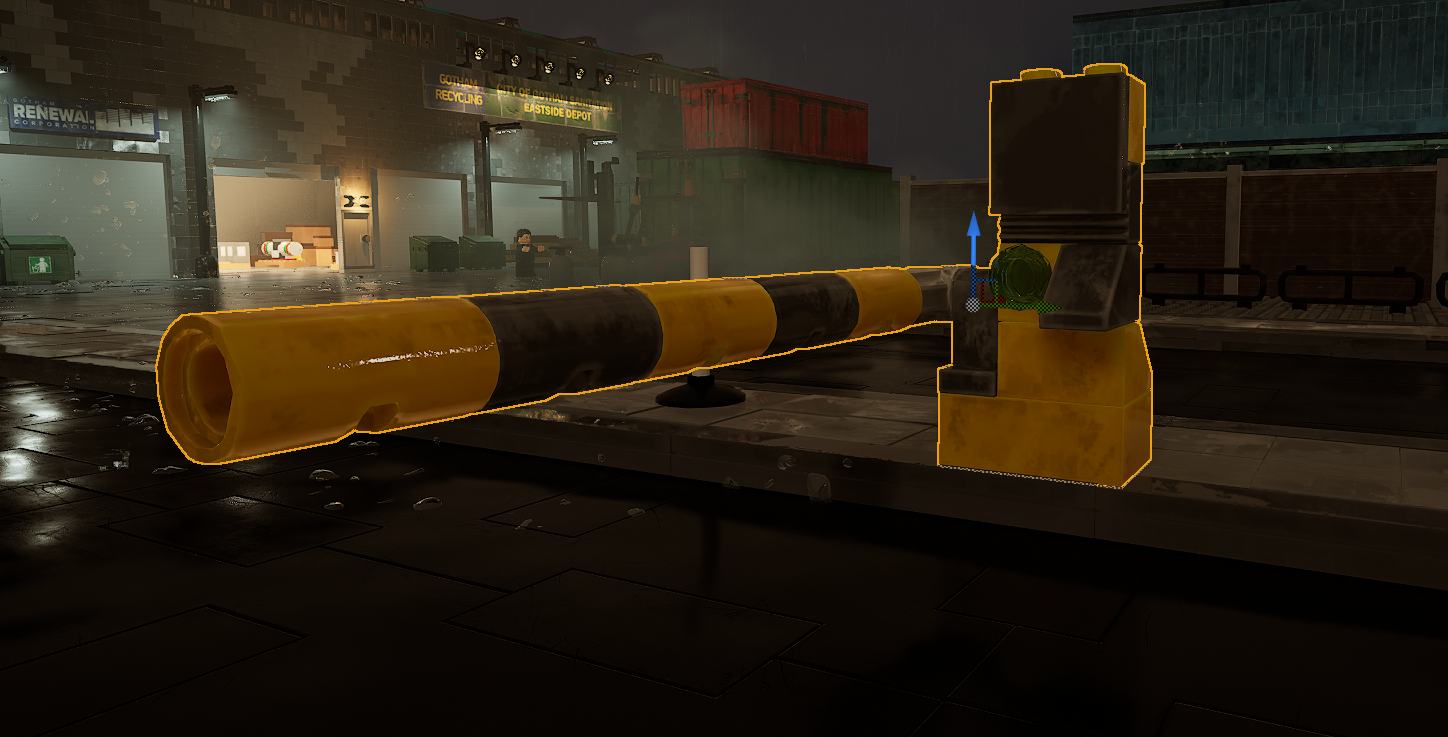
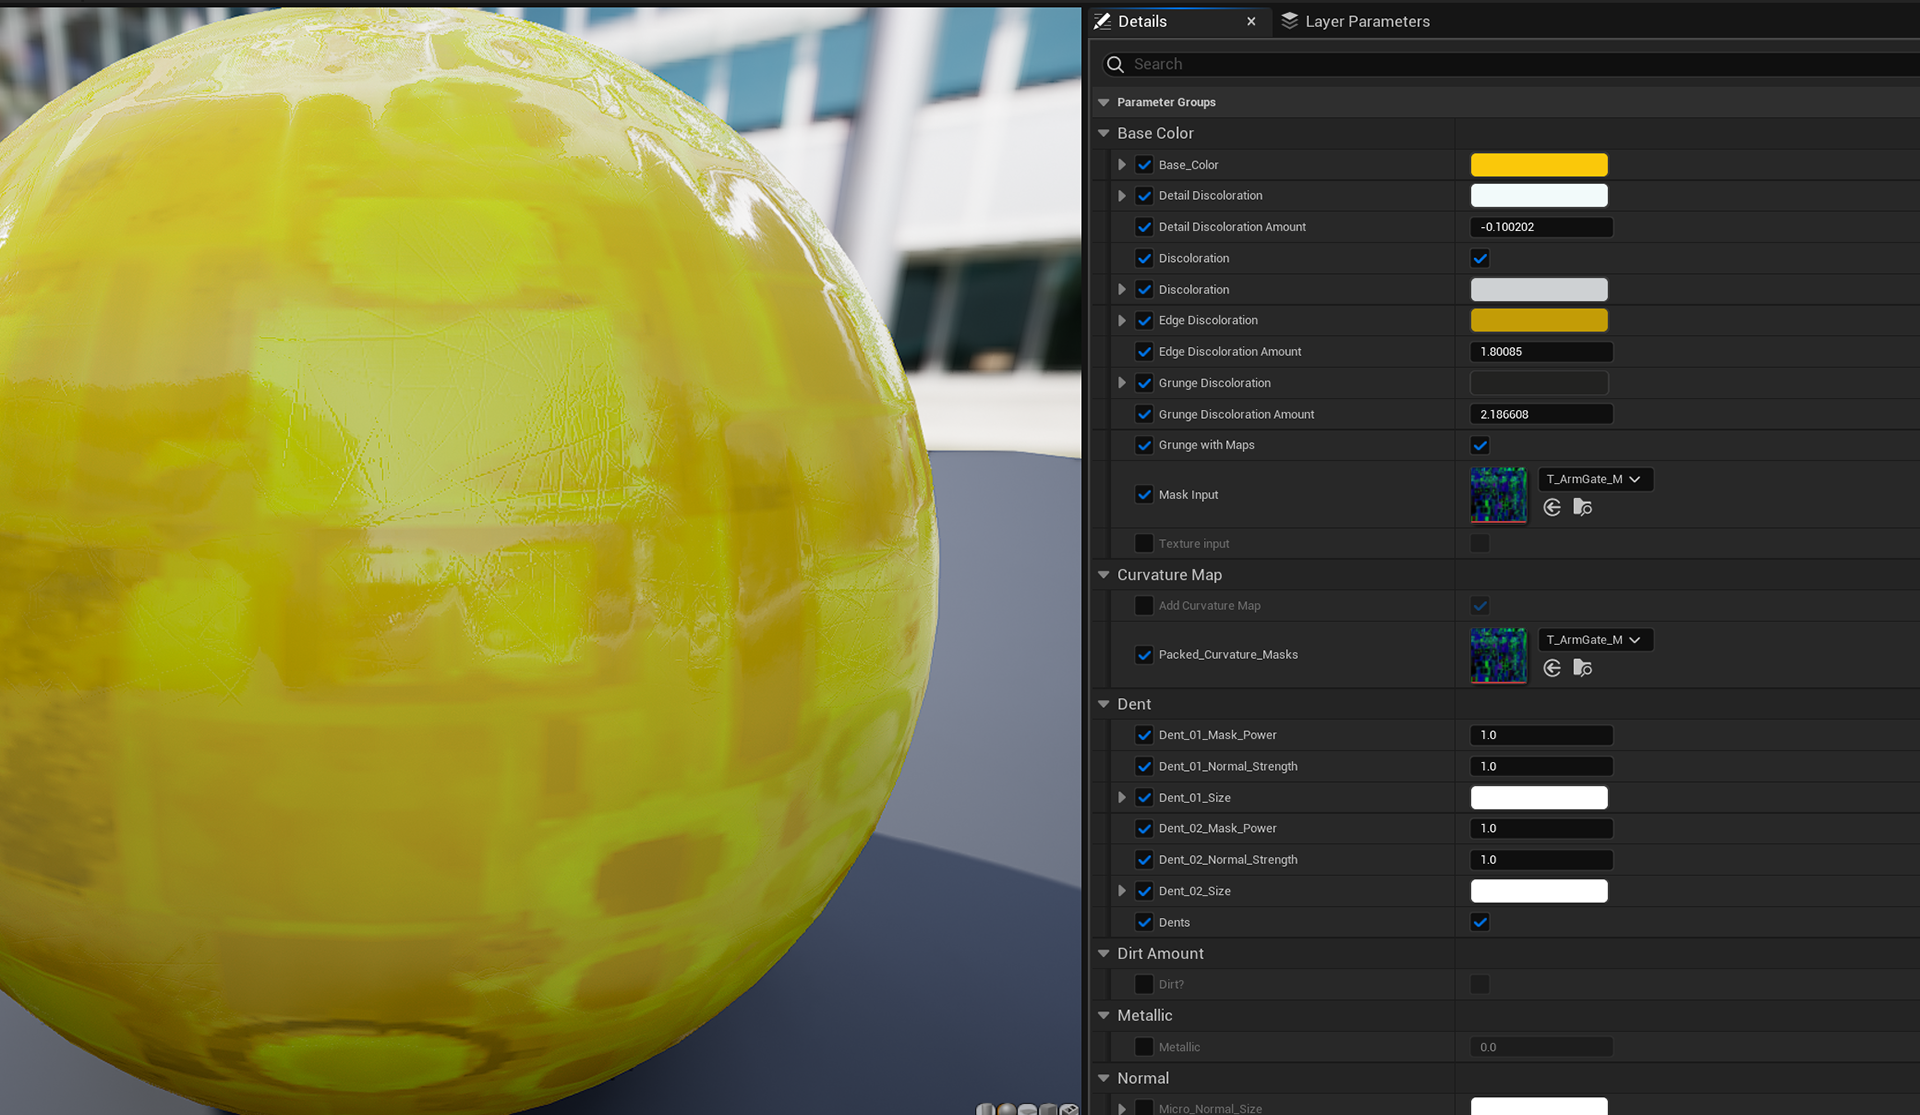
1: created a master material with tiling textures to add grunge and wear to replicate real world legos.
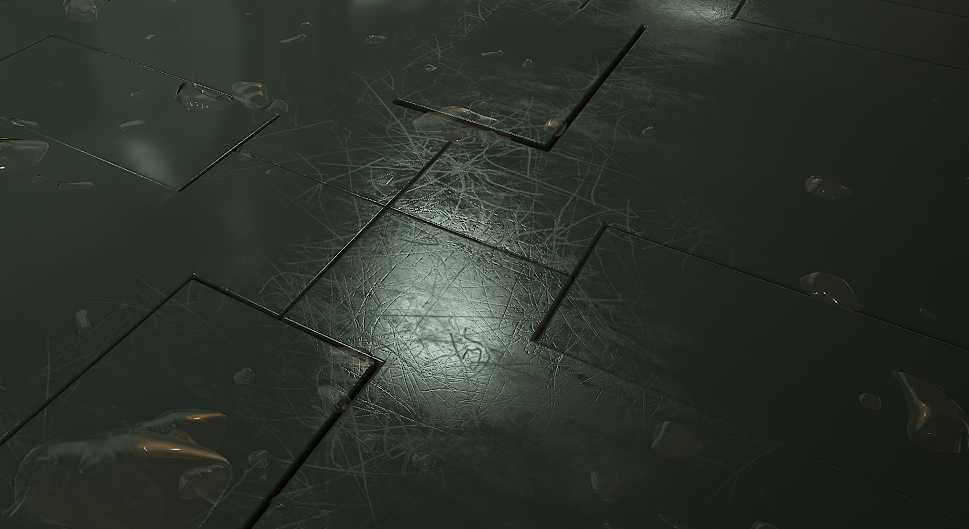
Did various studies and tests to achieve a final look which could easily be changed on the fly to fit the desired shots. maps were created in substance designer and substance painter and included micro-scratches, imperfections created by processing the legos, large scratches, and small and large dents. Inclusion of grunge masks and curvature maps were also included to add the variation to specific areas.
this material was used for the majority of the film.
2: created an emissive material for lights
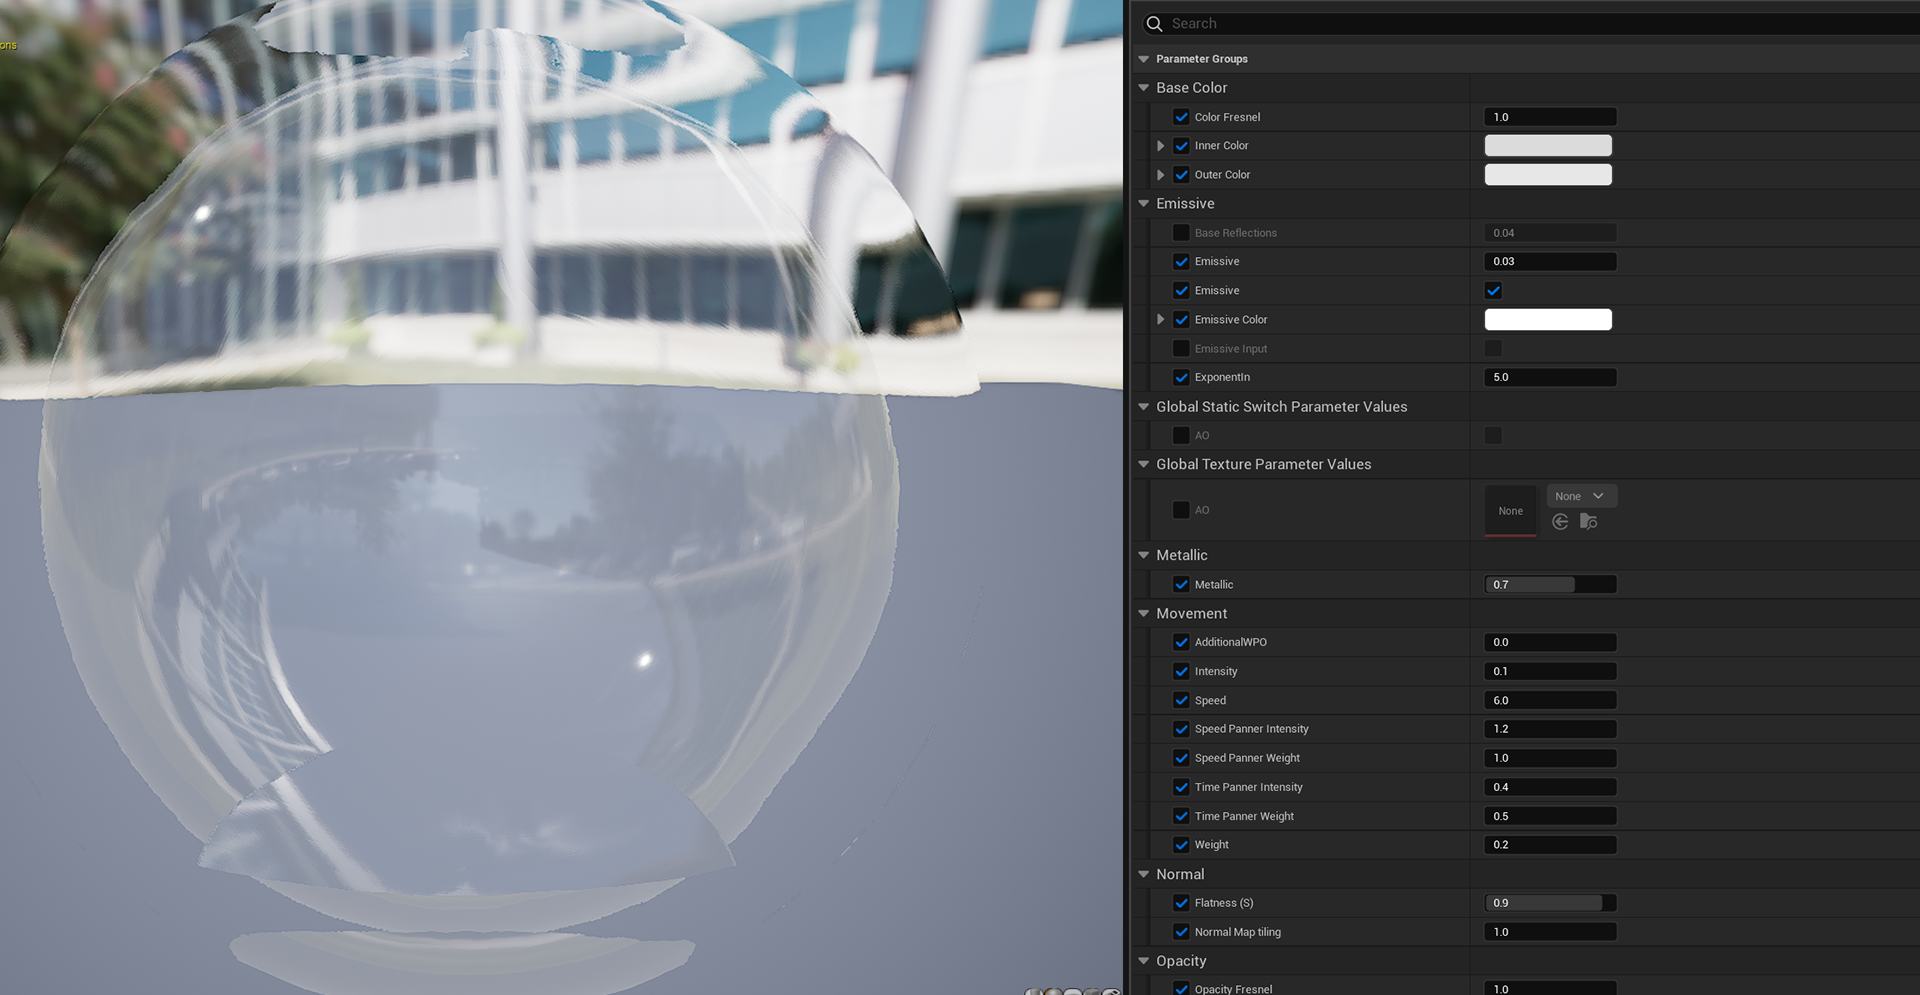
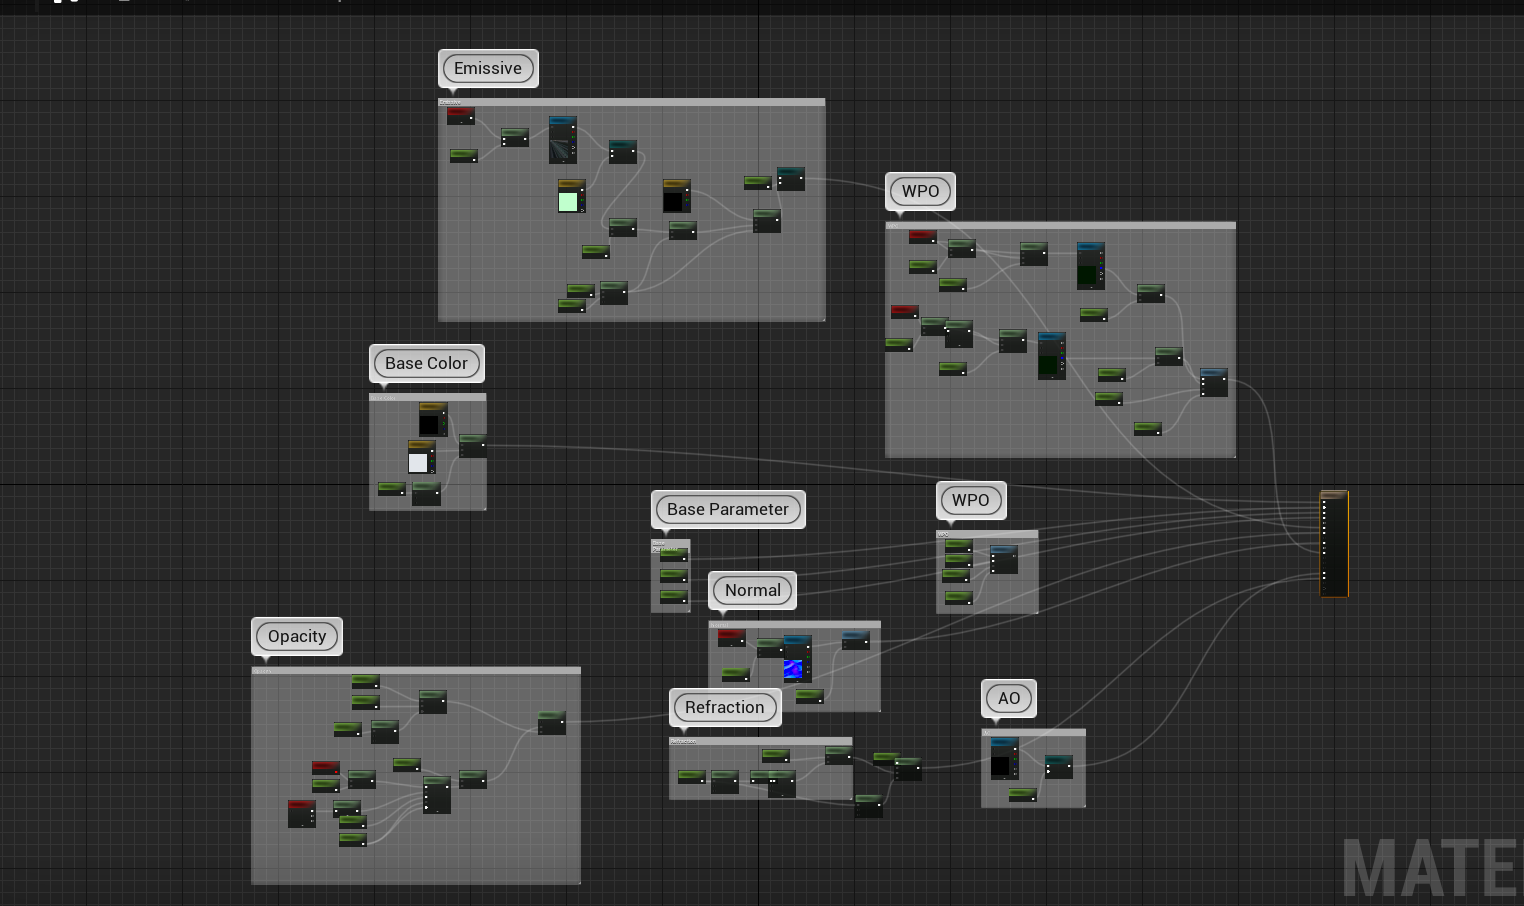
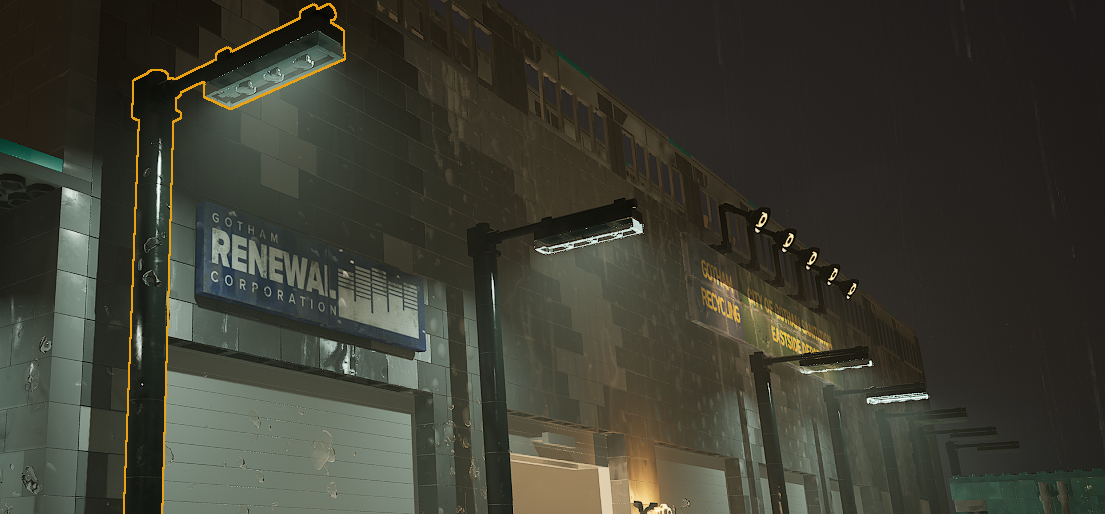
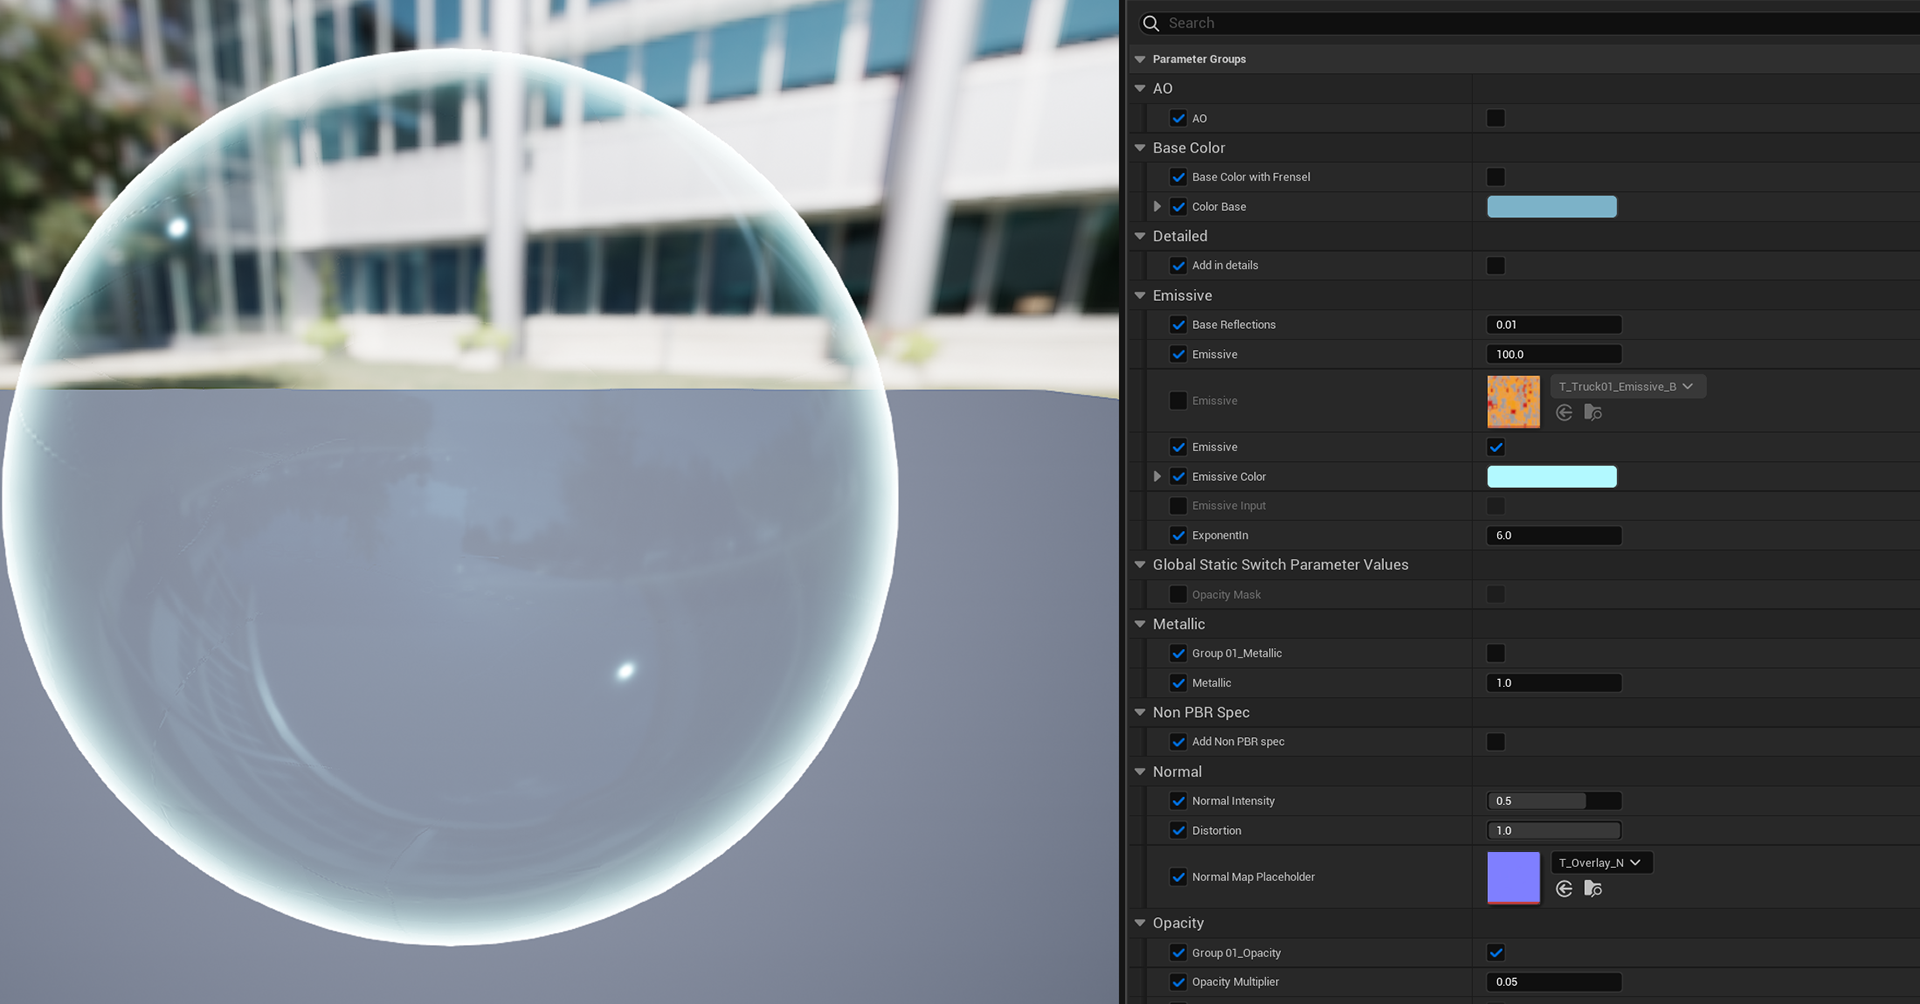
in order to get the legos to act as closely to real world legos as possible, i had to create an emissive shader that lit the edges but did not show all of them. It also had to be transparent enough to allow lights to pass through. Many tests were performed as to whether ray tracing was going to be enabled in the project as that greatly effected how the shader would react. In the end we got the wanted result.
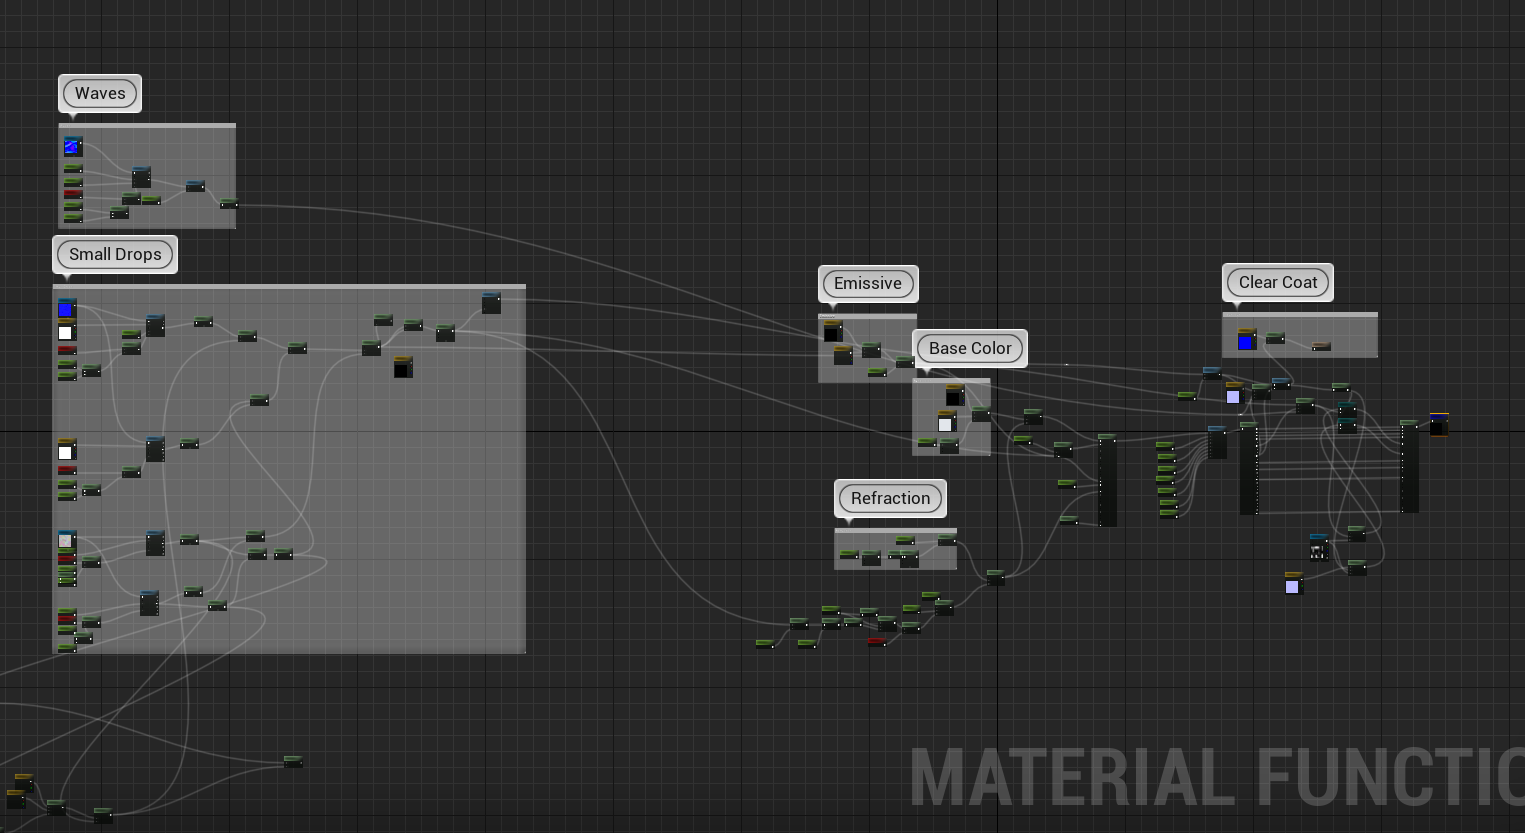
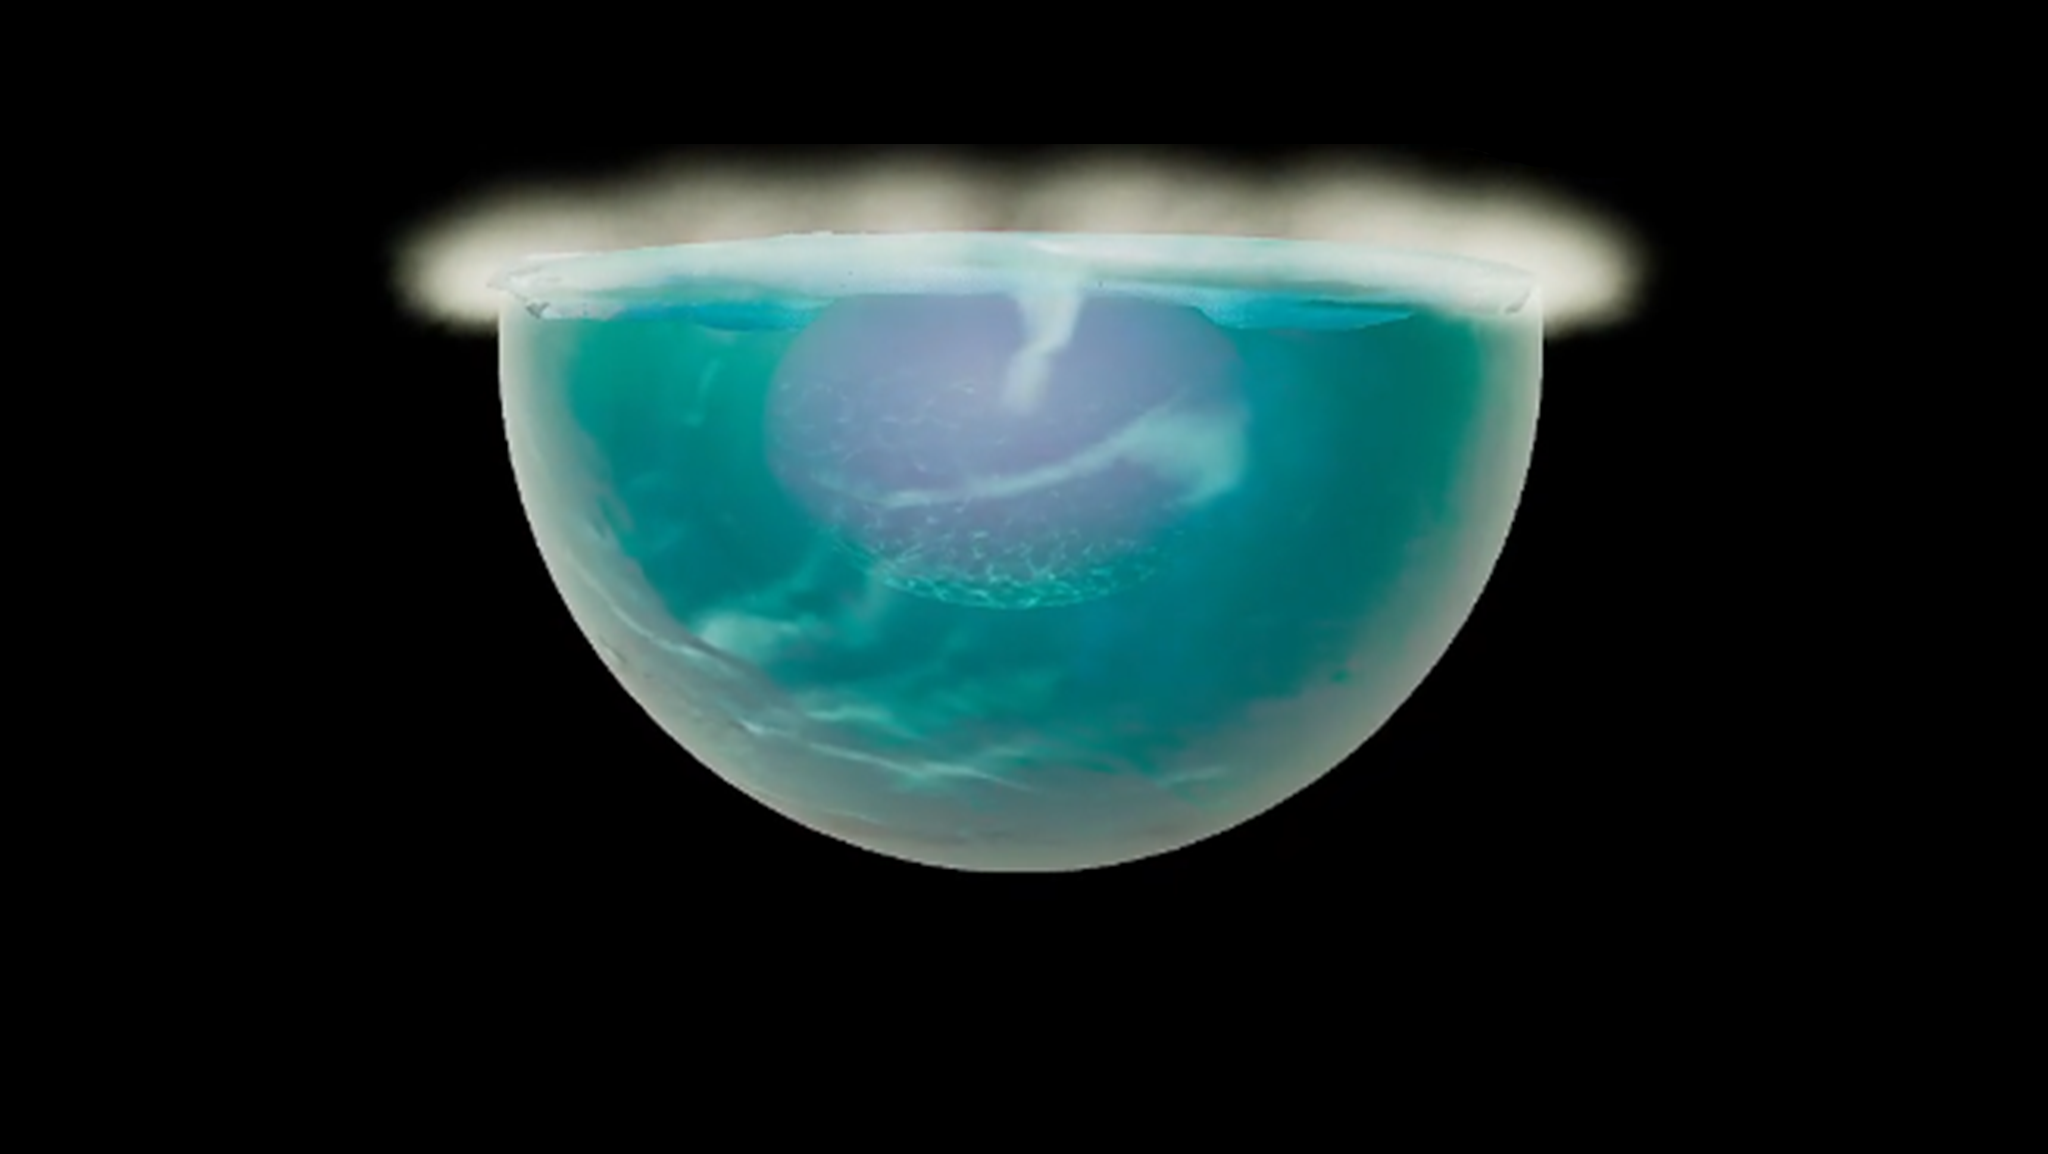
3: Created waterdrop shader and blended in rain shader
as we all know, translucency in unreal can be...fun! Getting the rain drops to look correct was a task in its own. when it came to adding rain drops falling down the walls- that was a whole other ballgame. I was provided with a rain shader but it did not act properly when combined with my master material and didn't give the look that we needed to match the Lego world. in the end I piecemealed it out and reassembled parts of it and then blended it with my master material.
