Shaders
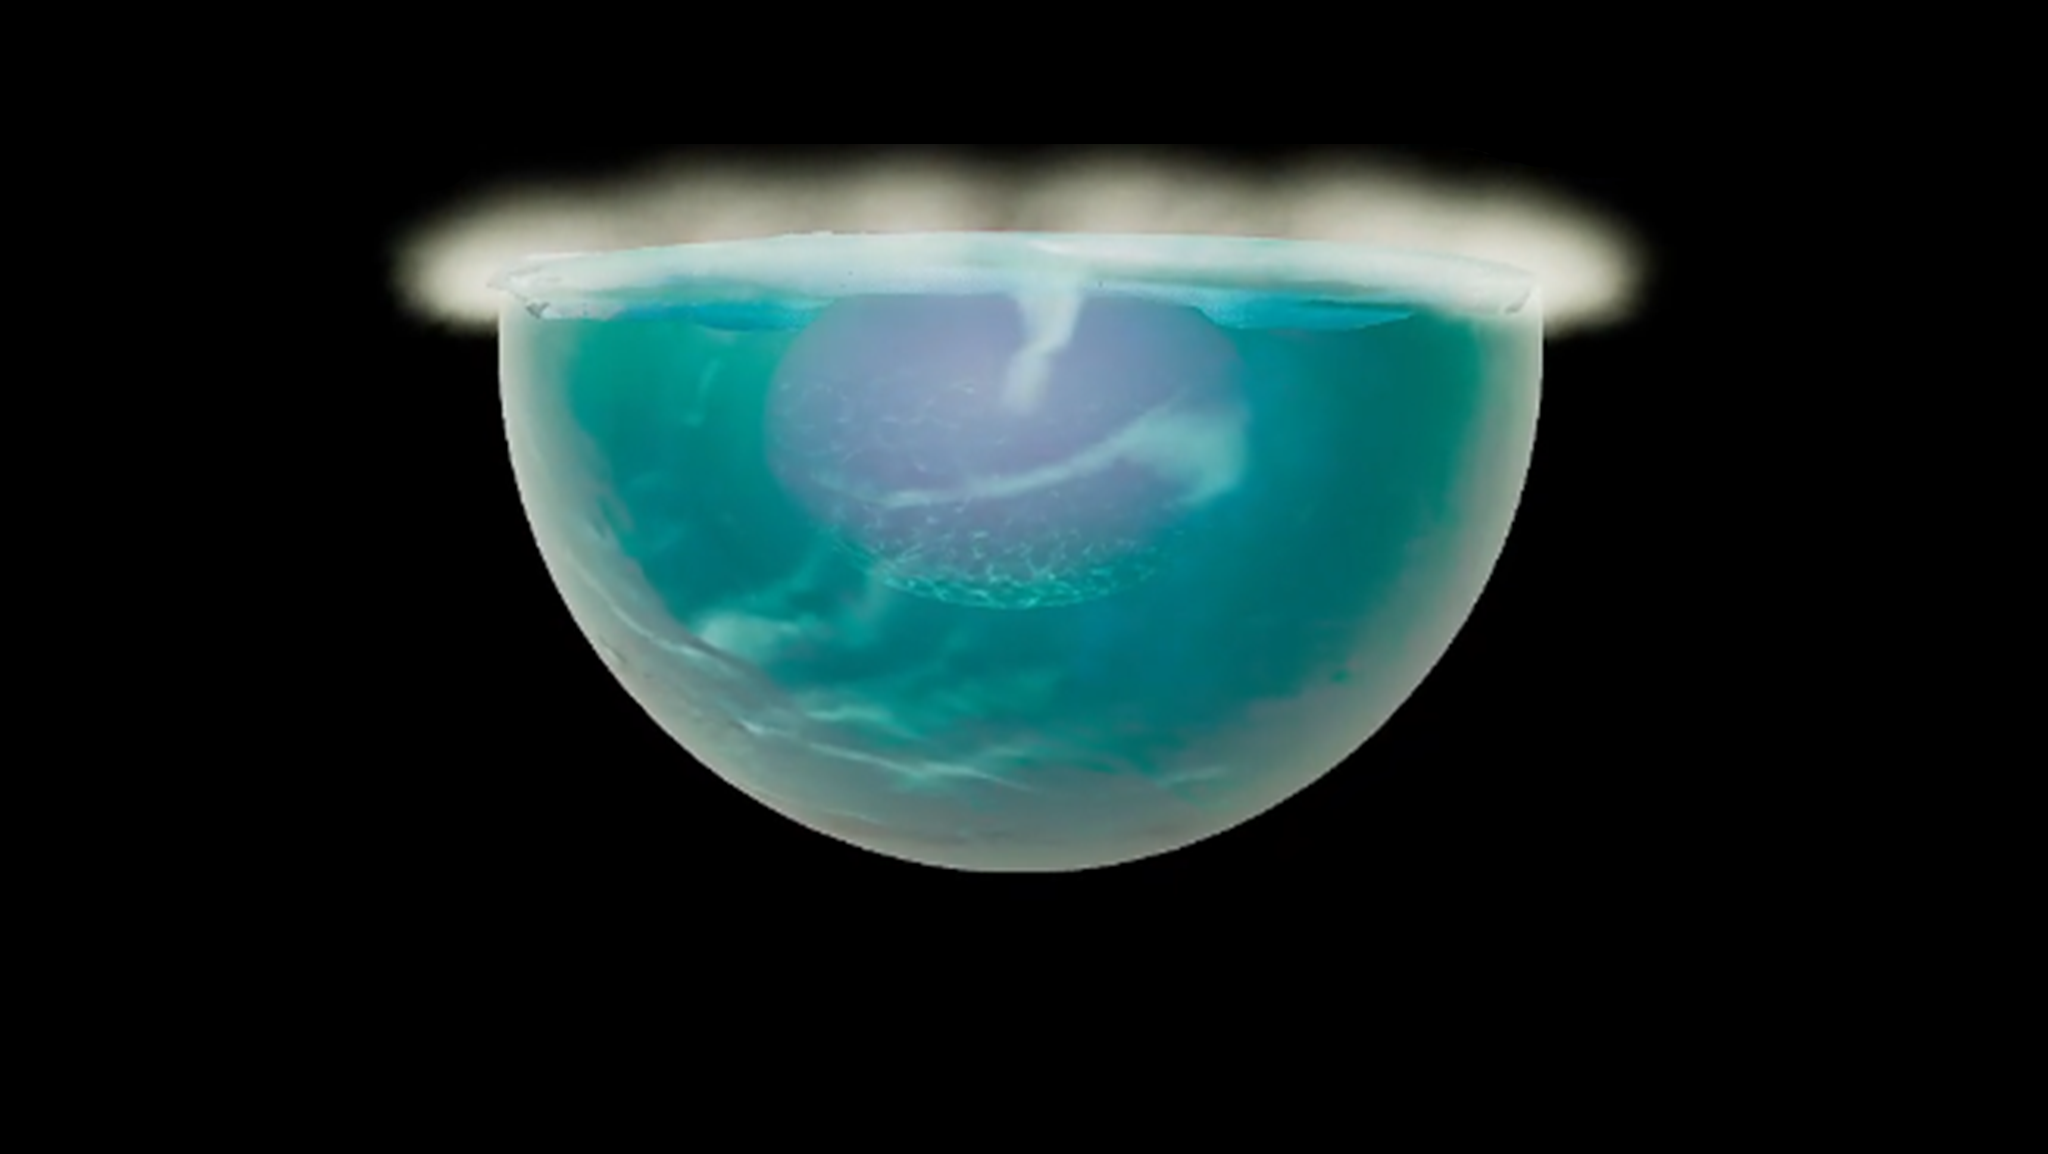
Had to create a shader for the main antagonist "bouchard." the shader had to have an ethereal look that matched the effects created by another artist.
one of the challenges was working with uvs that i hadn't created myself and not being able to use world position since the character moves continuously.
The initial task involved creating an opacity mask for the legs and blending out the seams between the head and the chest. Initially, I incorporated movement in the opacity, but I discovered that Metahuman's hair shaders did not support this type of movement yet, so we had to abandon that idea.
Next, I had to find the optimal approach to achieve a continuous and seamless motion across the UV shells, without making the seams obvious. I began by creating a flipbook animation in Substance Painter and then animated it further in After Effects. However, this approach did not yield the exact desired look, so I decided to add a flowmap to help conceal any issues.
A significant amount of research was dedicated to understanding Metahuman shader setups and finding ways to make the materials behave according to my requirements.
Props
Treasure, Scoreboard, Elevator, Curtain
One of my first tasks was to create multiple different piles of treasure that could be combined and placed around the environment. They needed to be highly optimized since it will be running real-time.
Below are some of the examples of my pipeline.
1. started by making a basic coin shape
2. Created stacks of coins of different sizes
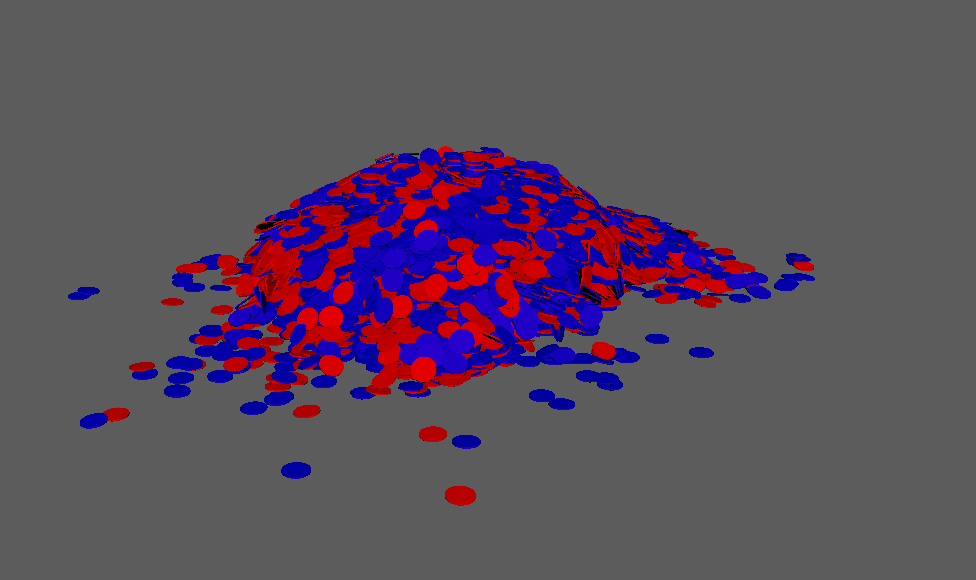
2. created a MASH network with red and blue colored coins
3. dynamically dropped coins around placed stacks.
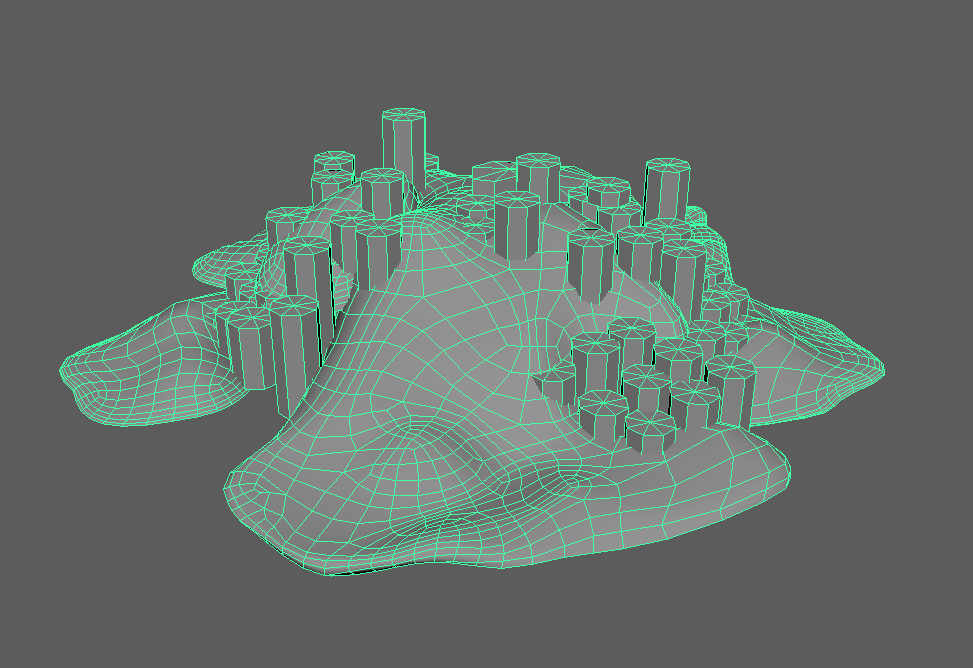
4. Created low poly version of the stacks and uved those together. Baked the stacks separately to be able to reuse them in all the piles going forward without having to texture them again.
4. ncloth simulation of a high poly plane to wrap the coin piles.
5. reduced poly count of ncloth sim and created uvs for low poly version
6. baked and textured in substance painter (having to go back and forth a little to get rid of bothersome coins)
7. texturing involved hand placing each face of each coin. The large piles took some time.
8. assets pulled into unreal and individual coins turned into foliage assets and painted onto the large stacks in the foreground to add to the silhouettes.

Small Baked

Small with color ID

Small Textured

Multiple small piles and individual coins textured (Shares atlas)
Medium Pile Low
Medium Pile High

Large Pile Low

Large Pile High
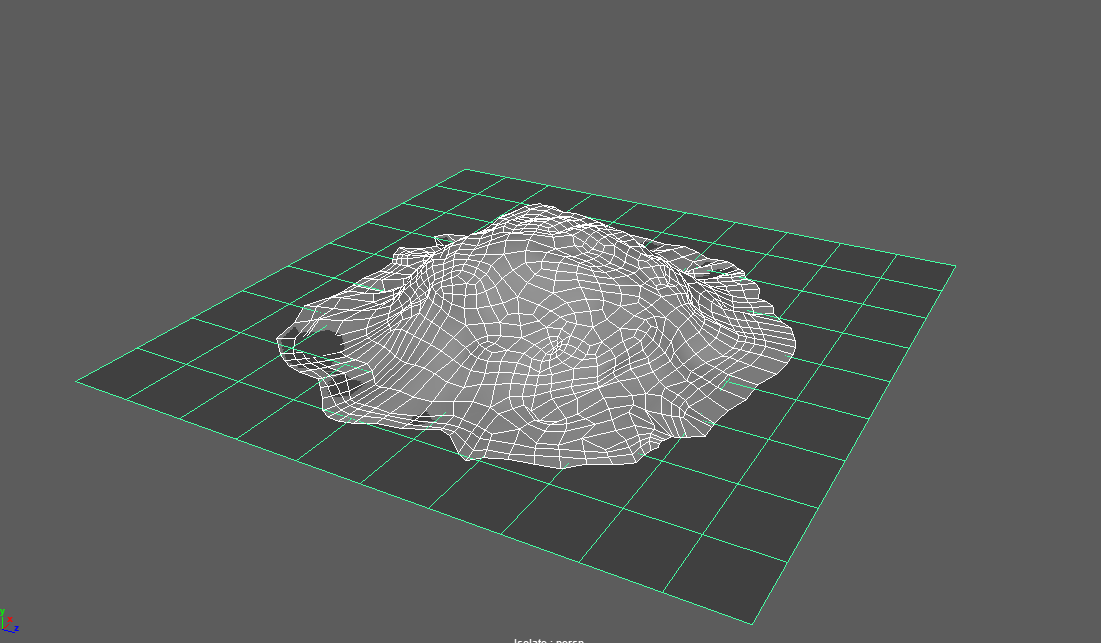
Pile Low
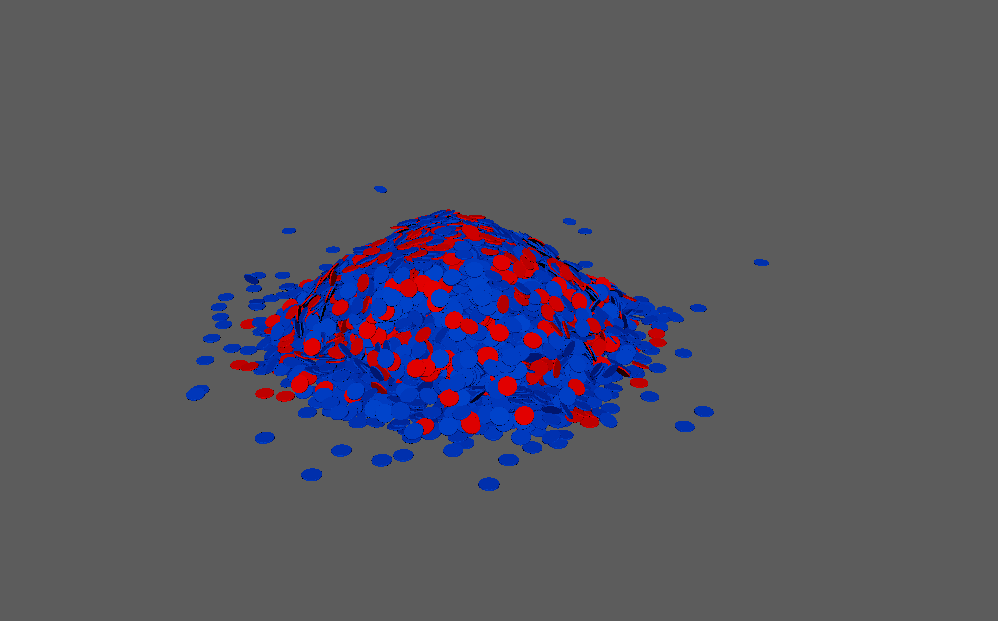
Pile High
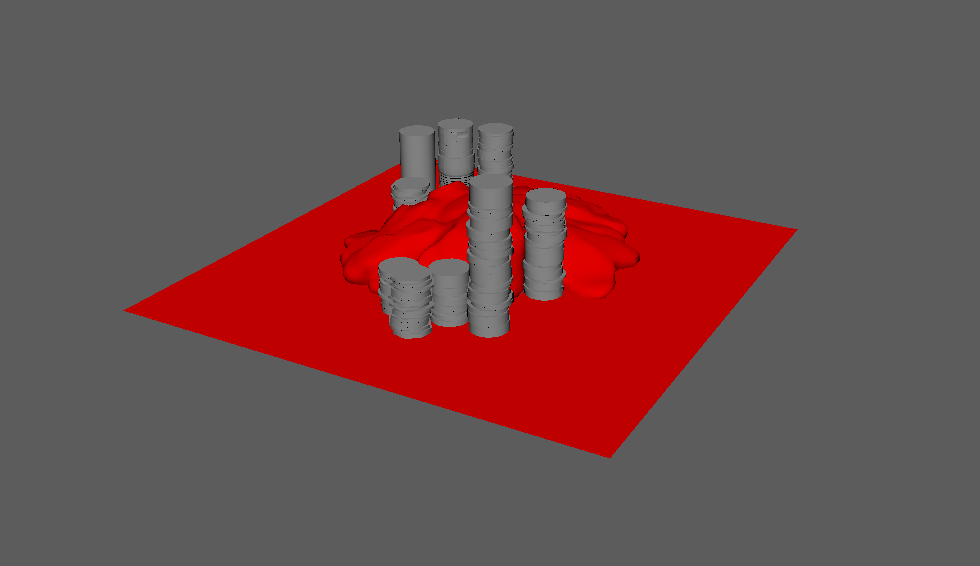
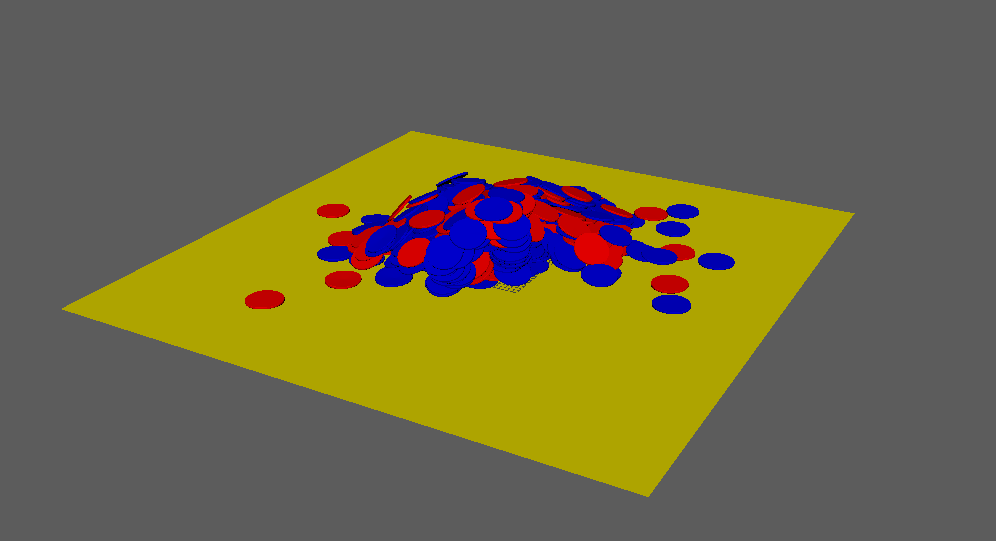
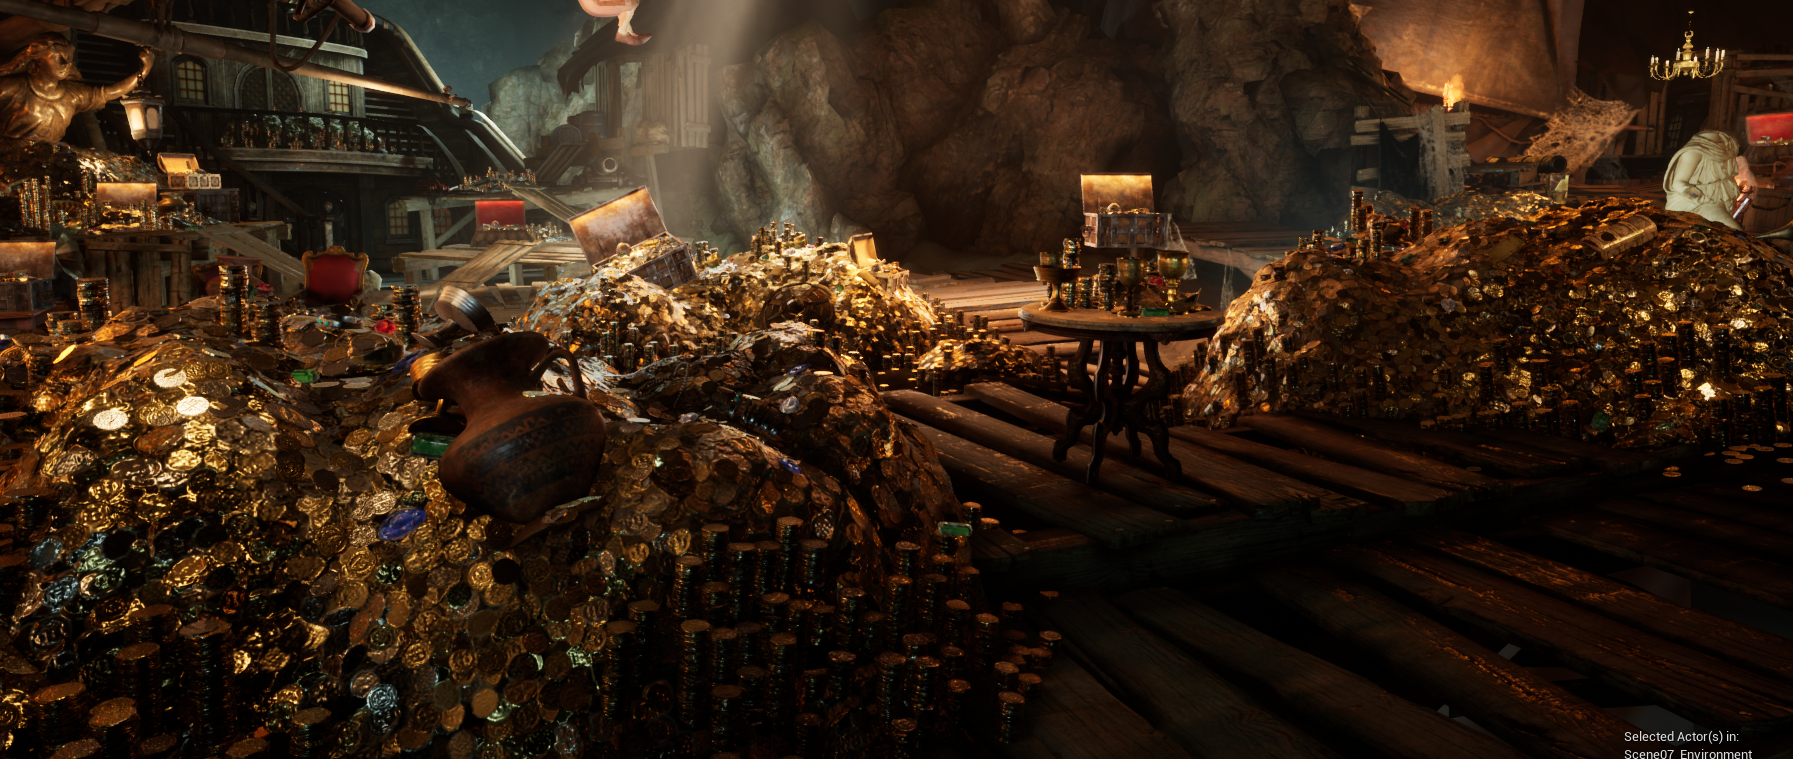
final scene

textured pile
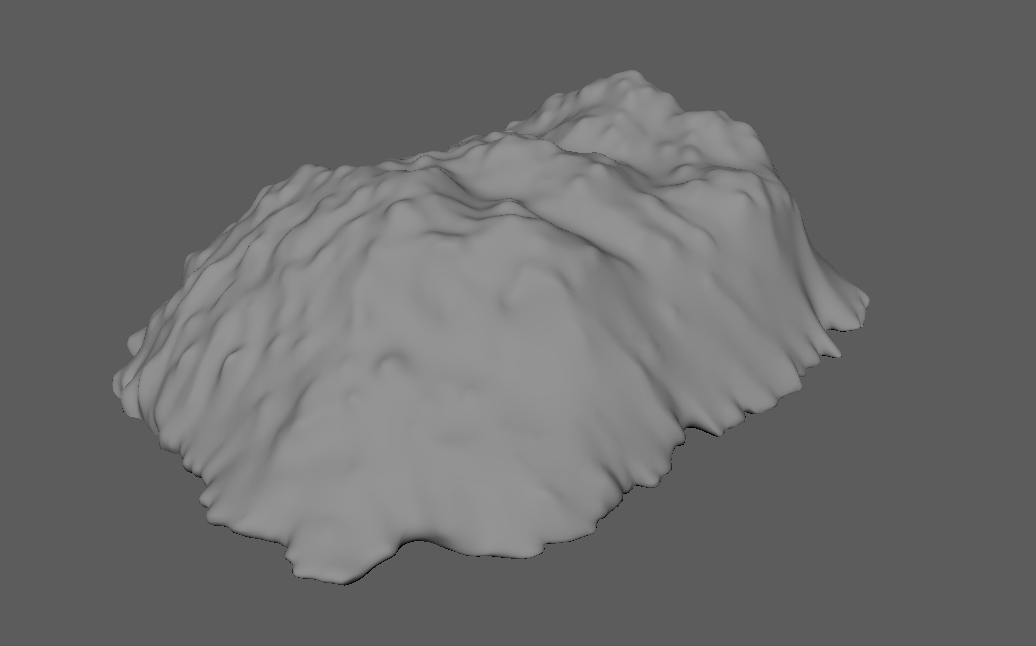
Xtra Large Low

Xtra Large High

Xtra Large Textured
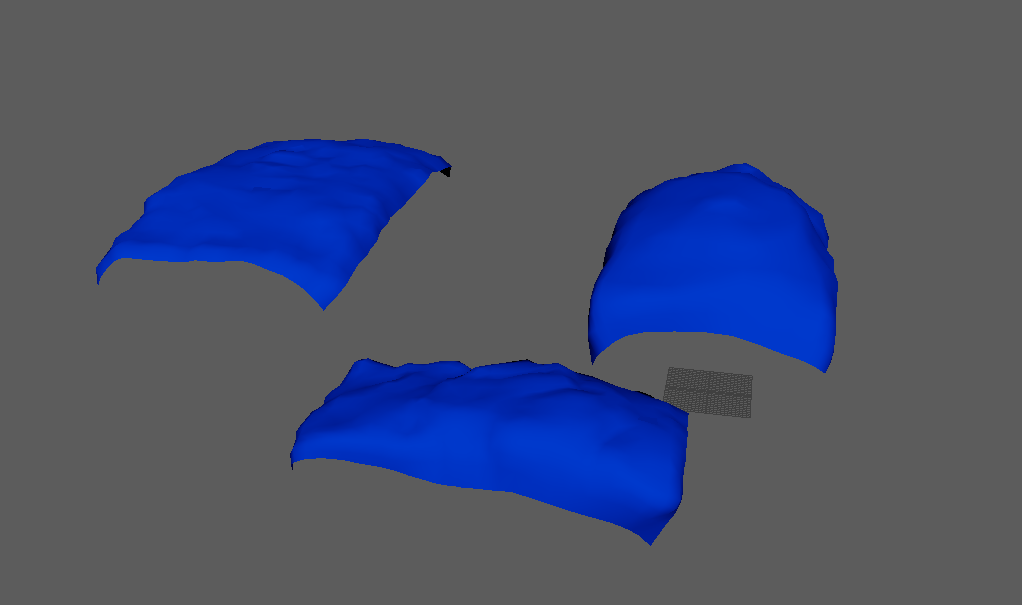
Treasure Chest Low

Treasure Chest High

Treasure Chest Textured
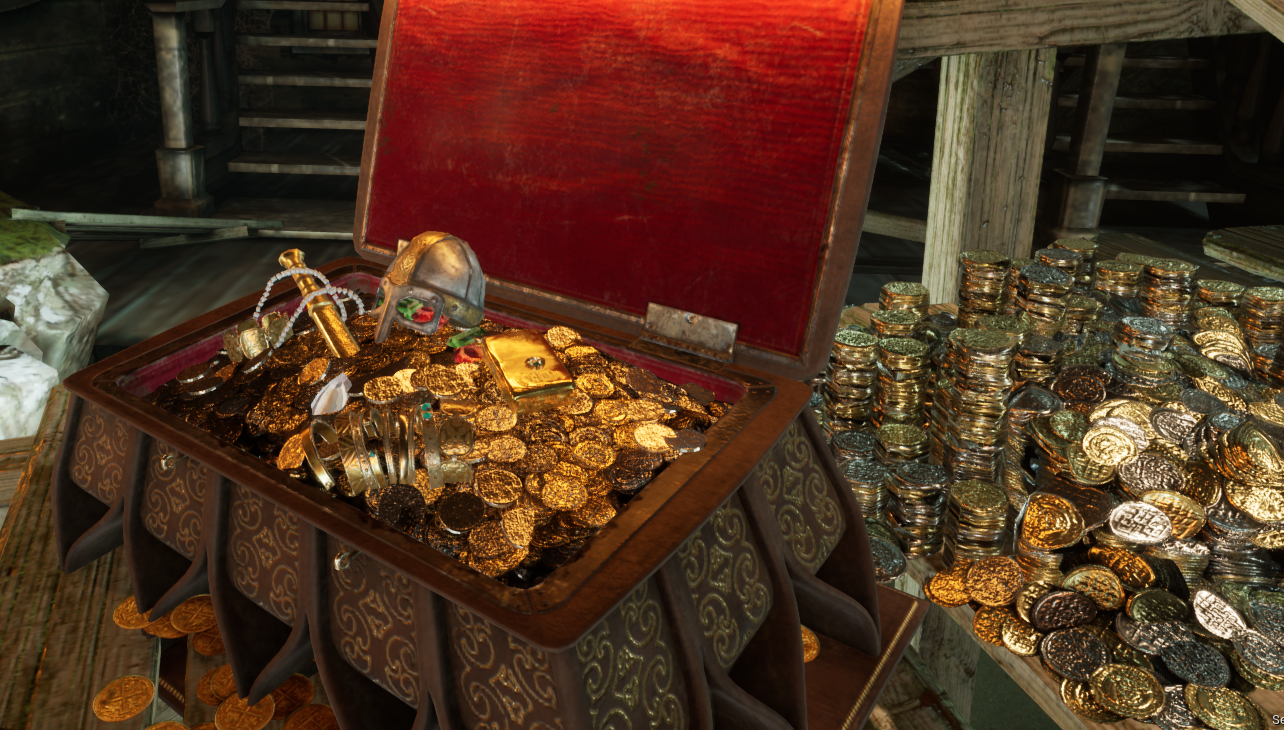
Treasure Chest In Scene
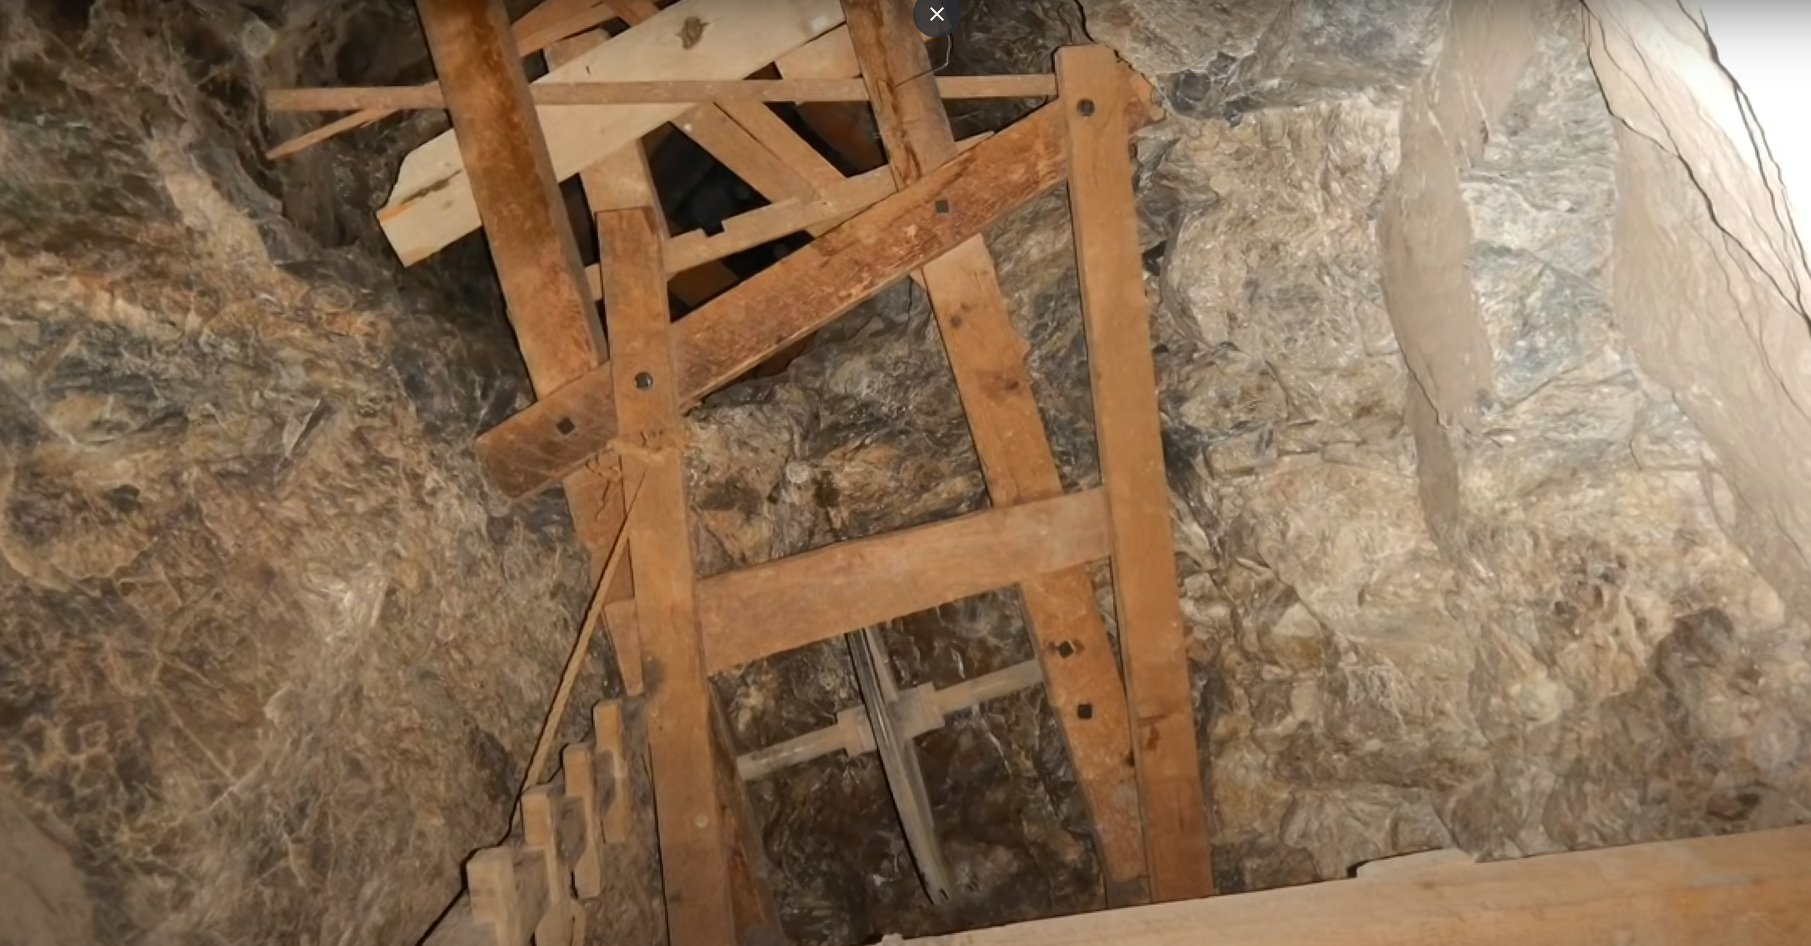
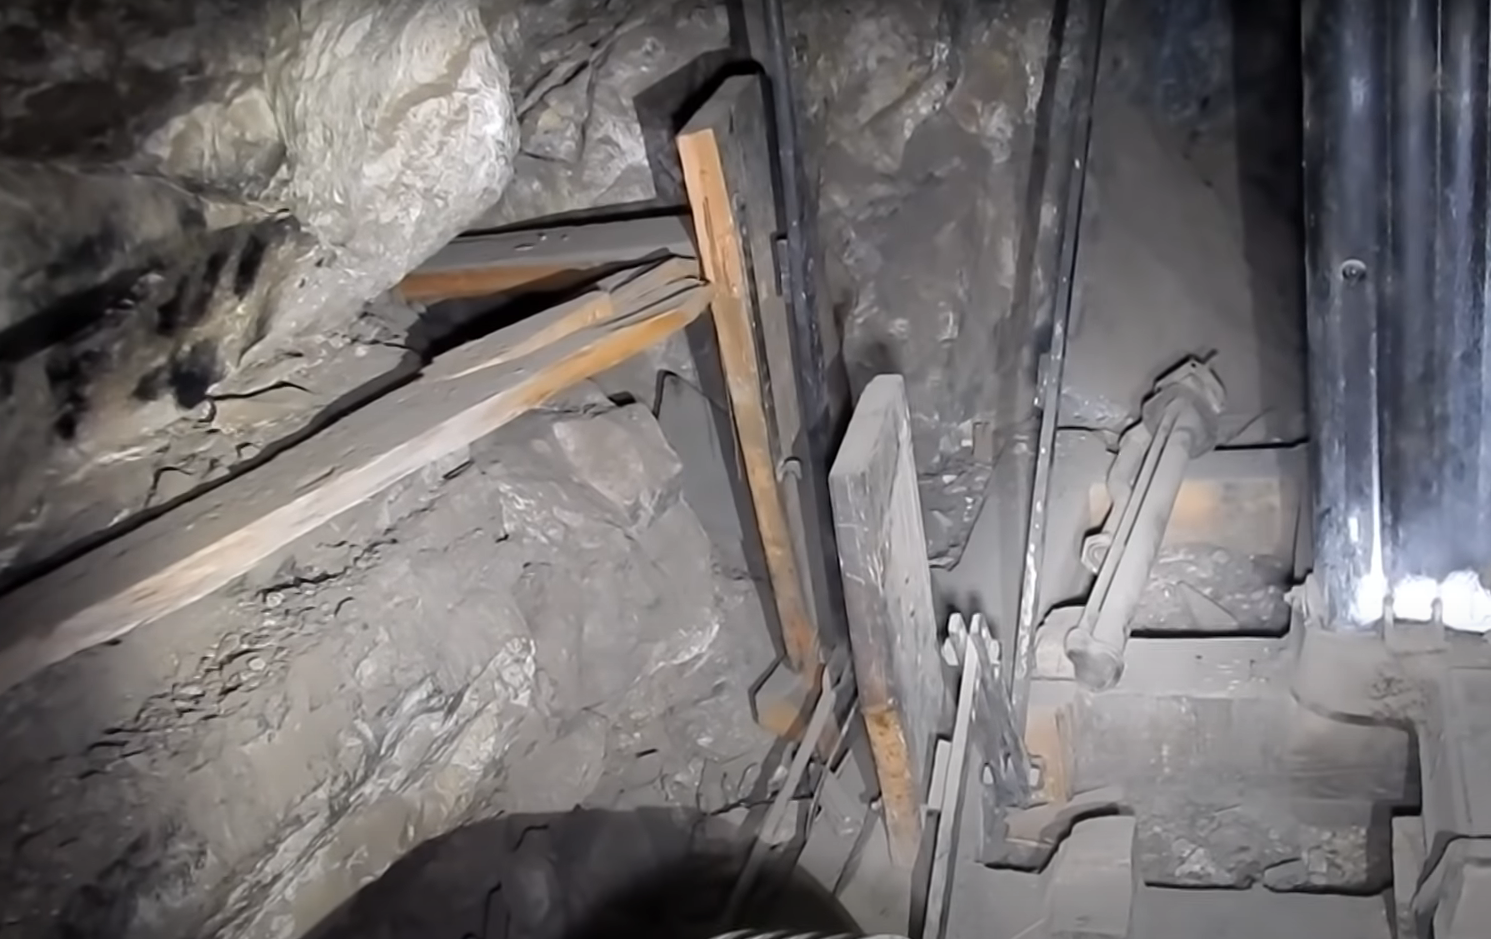
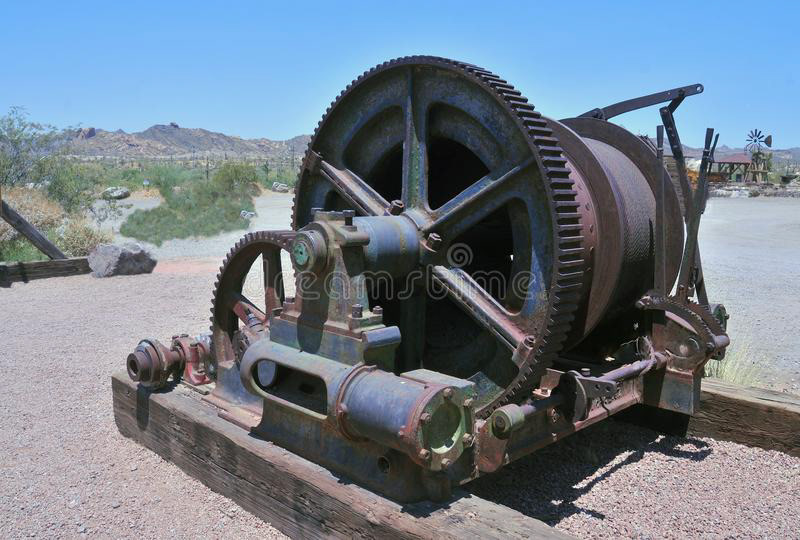
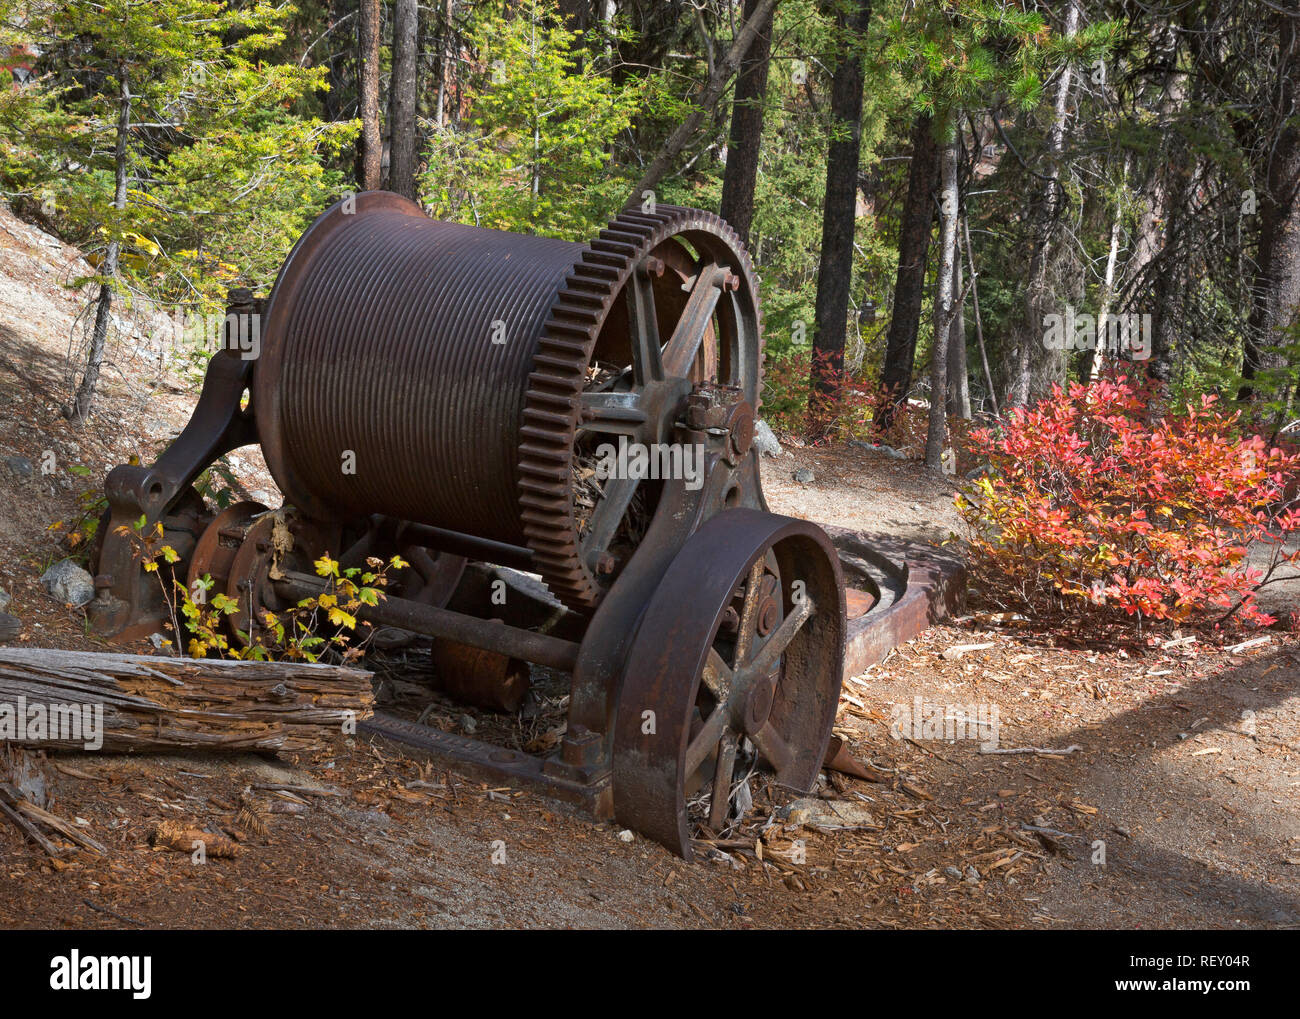
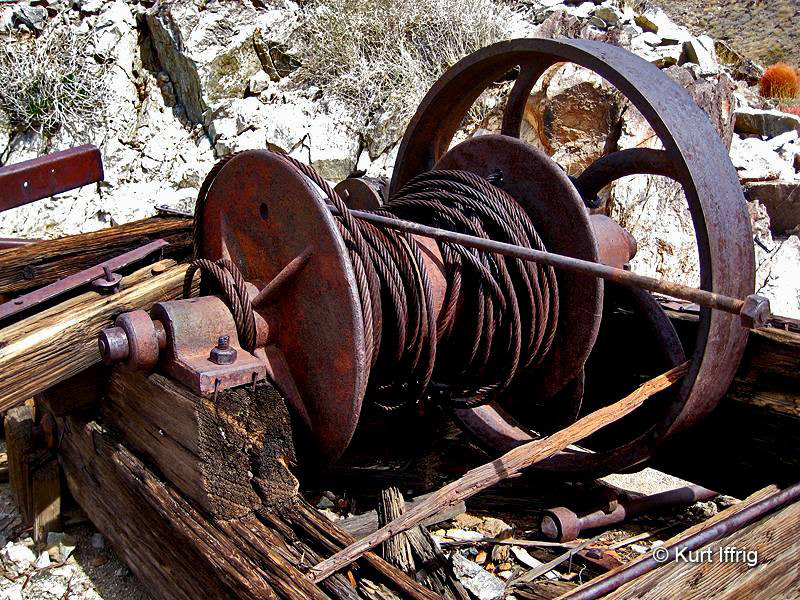
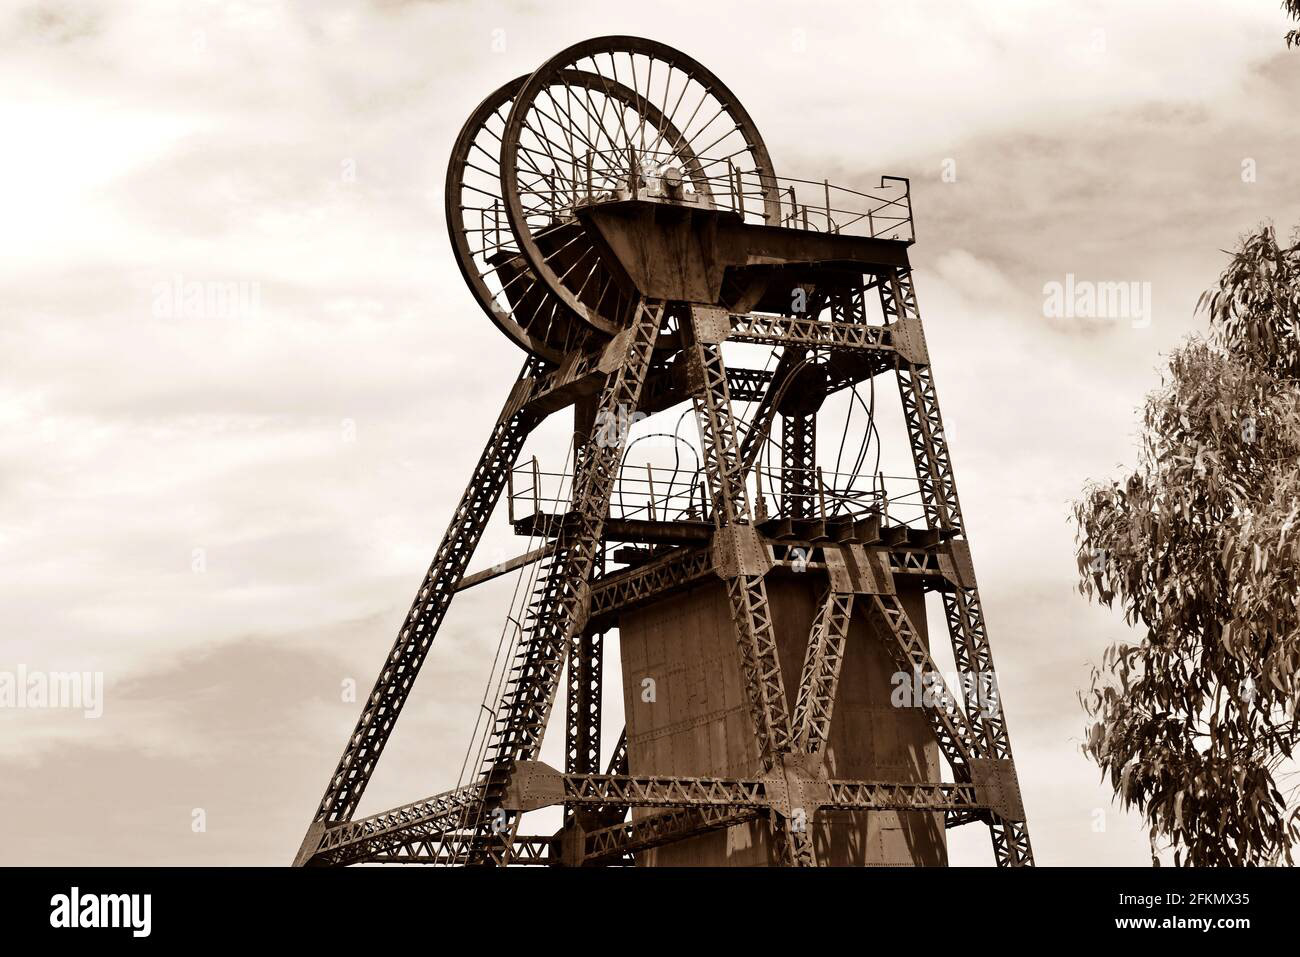
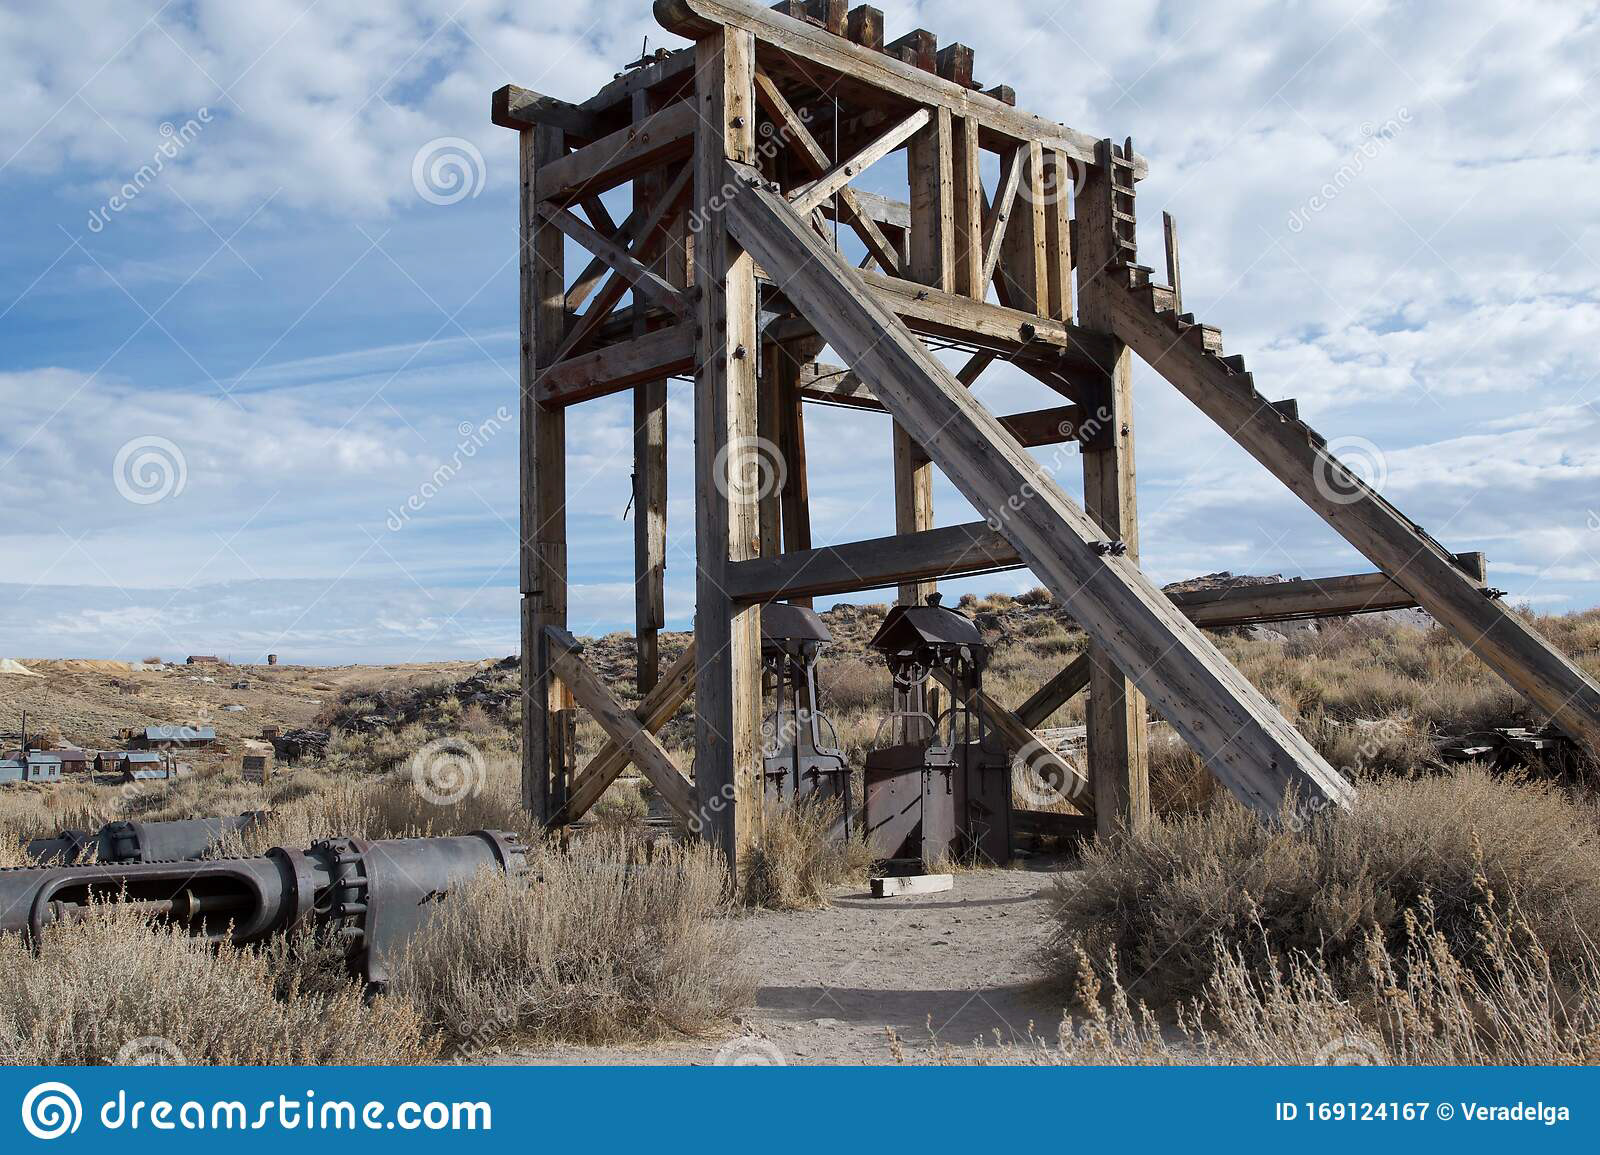
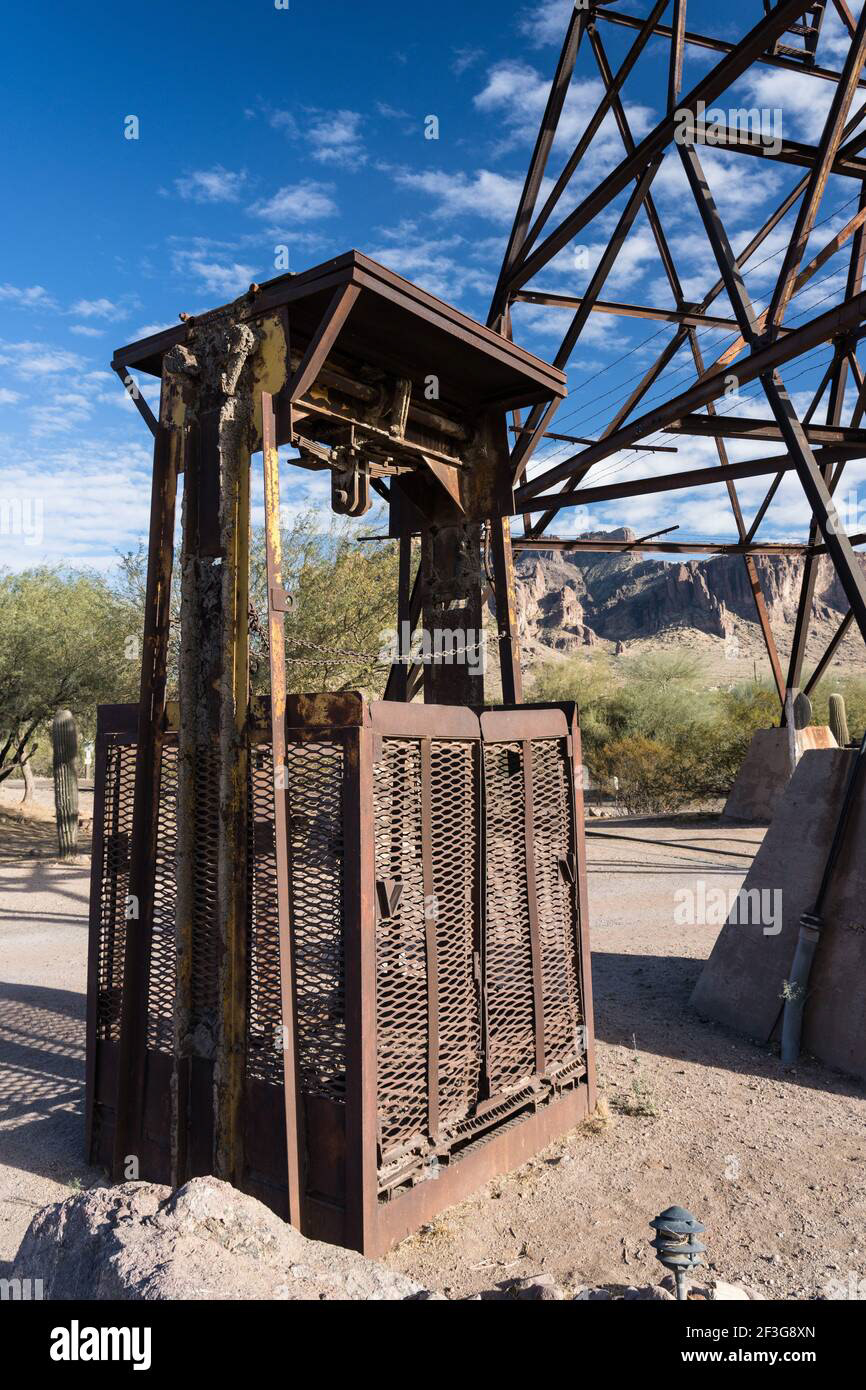
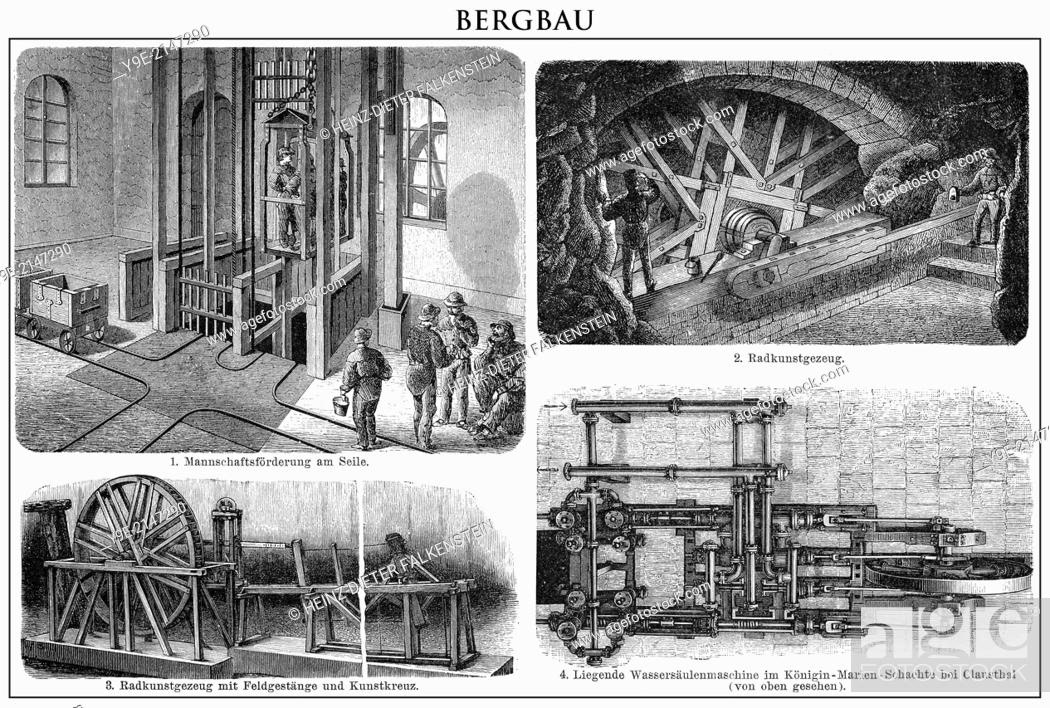
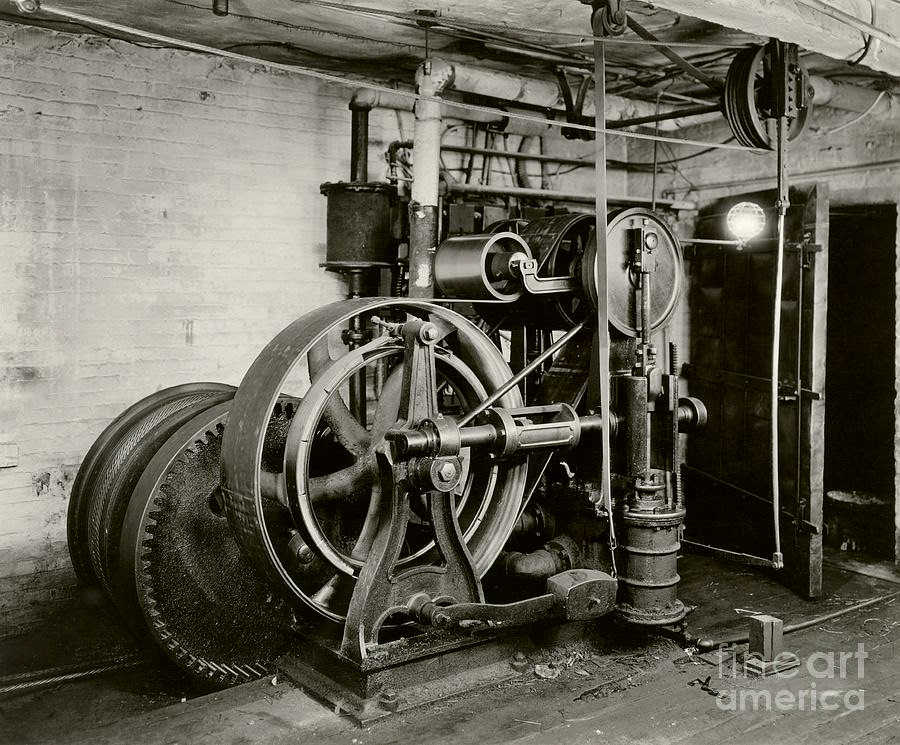
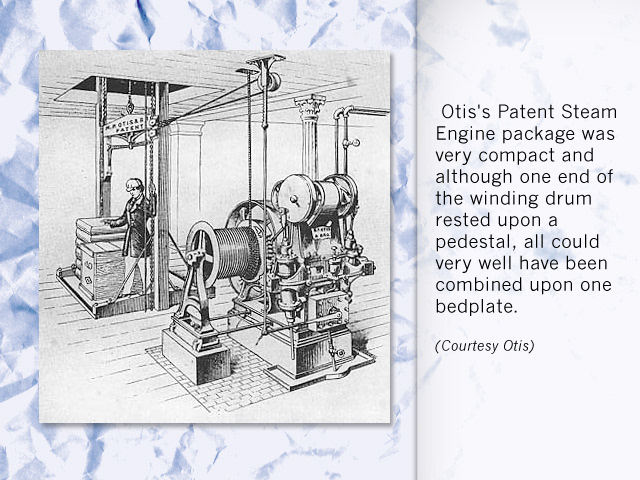
The second task was to research old types of elevators, get the basic understand of how they worked, and design an elevator mechanism for the first part of the ride.
Final design
reference


Maya
substance painter
NExt, was the scoreboard which would show all of the players points at the end of the game.
Final design
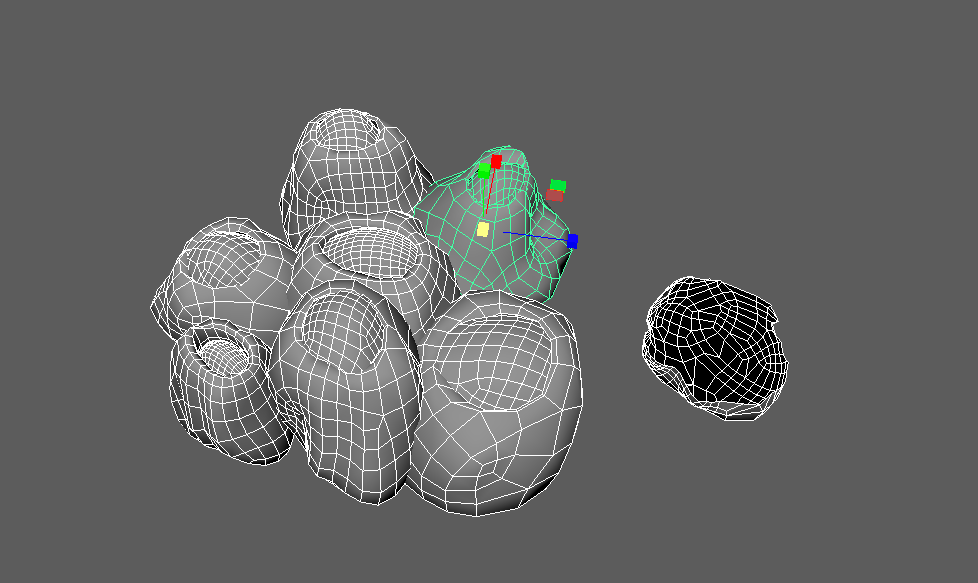
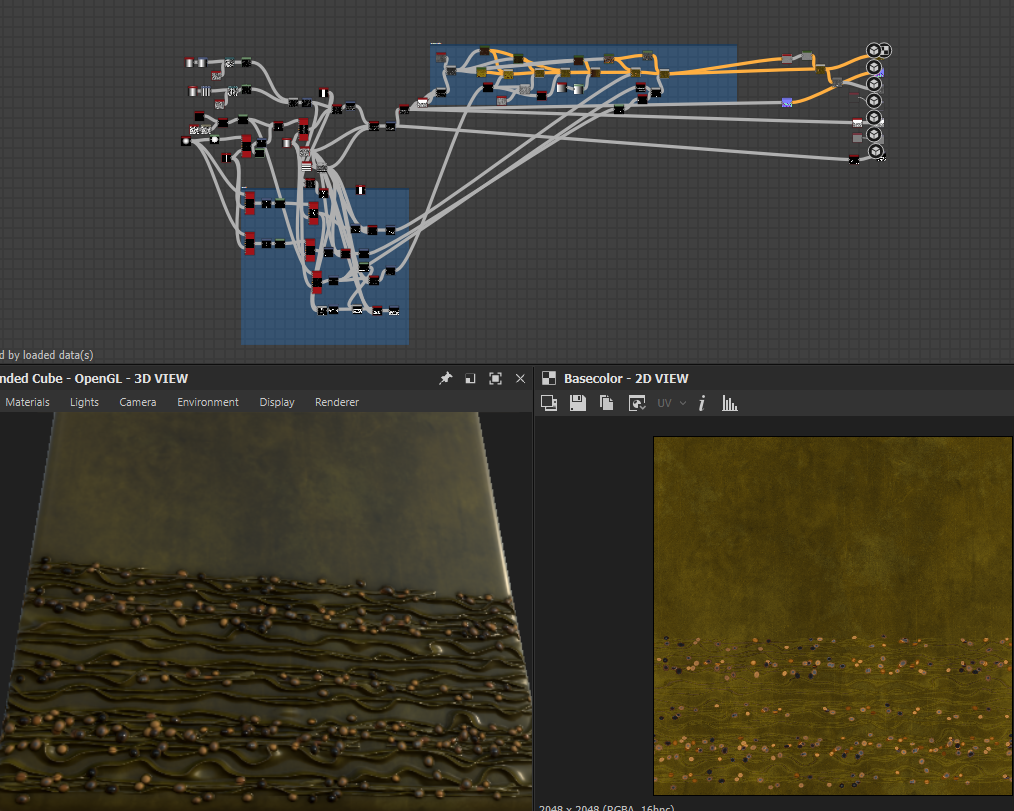
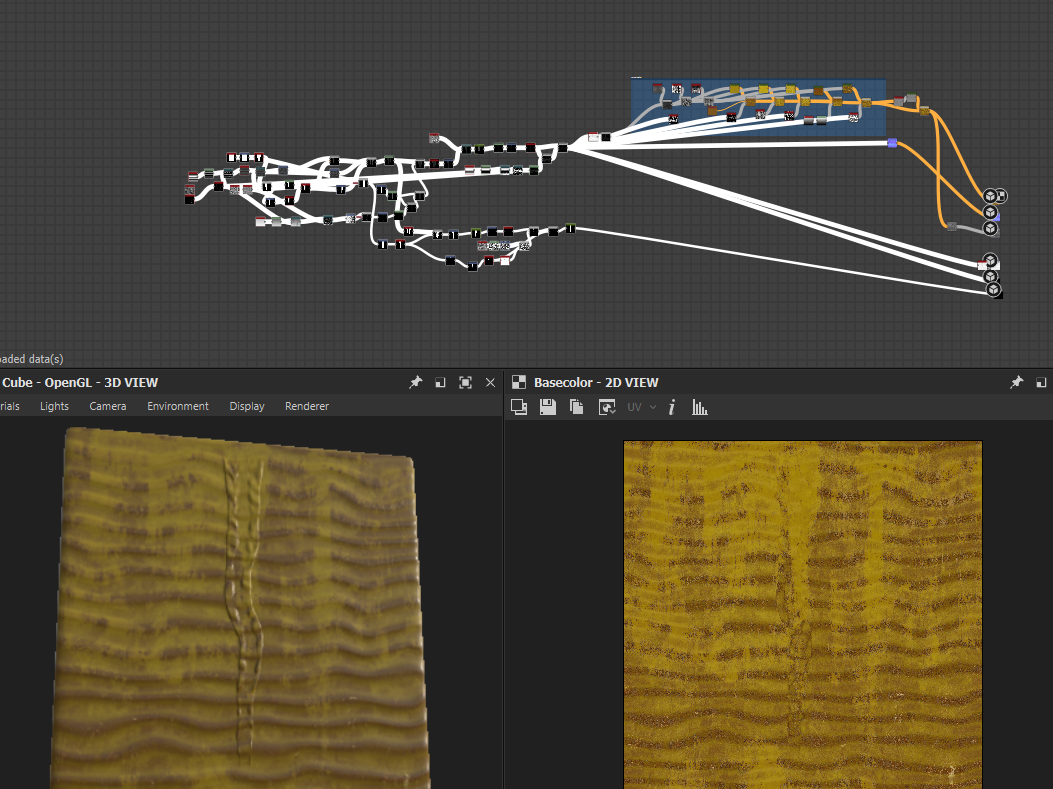
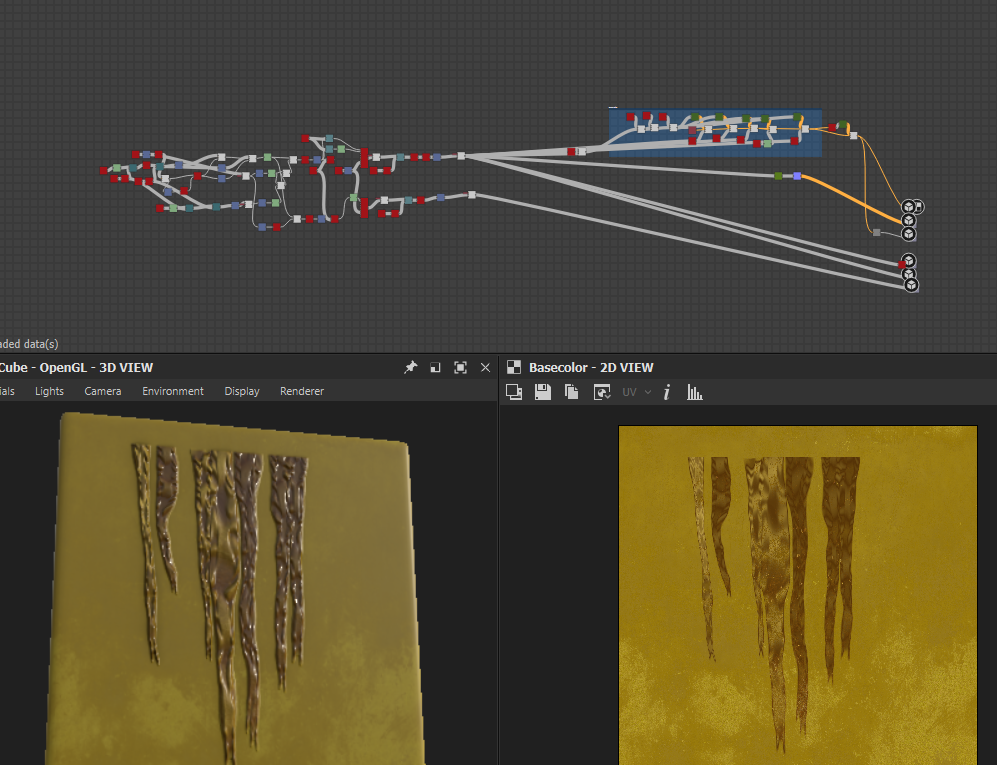
Created barnacle foliage to be able to paint onto the scoreboard and seaweed material to add on after the initial placement.

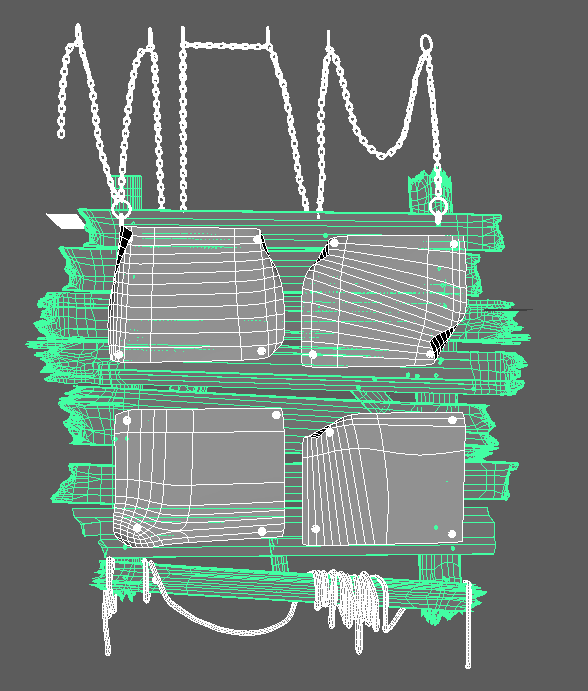

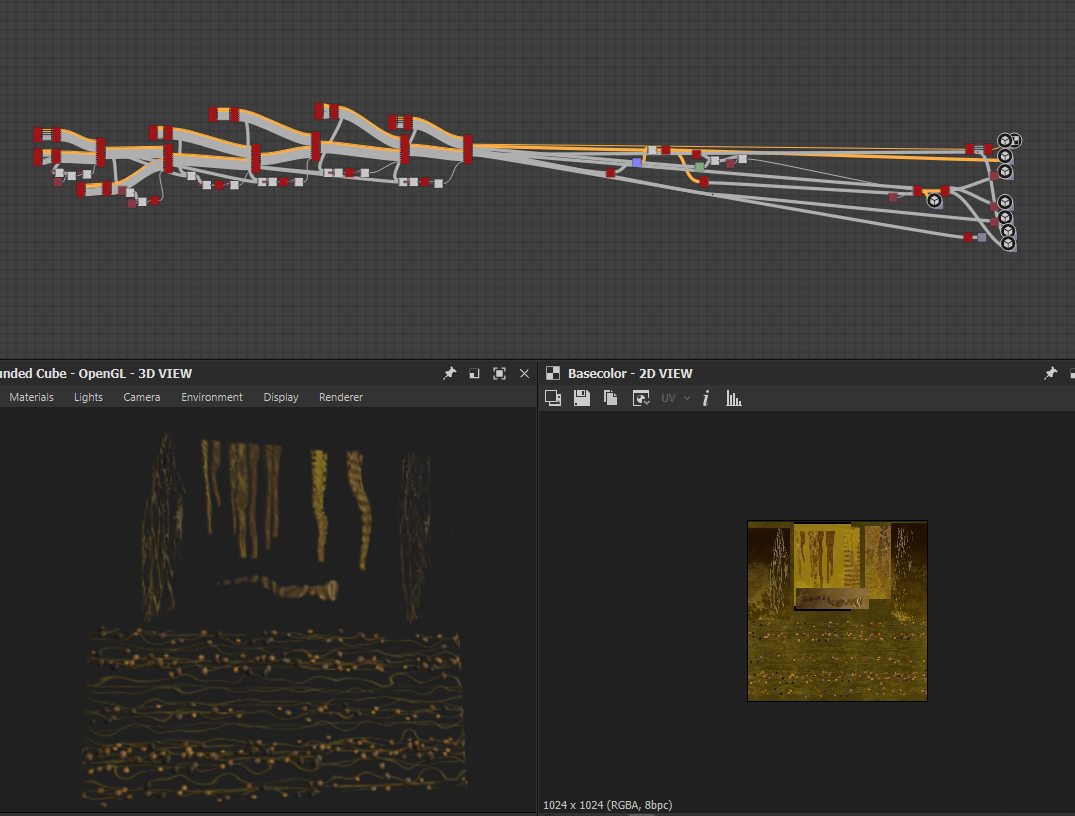
Scene layout and curtain creation
created layout of environment for final scene and added in curtain to create a better composition.
