This was an ongoing project for about a year and a half where I was tasked with various jobs such as shaders, destructibles, and baking effects.
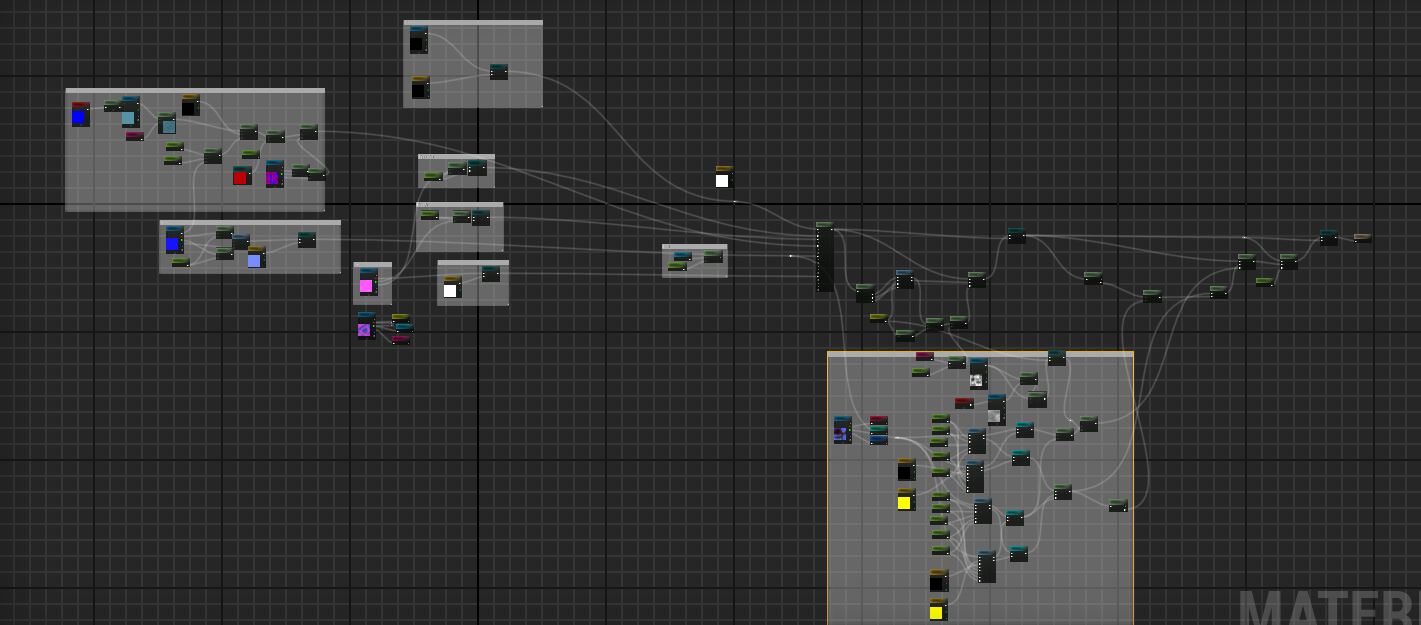
Character Materials
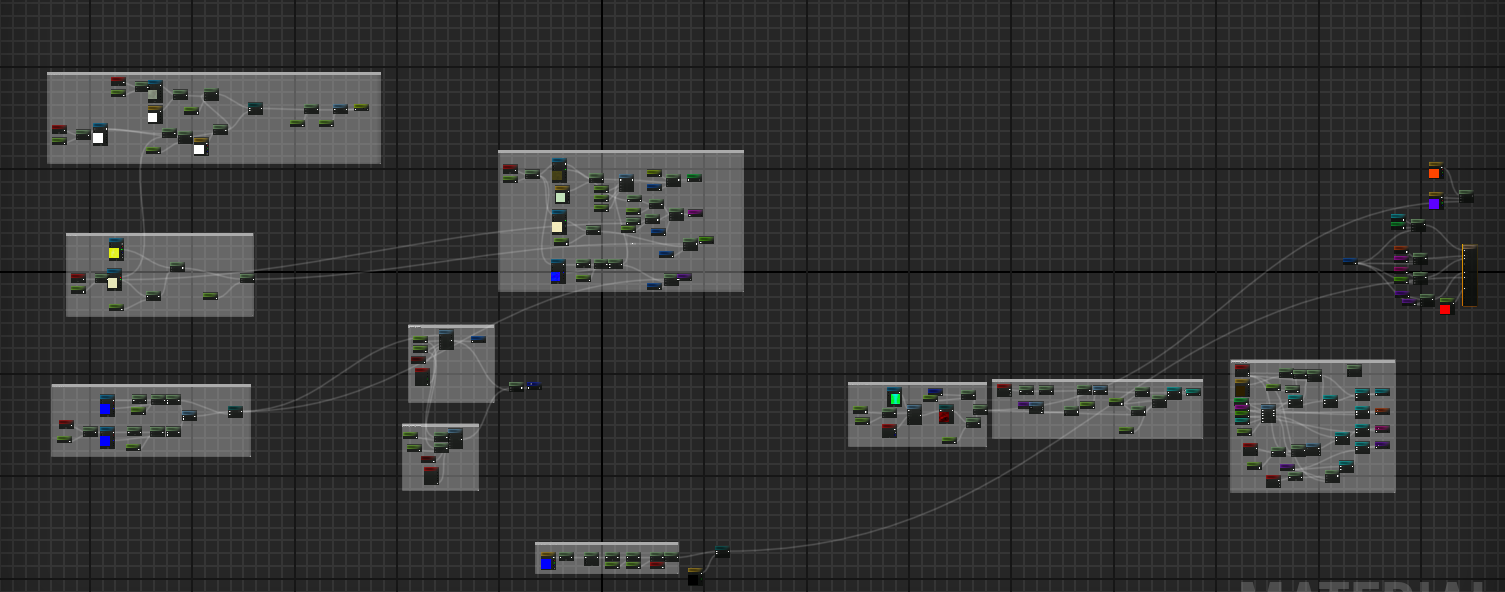
all of the characters were provided by the various studios that produced them for the film. I had to do a varying degree of work on each ranging from optimizing the uvs and baking over the textures in mari to adding additional sculpting. For all characters I created shaders in unreal with some using the same master material.
The basic pipeline was:
1. Create new uv separations to optimize character and bake over the textures from the original mesh using mari
2. Use displacement maps to create detail in zbrush then sculpt more detail in and bake out a normal map
3. create shader in unreal using subsurface profile
For Characters such as shimo and godzilla there were a lot of extra add ins to the shaders that needed to be created to replicate the materials from the film and create emissive power ups
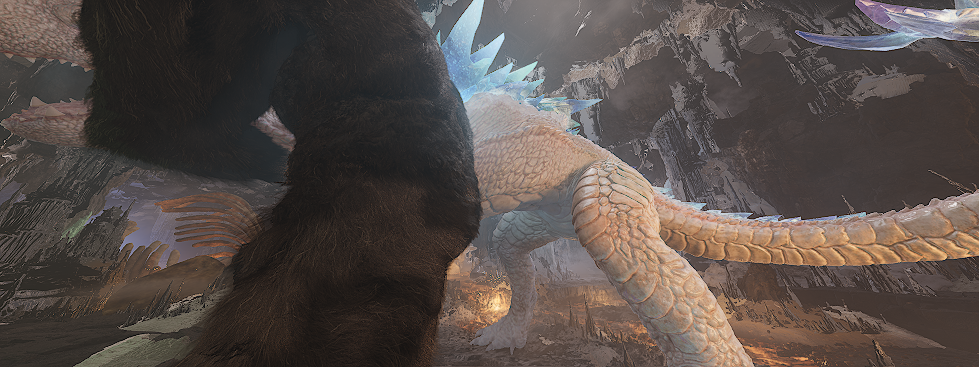
Godzilla

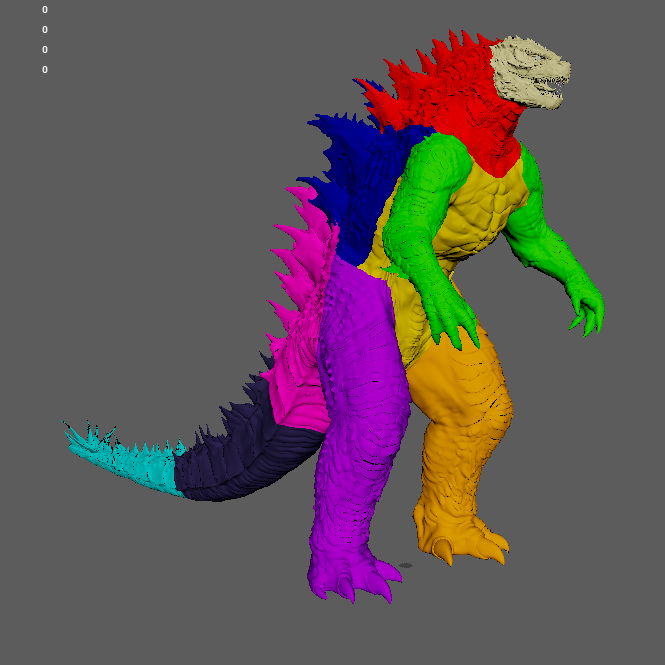

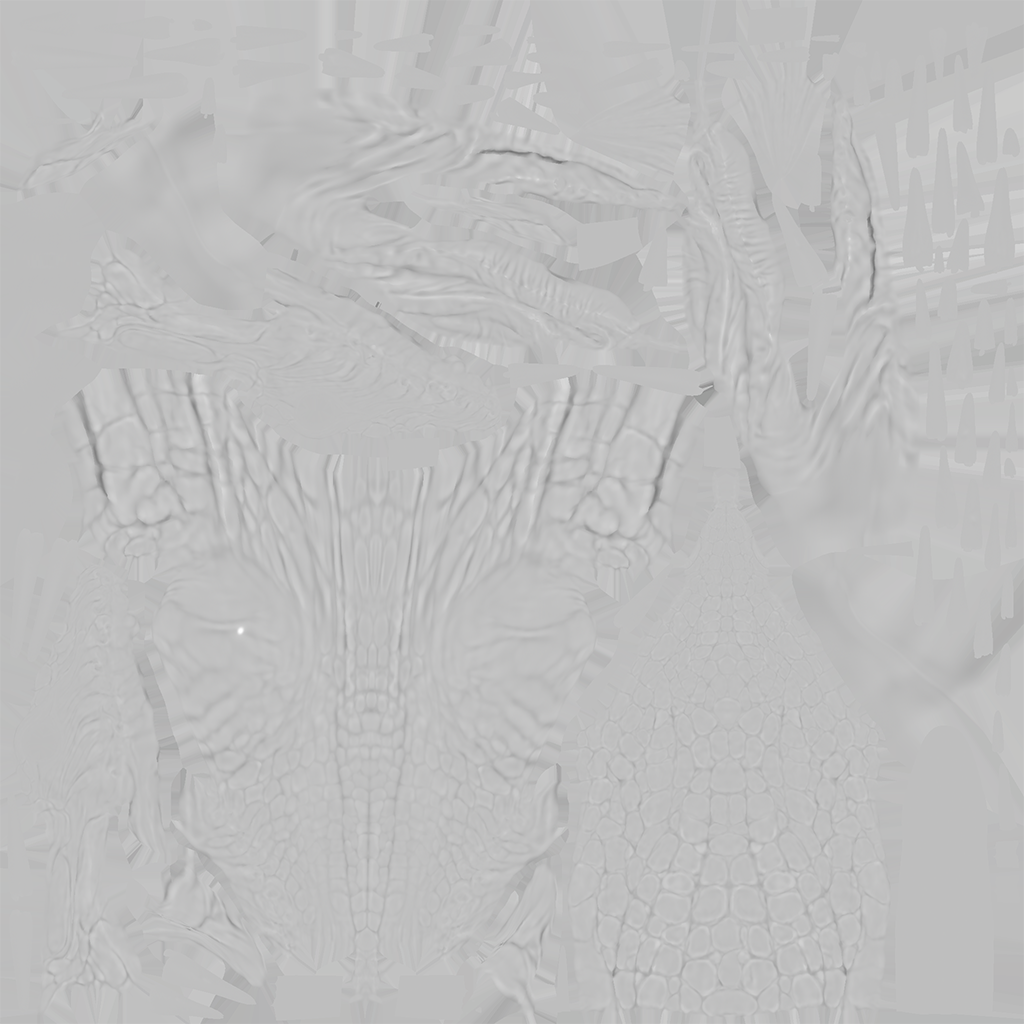
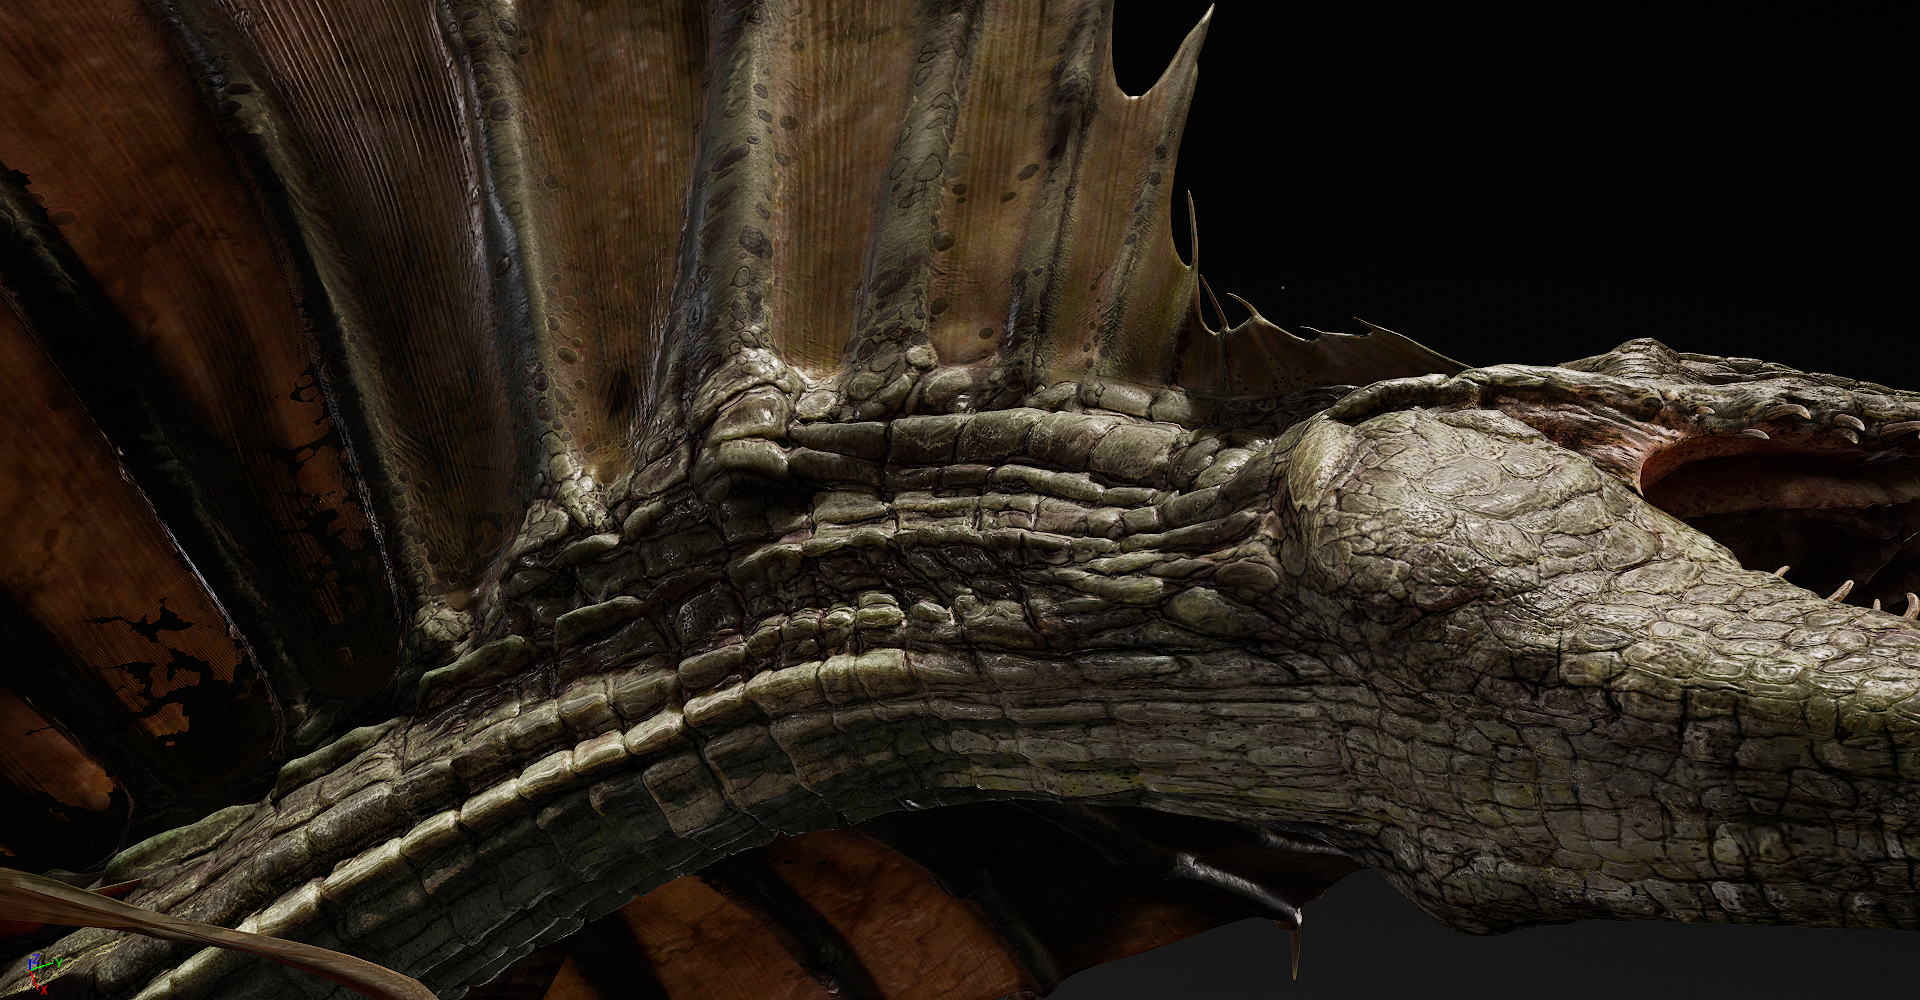
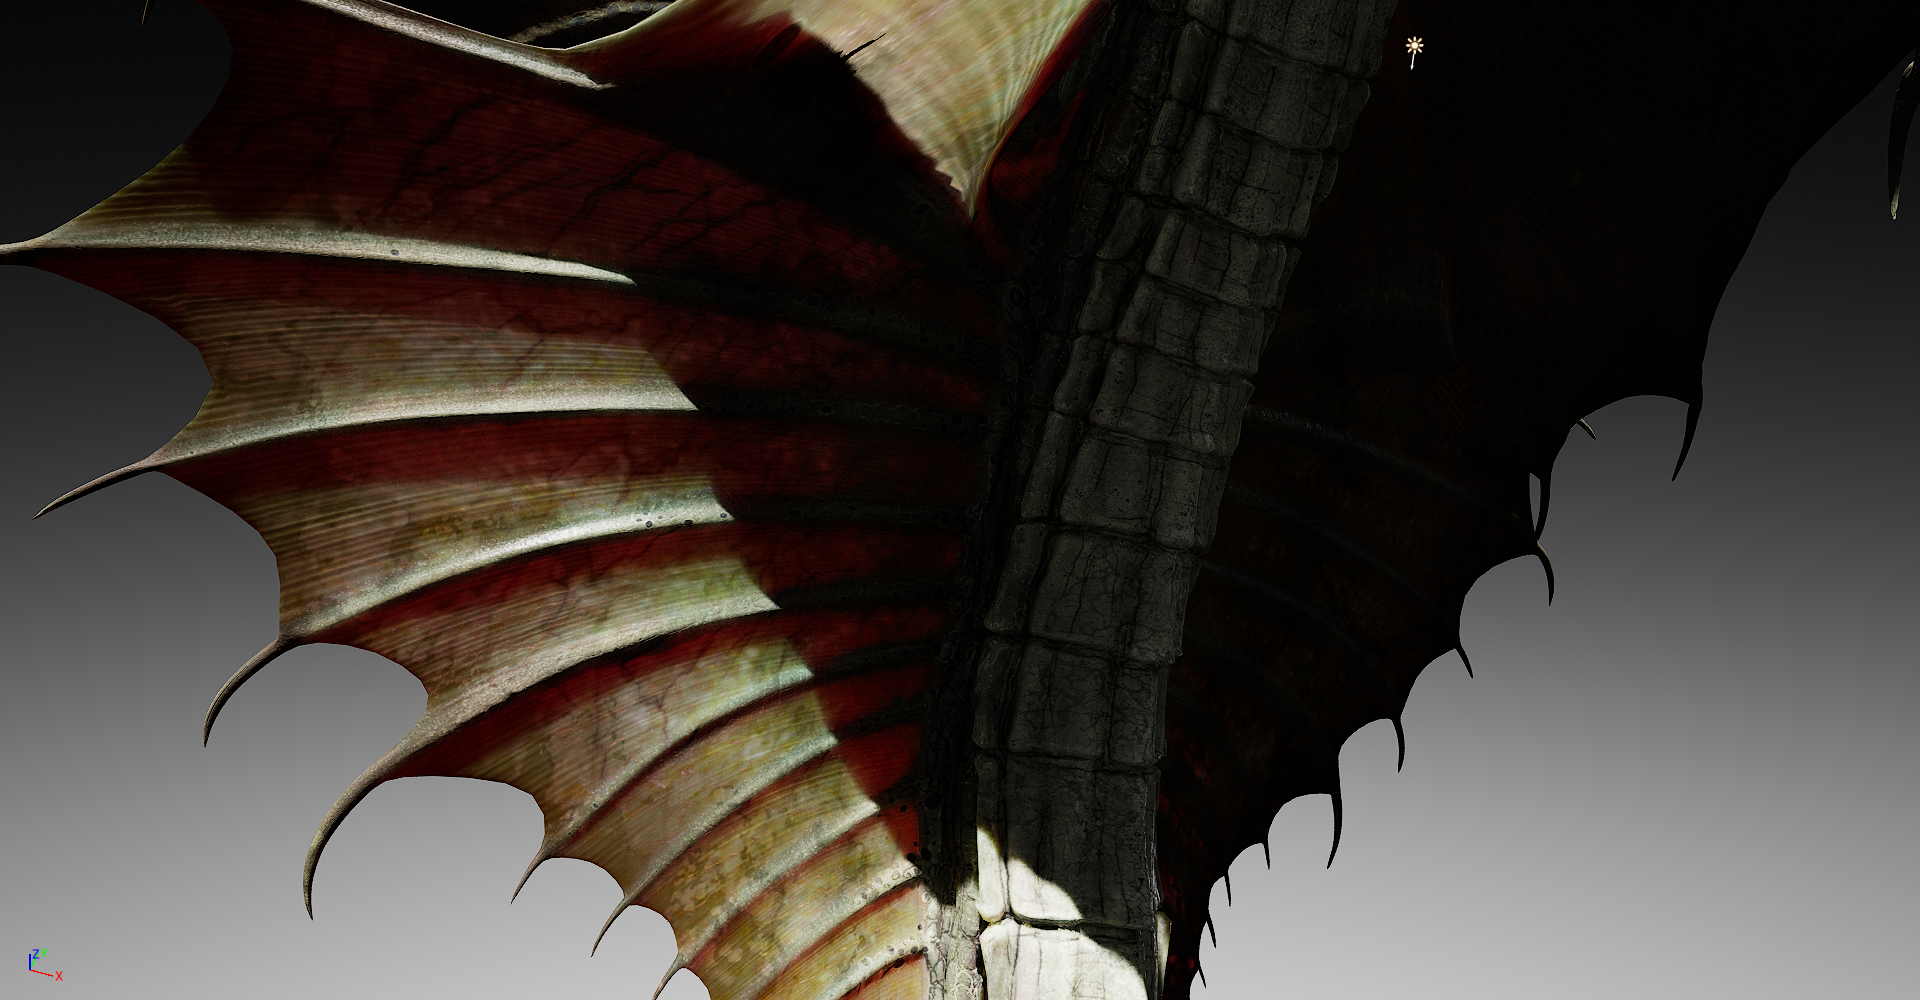
The Godzilla Shader was one of the most difficult to figure out because there were a few things that needed to be replicated from the film that was inherently difficult to do in unreal.
1: Created the veins inside of the fins took a bit of work as the movie assets used actual geometry with a transparency shader for the spikes. I ended up taking that geometry and baking it onto the scales in substance painter, cleaned it up, and created a mask. Using the subsurface profile I used that mask and a few parameters to get the desired look.
2. The emissive power up ended up being a combination of a few masks baked over that were used in the film and some hand painted masks made in substance painter. I created gradient masks and a shader that would drive it from his tail to his head using custom timed points for the start of each material instance. Since the spikes and skin are part of the same uv set I ended up masking the scales in the shader and creating a gradient mask for the skin when powered up.

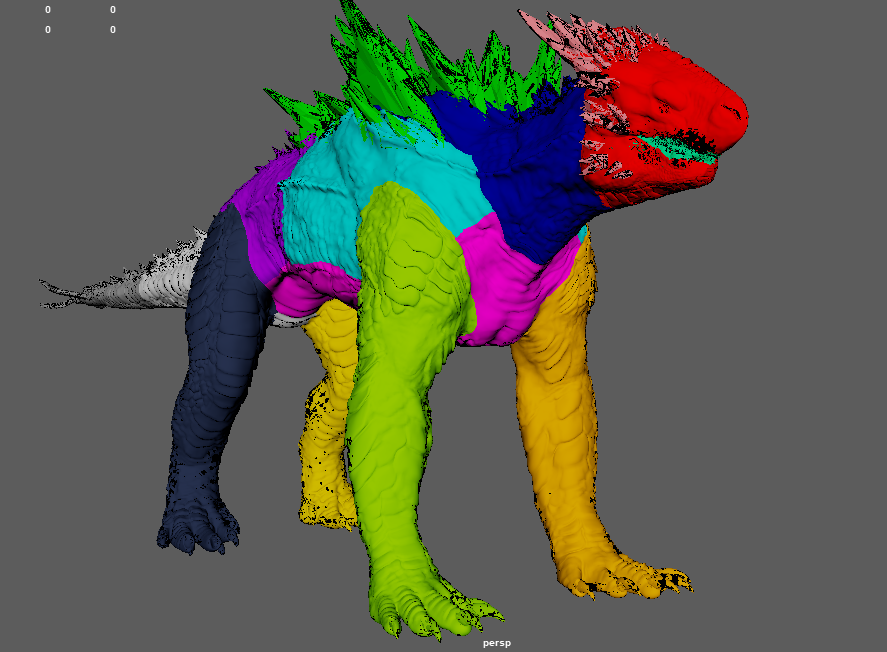
shimo

Shimo was also a difficult character to figure out as the crystals didn't look great using transparency in unreal I ended up using subsurface scattering and faking a transparent look. I had to add in details using fresnel and bump offset to make it appear as though the crystals had depth and that the bubbles were not on the surface.
The skin also took some work as it needed to have an iridescence look and a frost added to it for power up.
For both of these I created custom masks in substance painter to drive the shader I created.


Warbat

1. Create new uv separations to optimize character and bake over the textures from the original mesh using mari
2. Use displacement maps to create detail in zbrush then sculpt more detail in and bake out a normal map
3. create shader in unreal using subsurface profile


vertacine


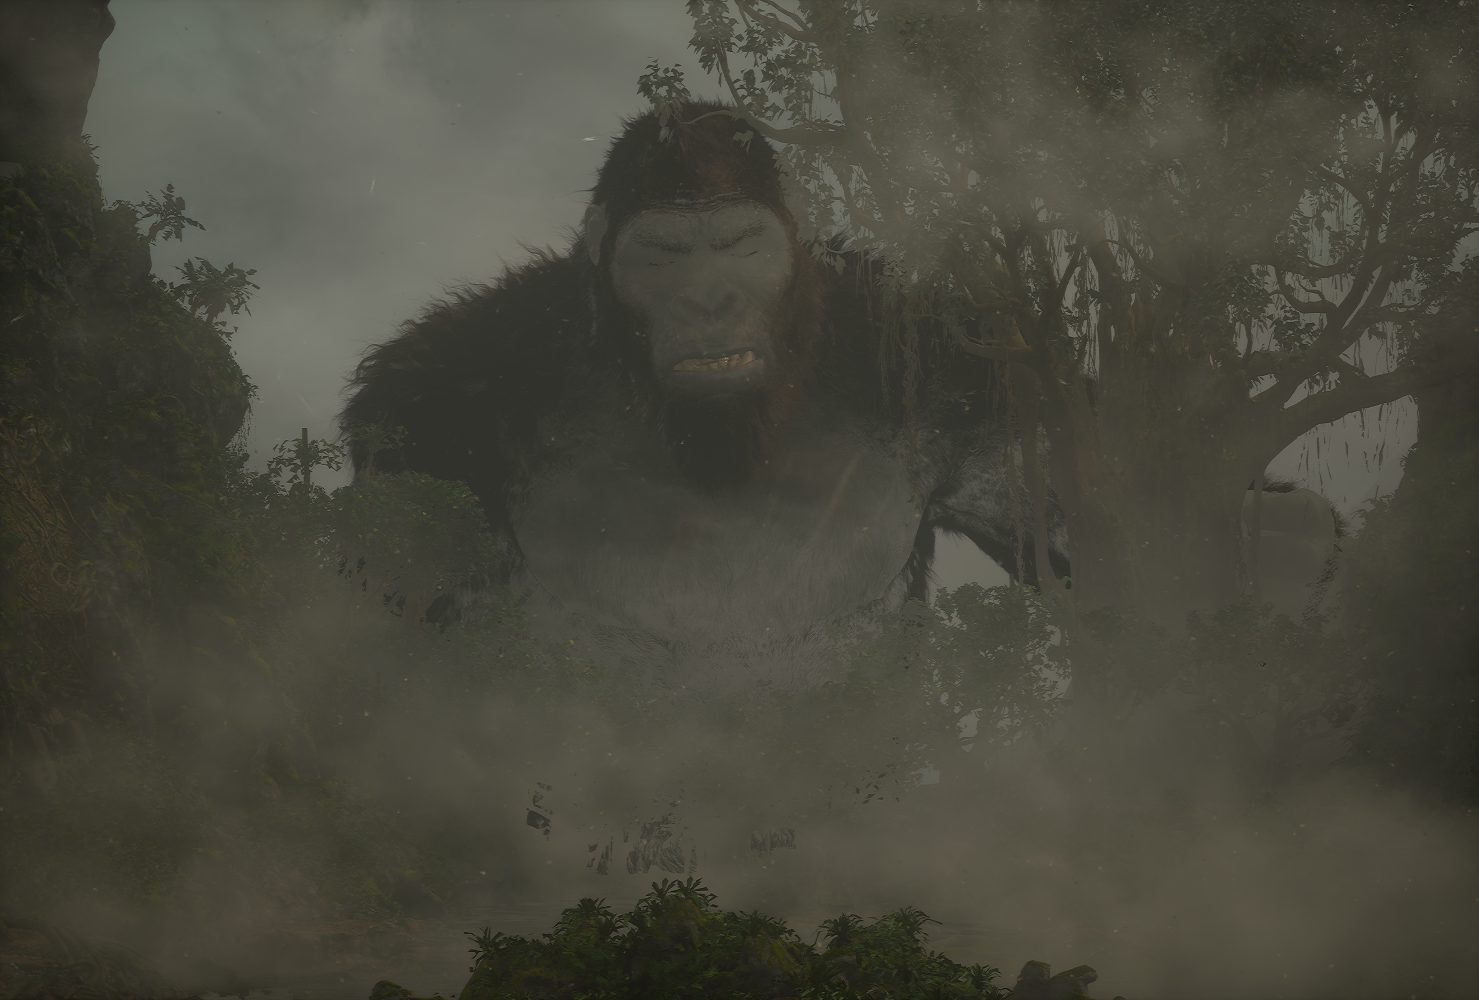
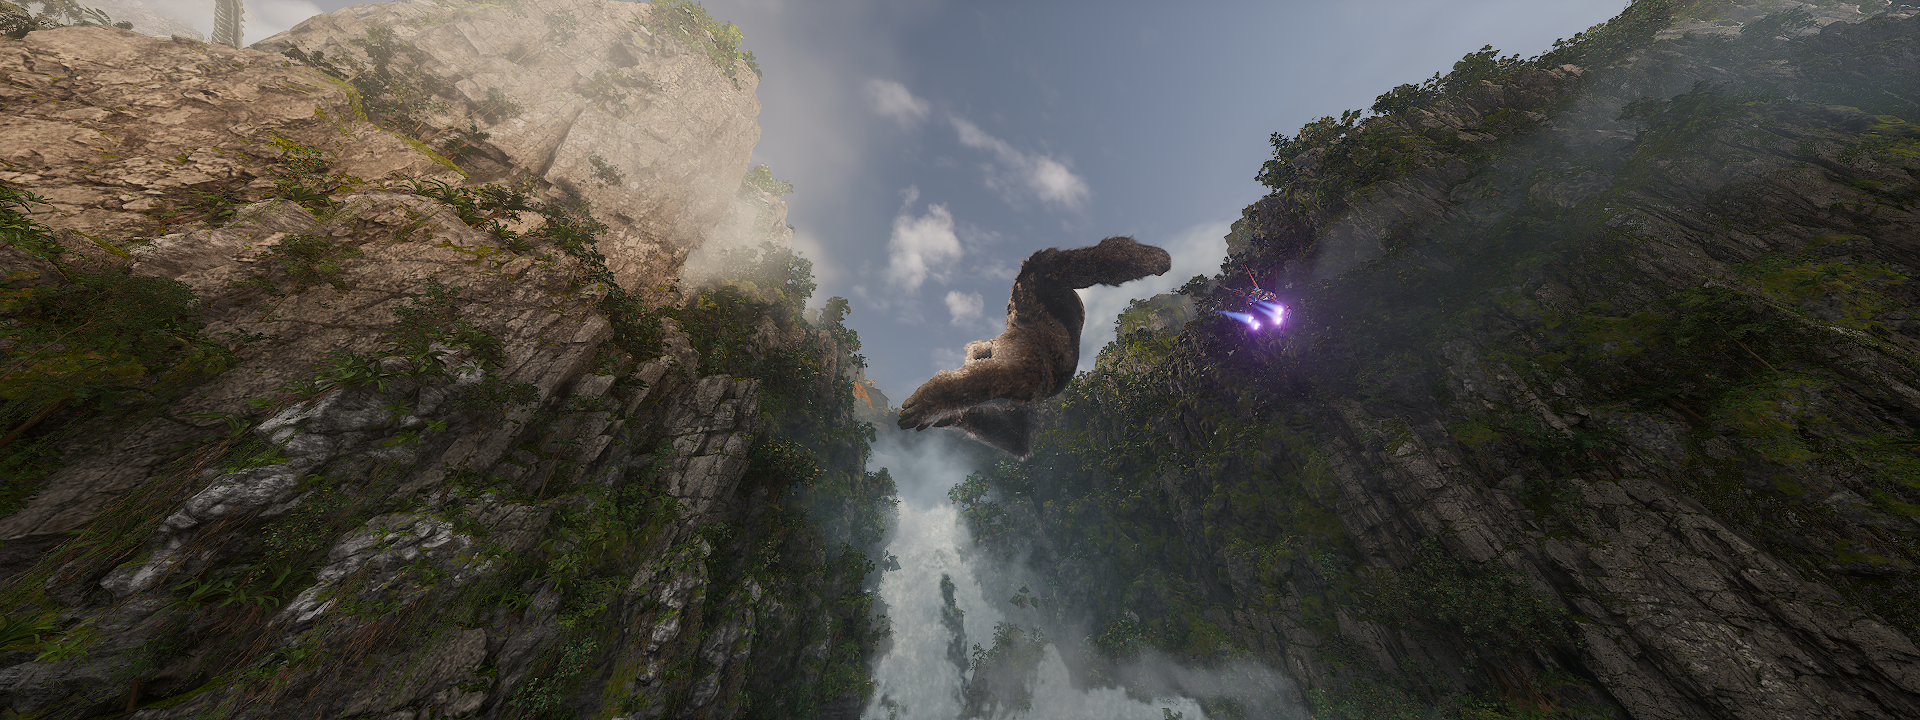
Kong
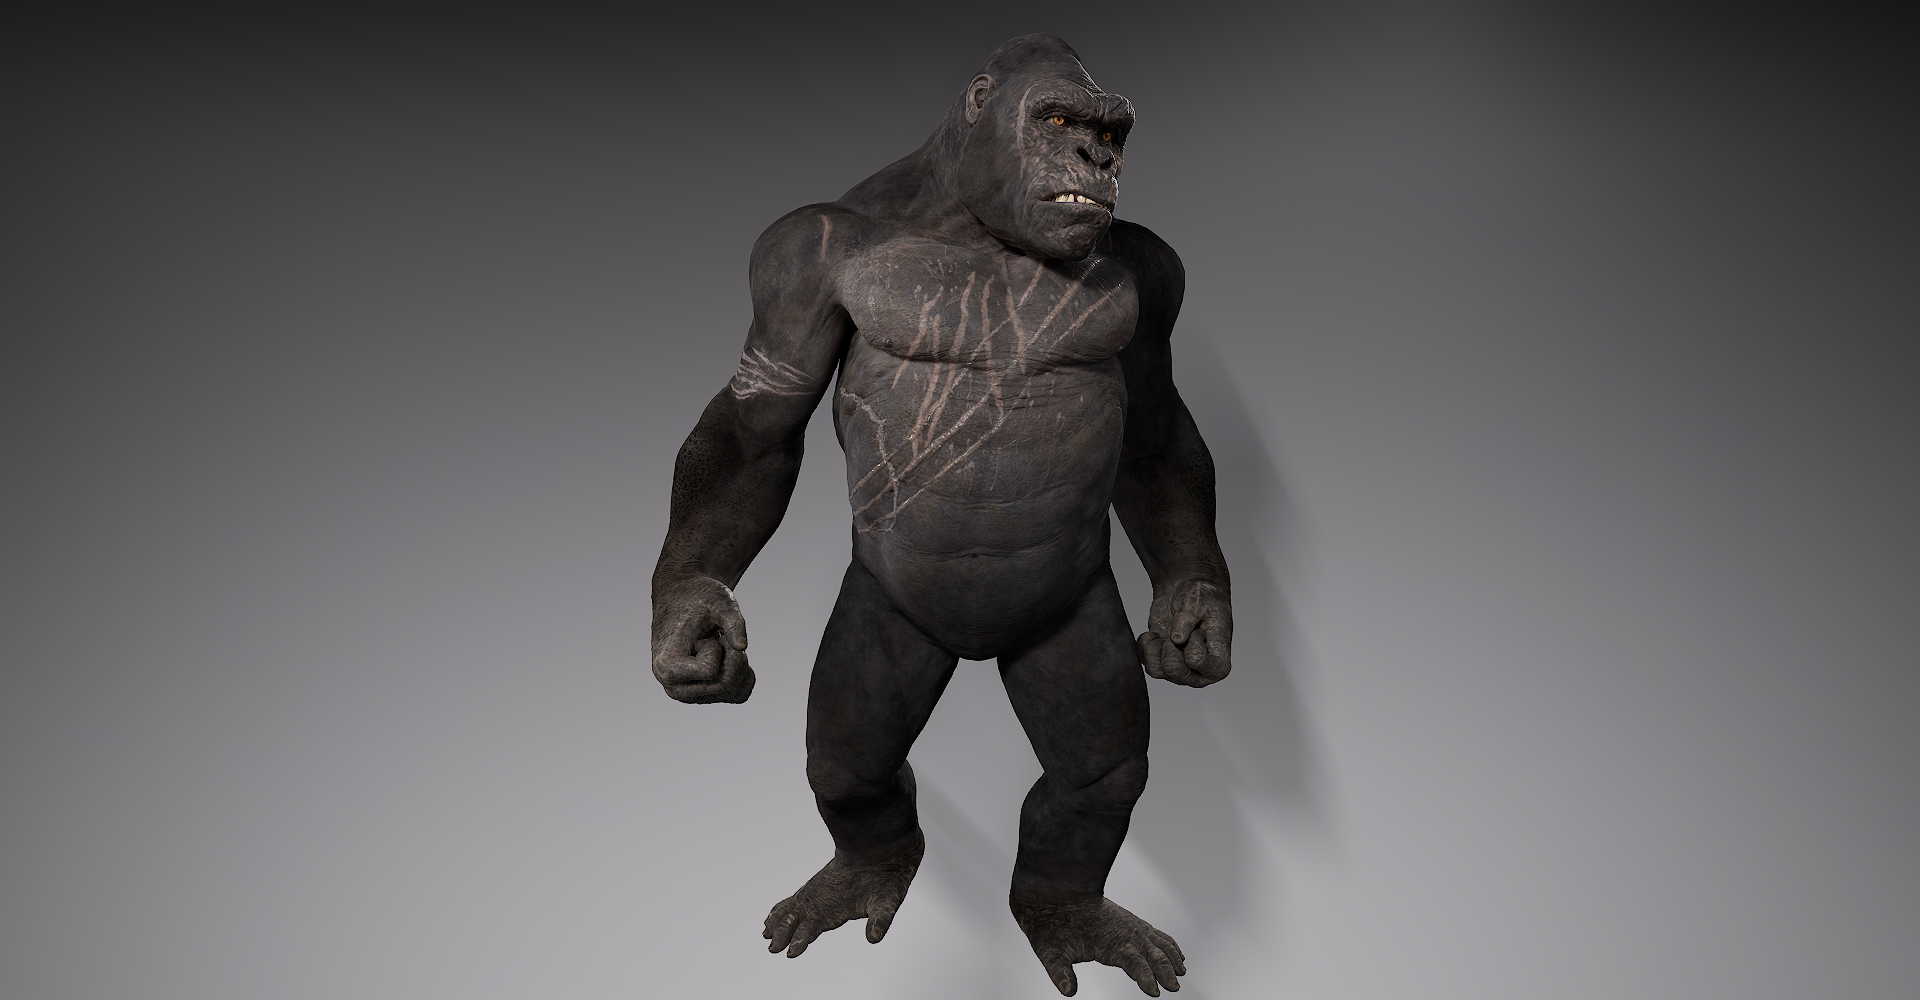
Kong involved a bit more r&D as the fur was having some transparency issues with the fog. I ended up using a giant plane behind him that had panning clouds that faded in which controlled the pixel depth as he moved towards the camera to reduce the amount of clipping in the fur


Doug


Doug was one of the most straight forward characters and used the common shader I had created.
Environment Materials
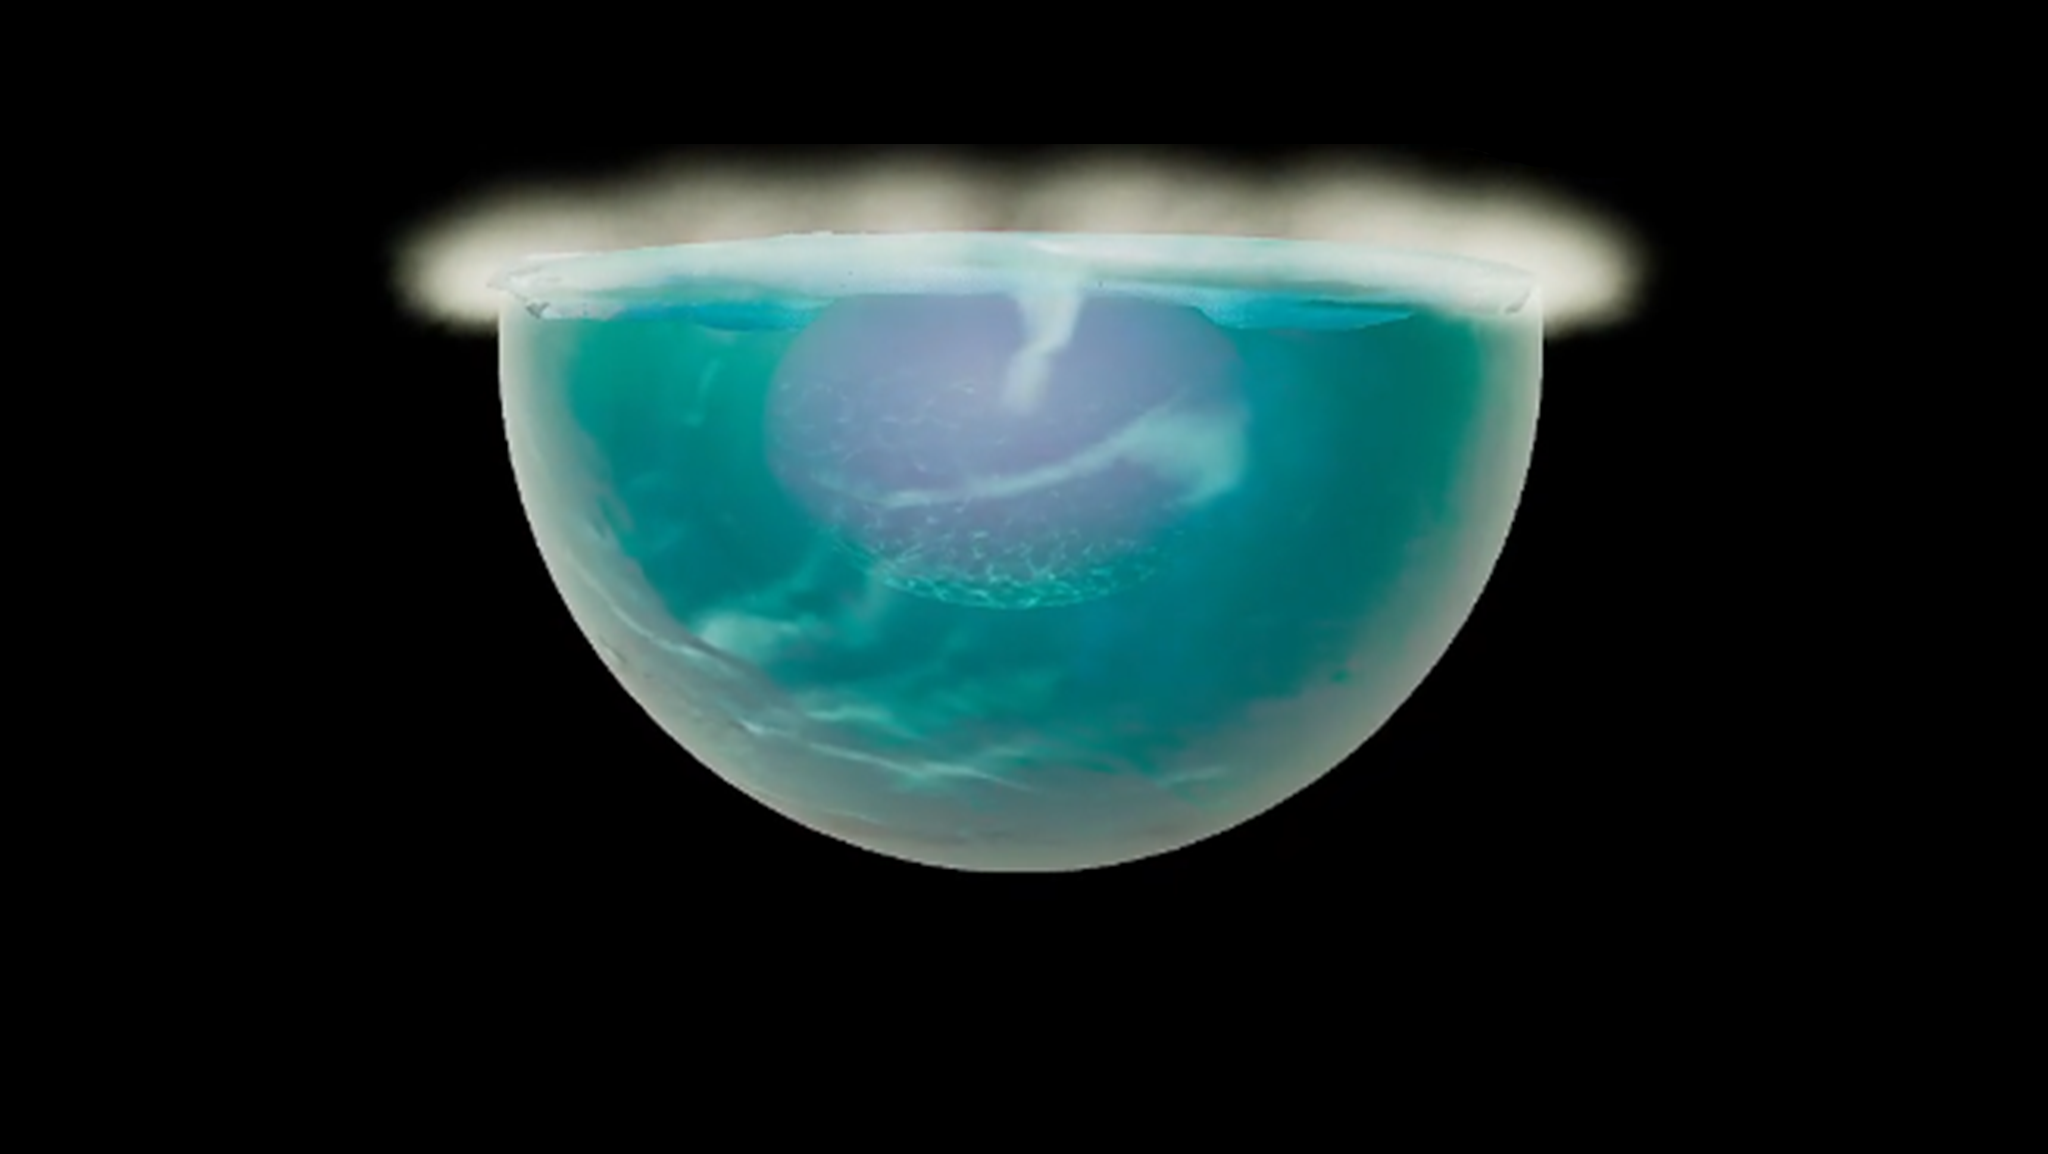
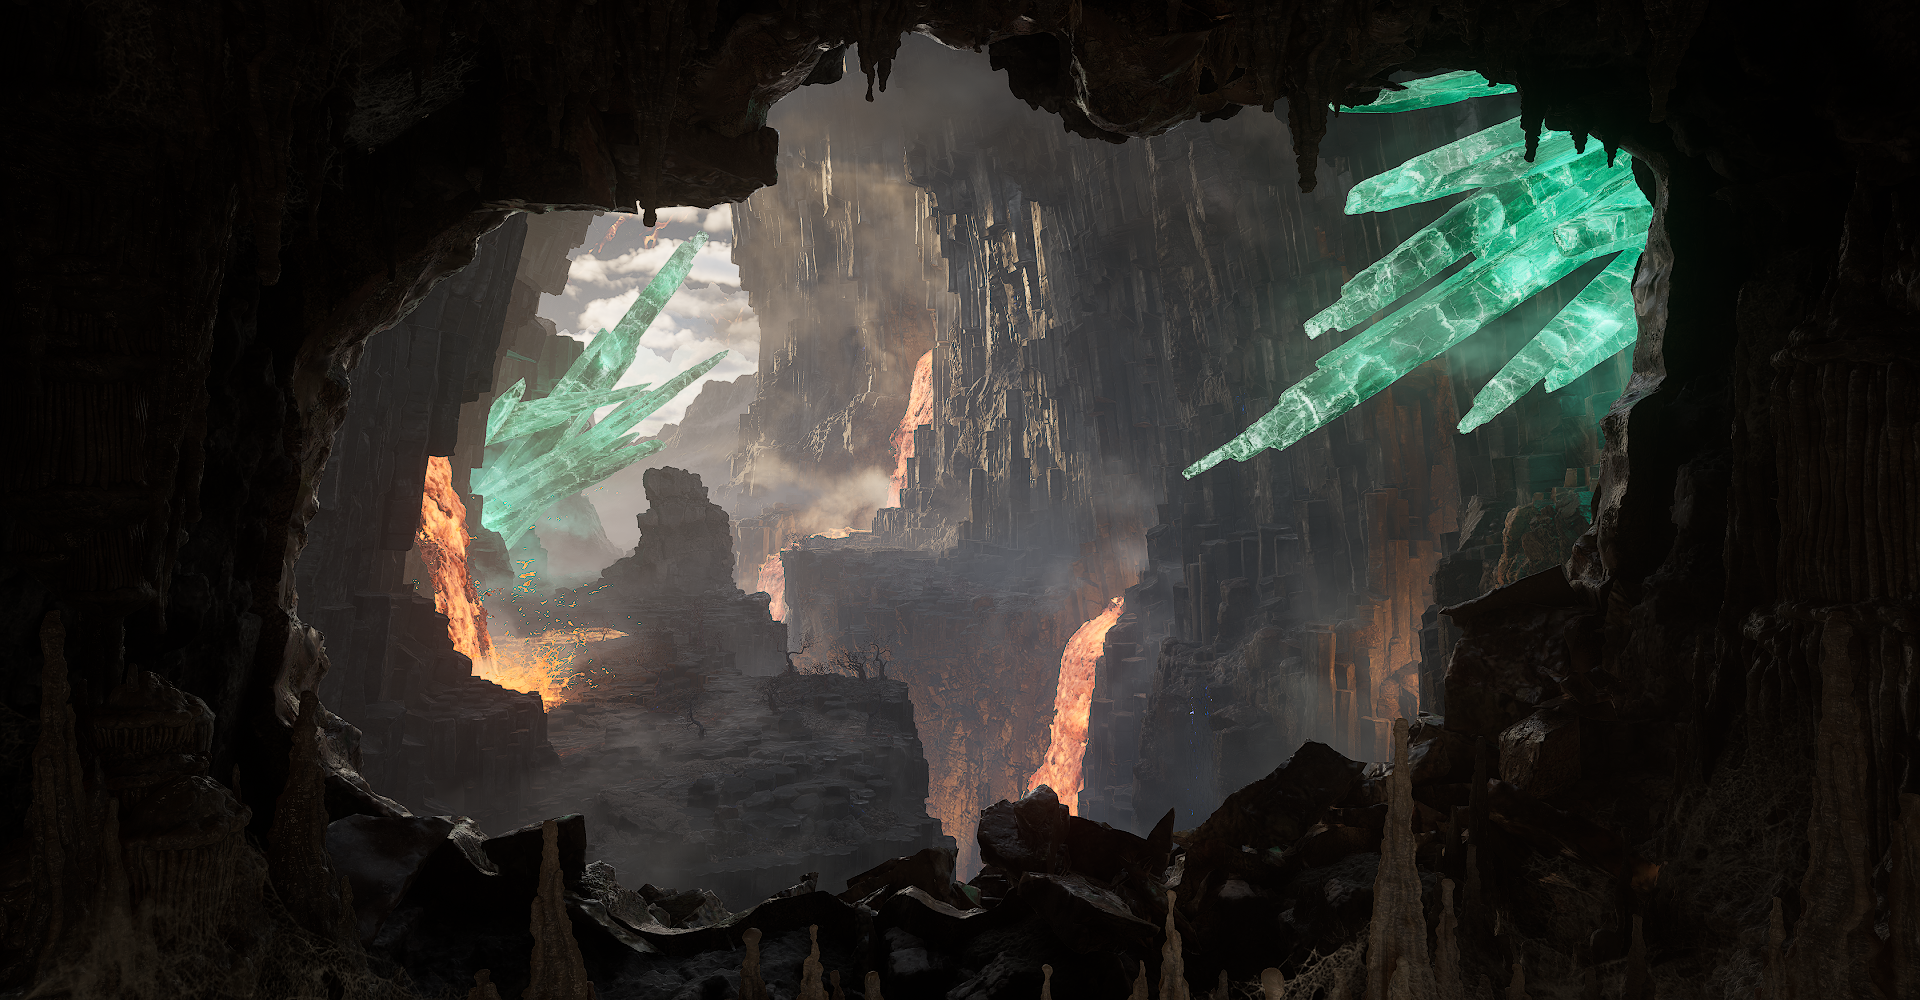
crystals
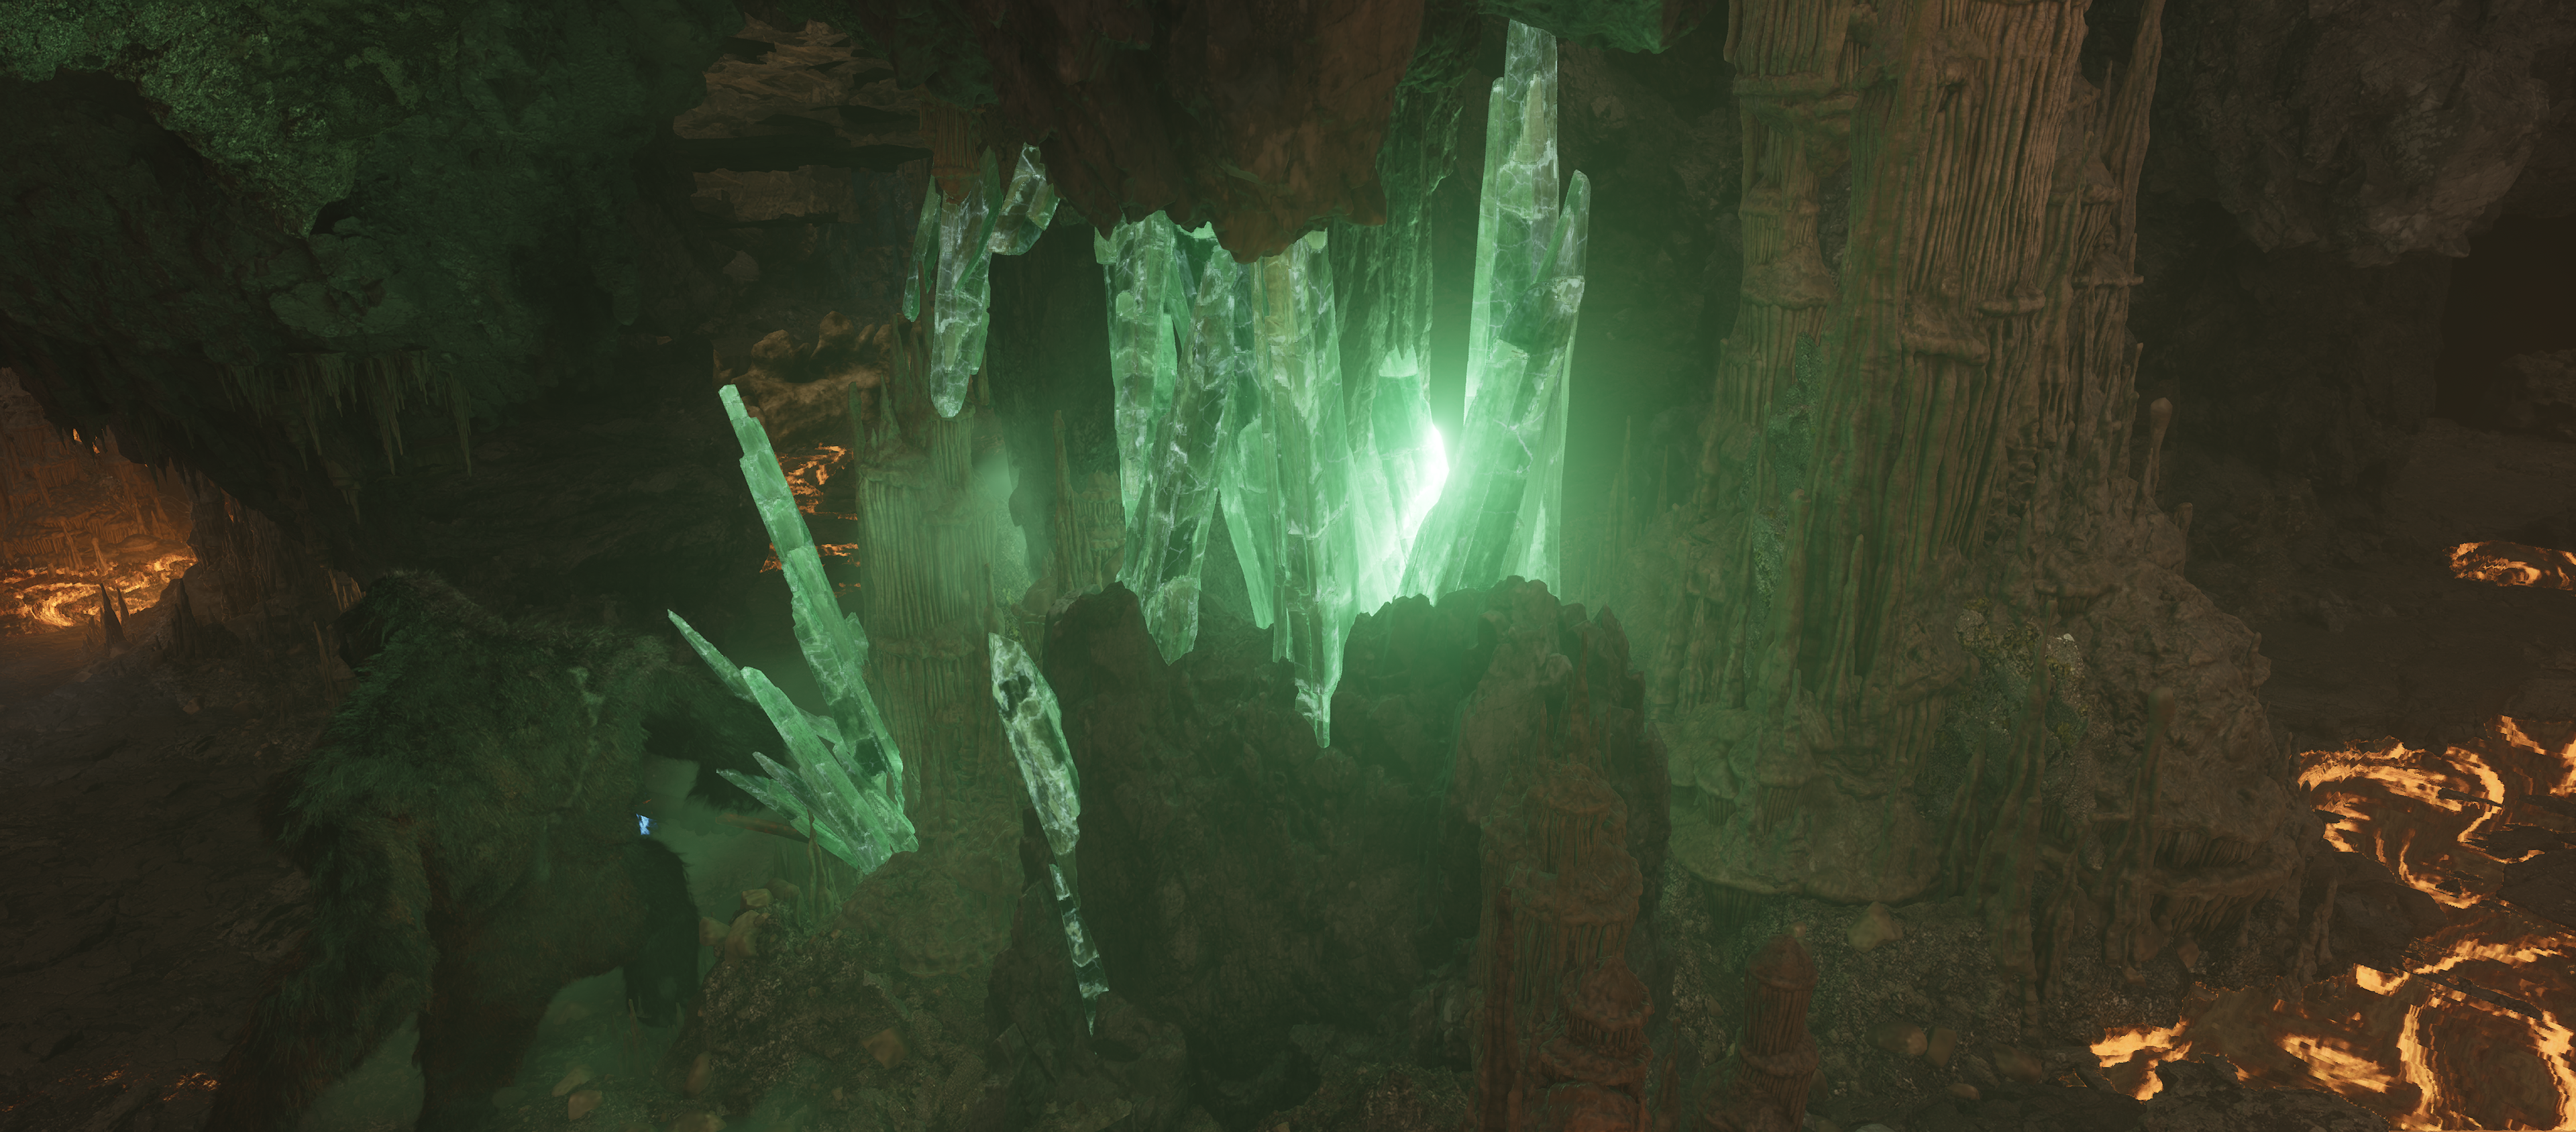
The crystals were created by baking the high poly version and getting the curvature. I then created a couple different masks to drive the shader that used subsurface scattering and emissive to get the desired look. The goal was to not use transparency and still get that crystal look so I also used the thickness map from the bake to fill in with a darker color.
I created an MPC in order to quickly change the color with a hue shift or with individual changes to the either the base color, subsurface, or emissive.


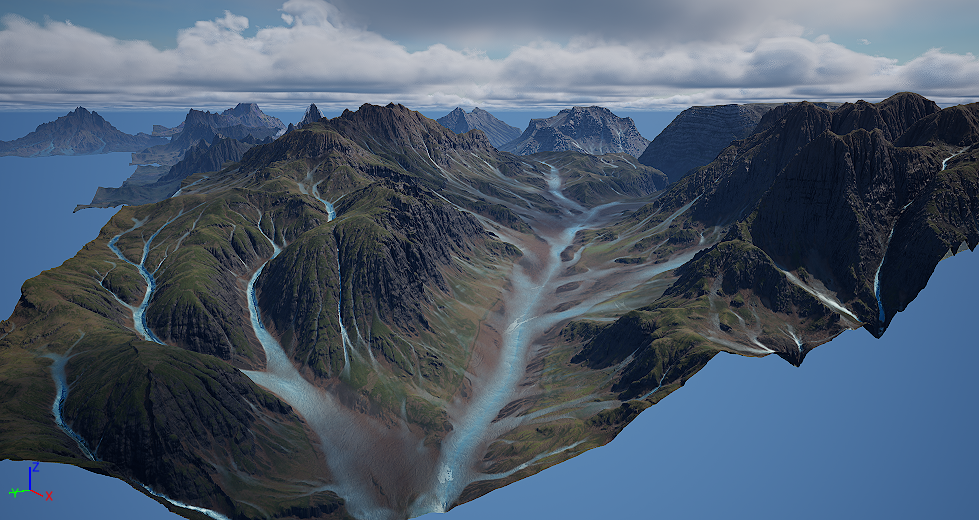
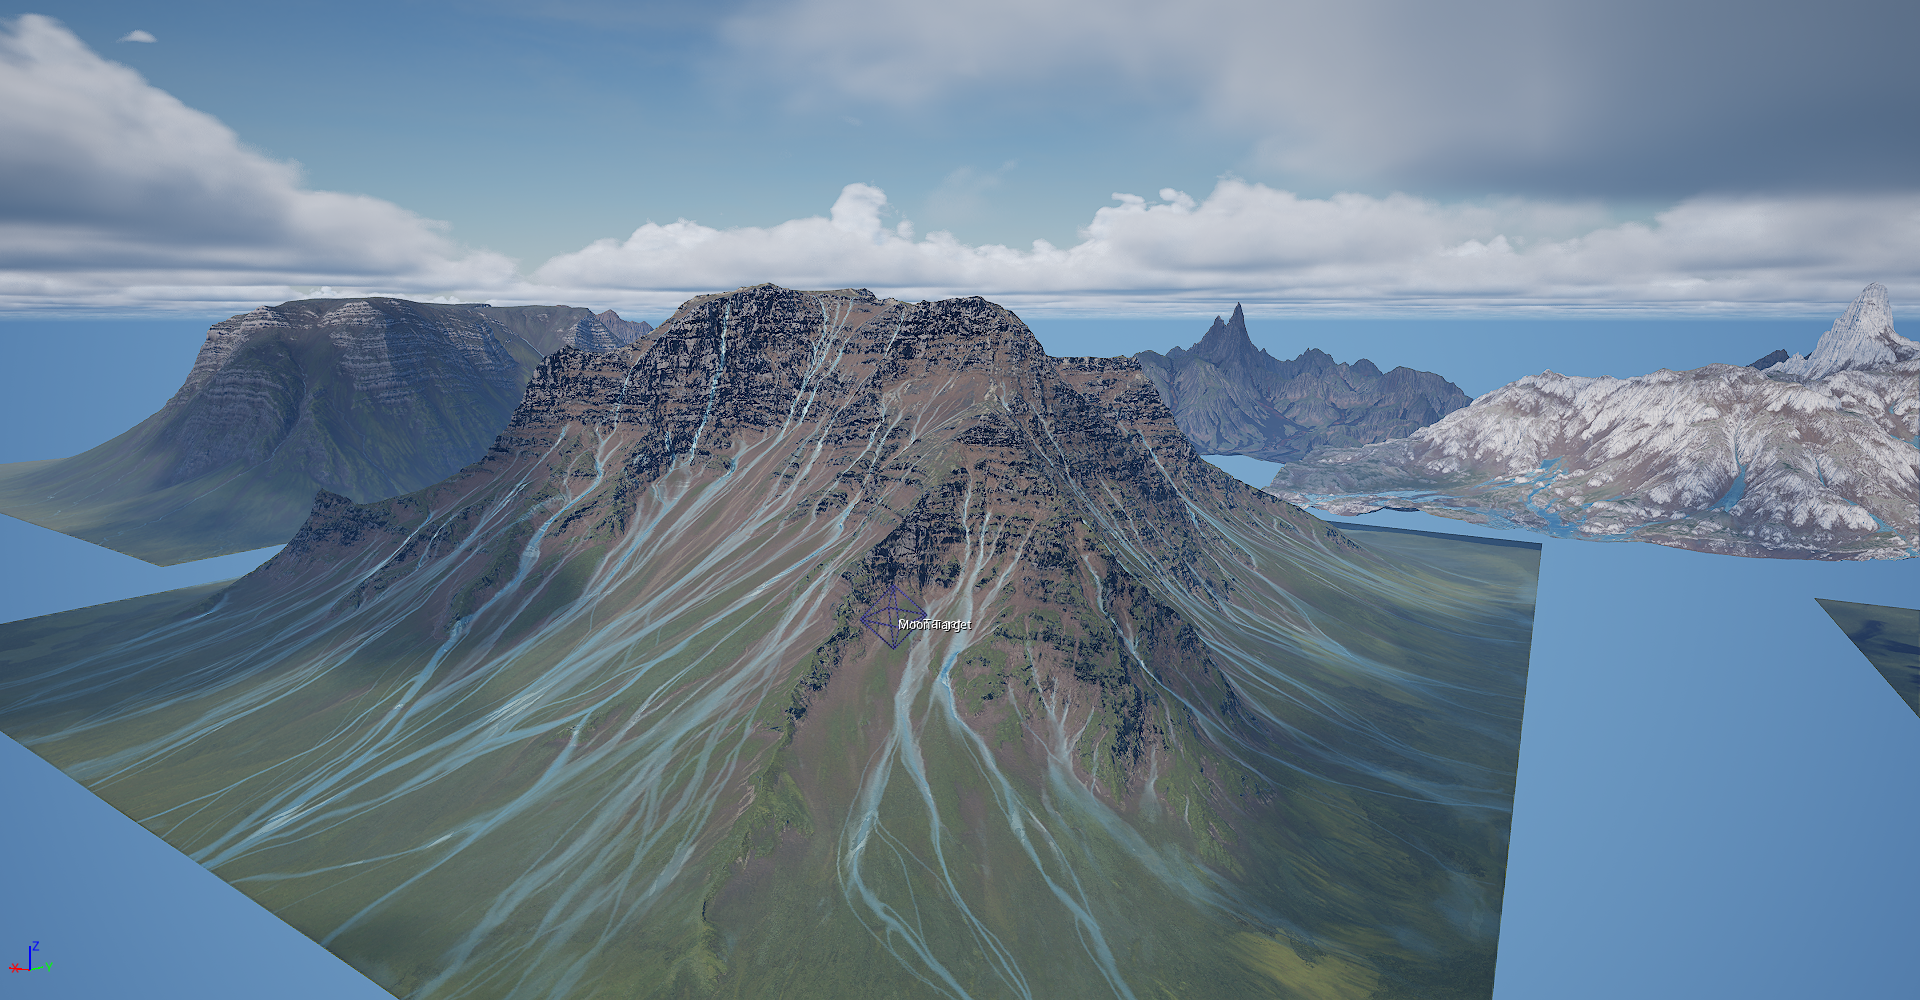
Landscape Meshes

The landscape meshes (total of 9 that were used) were bought from the marketplace but ended up needing a lot of work done to them to get them to be usable. I ended up editing the masks that were in the pack and created separate parts of the shader for the rock, soil, water, and grass. These were separate material functions blended together my improved masks.
The Shader had various different parameters (including mineral deposits) and mixed together the materials that were given with the pack and megascans materials.
I also had to edit it so the water could turn to lava for certain settings which made me have to vastly improve the water masks that were provided with some of the meshes.


rock MAterial

one of my tasks was to improve the rock material that came with one of the shaders to add in variation of roughness with water droplets.
I ended up editing the mask for the moss to extend out and did a multiply with a simple cloud mask to add the water streaks coming from the moss. I also added in an option to either have a tiling texture or to use a decal to drive the water streaks so they could be placed precisely.


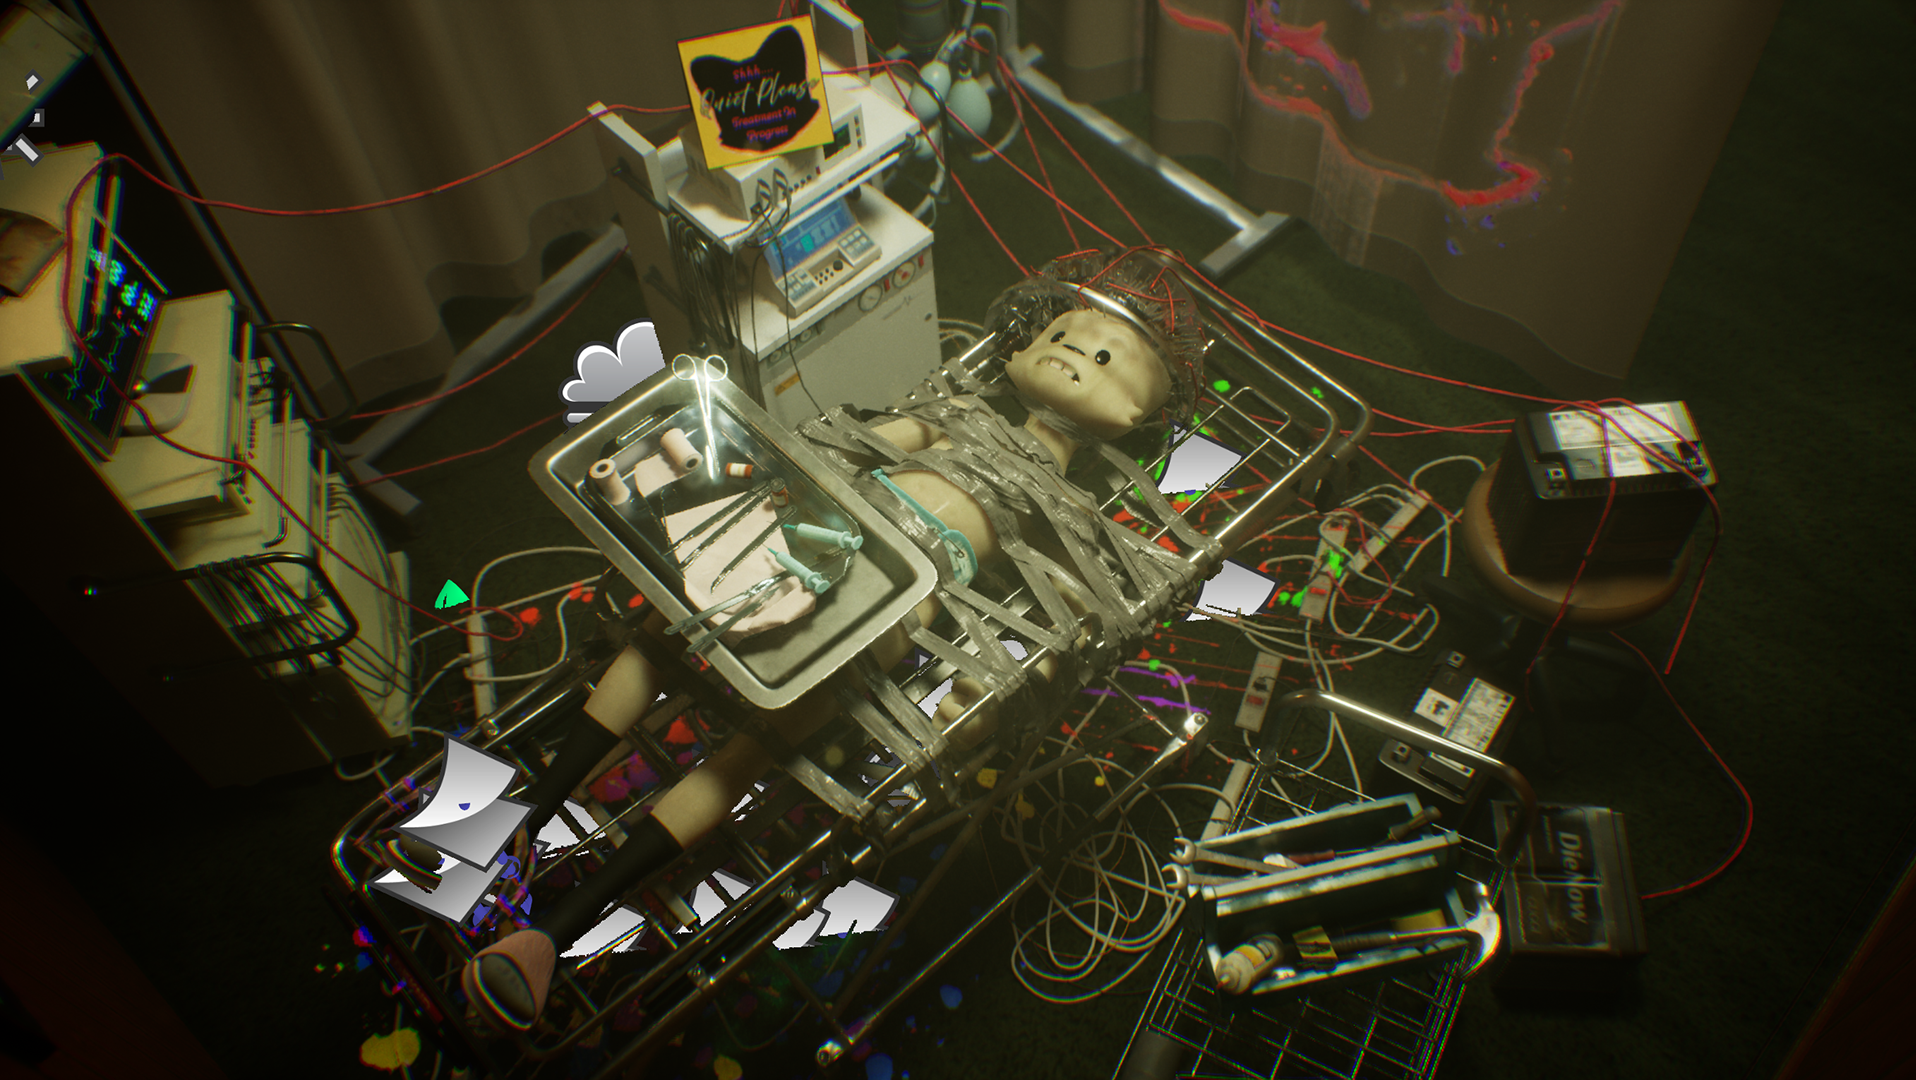
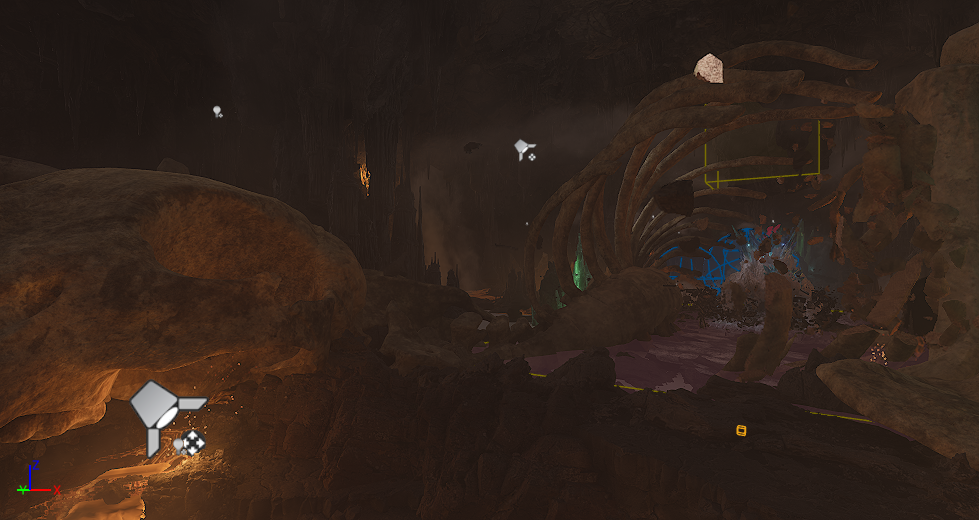
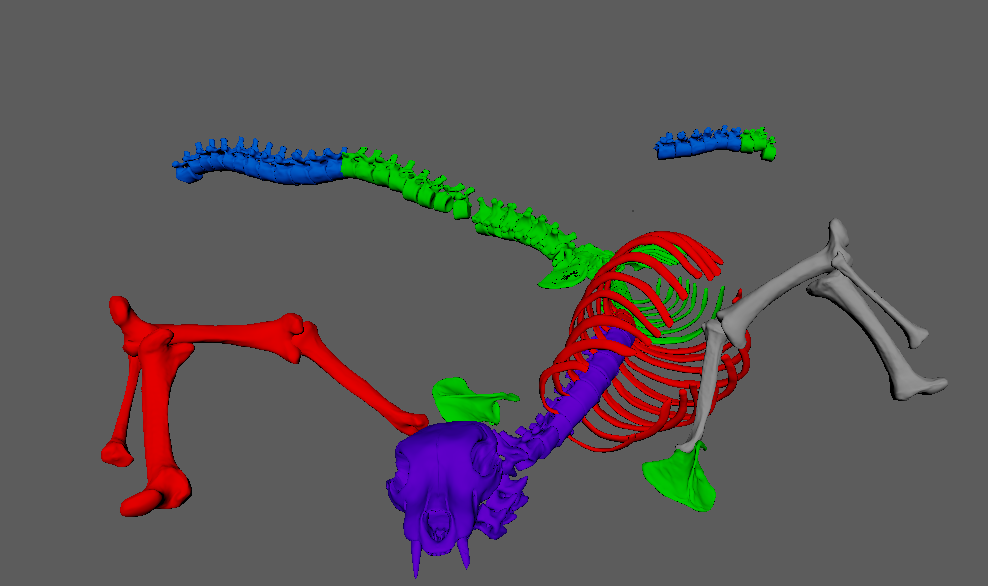
Giant Skeleton
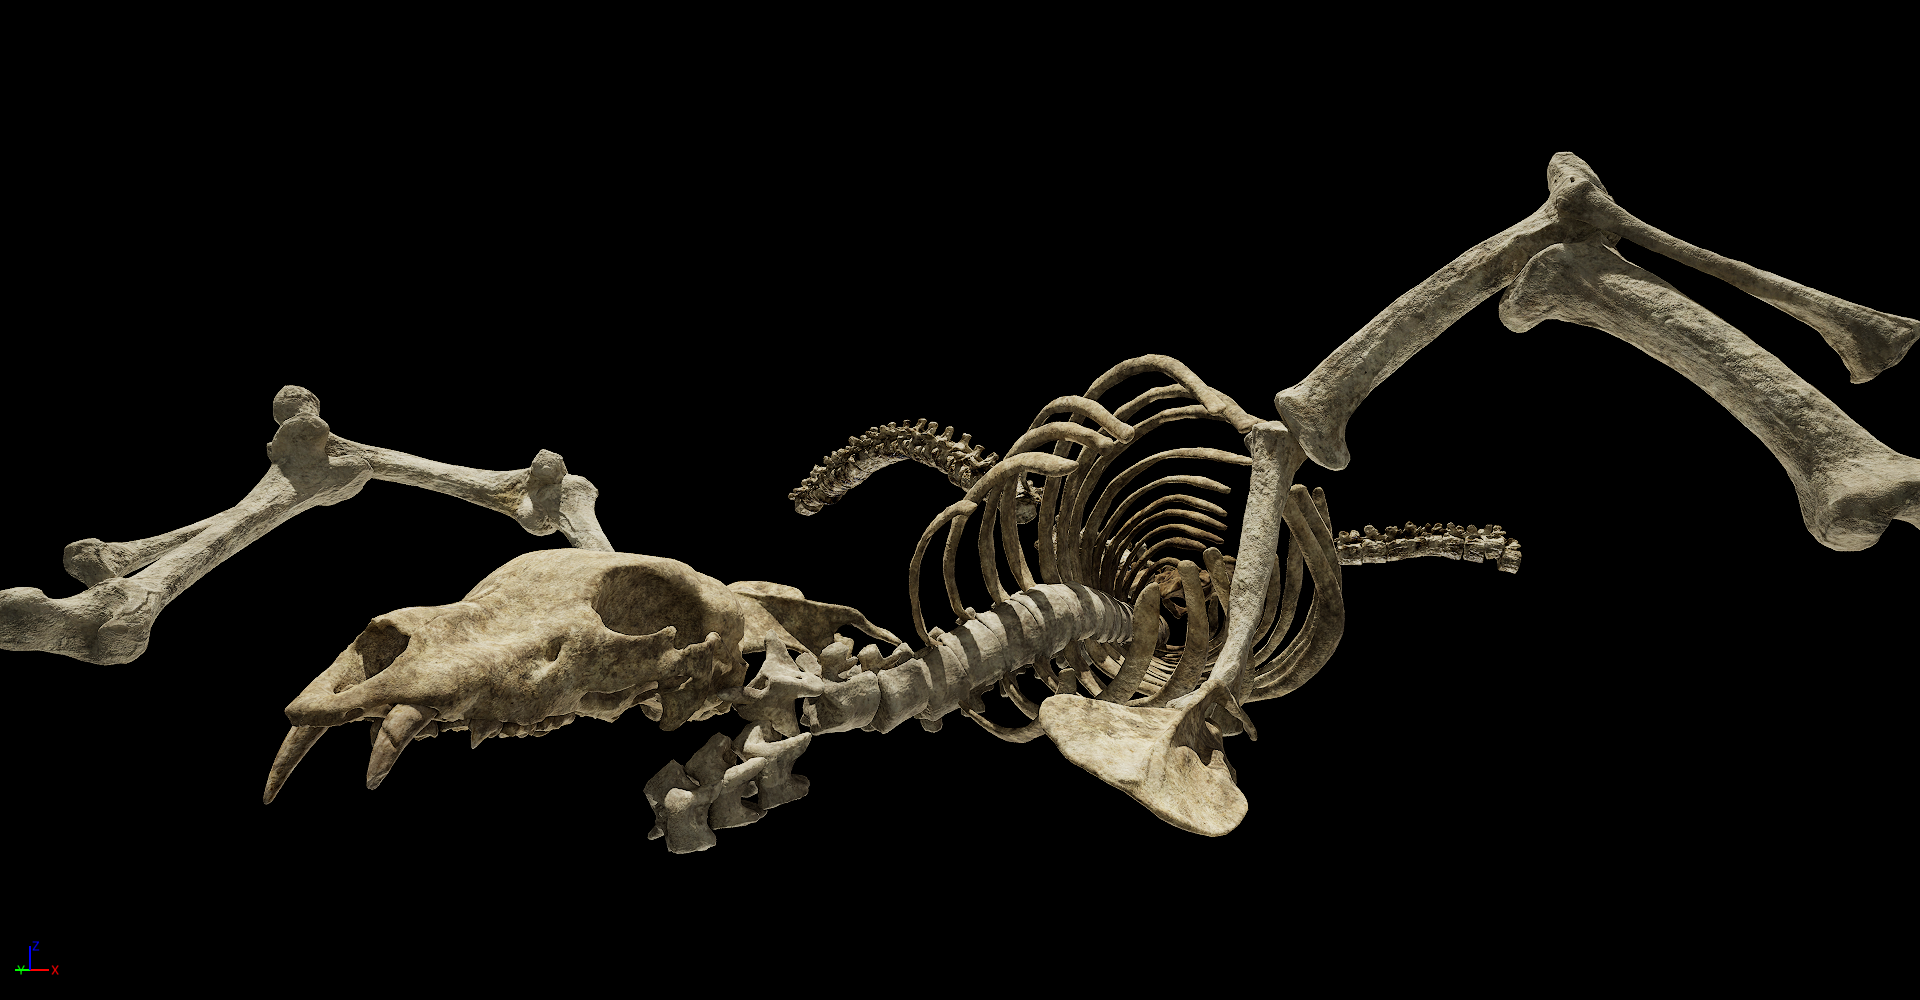
The giant skeleton started with the same approach as the characters where I had to redo the uvs to be optimized then bake over the textures in mari. I then created the shader in unreal and added some additional detail with the subsurface profile


destructibles
Another task I recieved was to take meshes and prepare for the simulation in unreal. This was a tedious task with some of these meshes as they were purchased on the marketplace and ended up needing to be cleaned up before I could do any proper shatters on them.
After the shatter I used a script that I got chatgpt to create for me that would rename all of the pieces, then create a joint in the middle of each piece of geometry with a corresponding name which would then skin that joint entirely to that mesh. They were then arranged in a hierarchy and exported as an fbx to explode in unreal
Refinery

Ship
baking effects
For many of the effects that were used in the scenes (heterogeneous volumes) they were too heavy to keep and had to be baked down to a texture and then reapplied in the scene using a flipbook.
For effects such as the meteors, lava, and waterfall they either did not need to loop or already had a loop built in.
The smoke and fire were not looping effects and I had to use after effects to create a looping animation for the flipbooks. I also used after effects to change out the meteors faded out, color corrections, and any additional masking that was needed.
Meteor

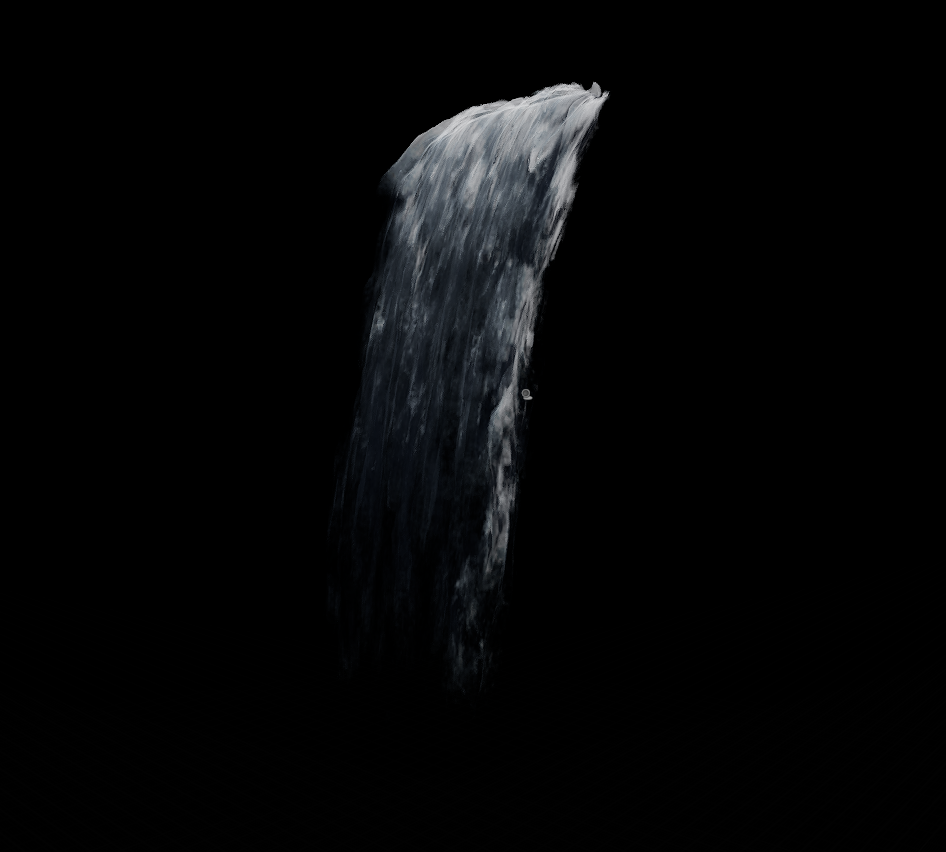
Waterfall
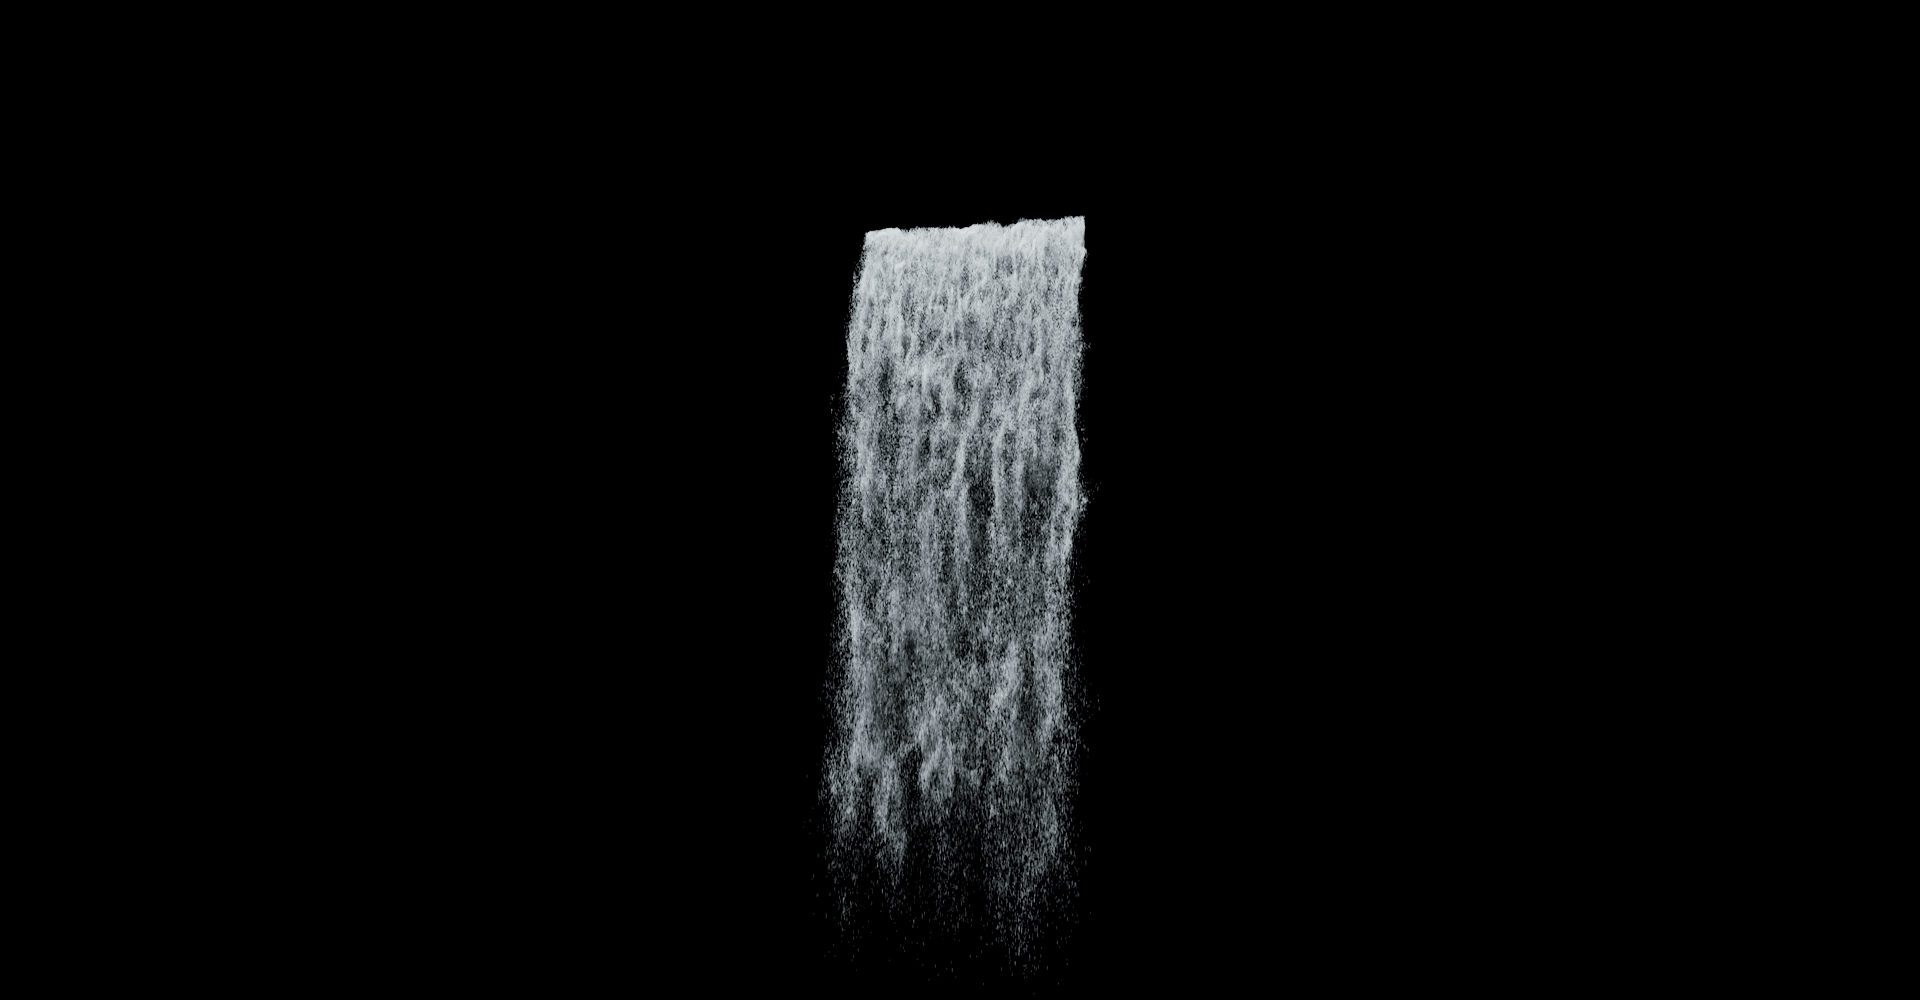
The waterfall has a mesh that I created that would use the wpo offset so that the stacked meshes in the blueprint would blend together in the scene to look less flat


Lava
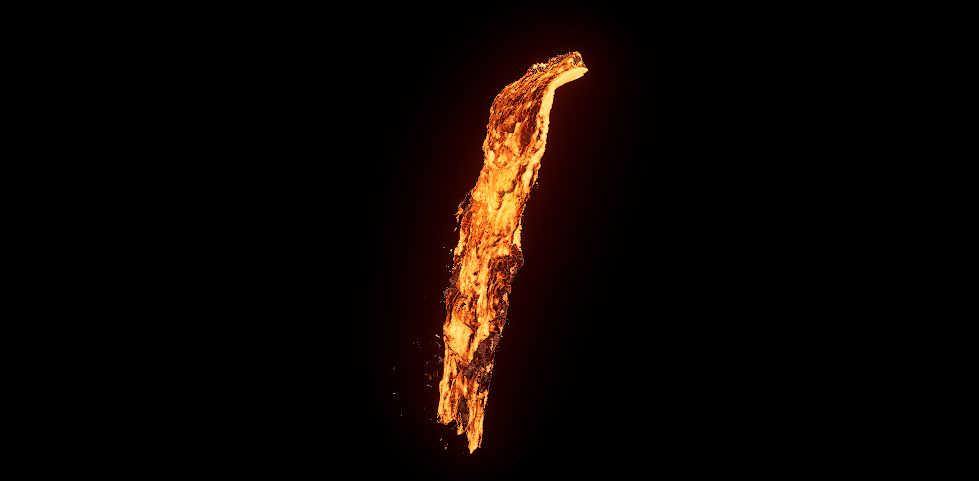
The lava ended up taking longer than the other effects as I had to create a shader for the effect to begin with. Using the baked vertex colors given to me by the effect artist I created a Shader that was separated out by the low, mid, and highlights material functions. I also created a fade and drop off of each color so that they blended together.


it was then baked down to a texture like the other effects
Smoke

Getting it to loop took some work in after effects to blend together a few duplicated offset layers
fire

the fire took the most work to get to loop without being obvious as there were four different versions and they all were at different speeds so the keys were not easily copied over.